The Web Designer extension enables you to customize the appearance of contents by using alternative templates and to manage the online store's files by using an FTP connection.
Read also the general instructions for installing and deploying extensions.
Extensions are not available in MyCashflow Free plan.
Pricing
Using the extension is free of charge.
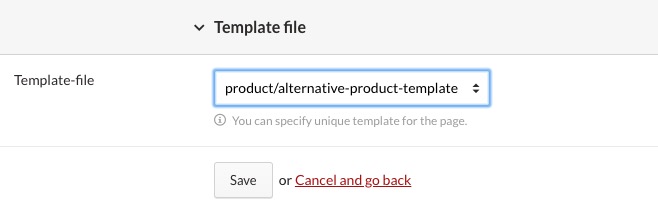
1) Template selector
After you've enabled the Web Designer extension, you will see the Template file section in certain admin panel forms. In the section, you will be able to select an alternative template for the edited content.
Templates are HTML files included in your online store's theme that define the design and content of different pages. For example, you can use custom templates to define separate layouts for different product categories, as well as to change the product listings that should be displayed on their pages.
With the extension enabled, the template selector becomes available in the forms of the following types of content:
- products
- product categories
- brands
- content pages
- news
- campaigns
Creating and enabling custom templates
To create a new custom template for the desired type of content (e.g. products):
- Create a new custom template file with the .html extension in the folder:
E.g. alternative-product-template.html

- Open the desired content for editing.
At the bottom of the form, in the Template file menu, you'll see the newly created template.
New custom templates may be displayed with delay in the template menu due to cache.
The locations of custom templates
- Products: themes/shop/THEME/product/
- Product categories: themes/shop/THEME/category/
- Brands: themes/shop/THEME/brand/
- Campaigns: themes/shop/THEME/campaign
- Content pages: themes/shop/THEME/infopage
- News: themes/shop/THEME/news
2) FTP credentials
With the help of the Web Designer extension, you can also enable an FTP connection to your online store. After Web Designer has been enabled, you'll see your online store's FTP credentials in the extension settings.
See also the instructions on using the FTP connection.