You can manage the files of your MyCashflow online store by using the graphical file browser.
Alternatively, you can manage the files also via an FTP connection. It may be especially useful if you need to import a substantial number of files to the online store.
To use the FTP connection, you'll need the Web Designer extension.
To access the file browser, in the online store's admin panel, go to .
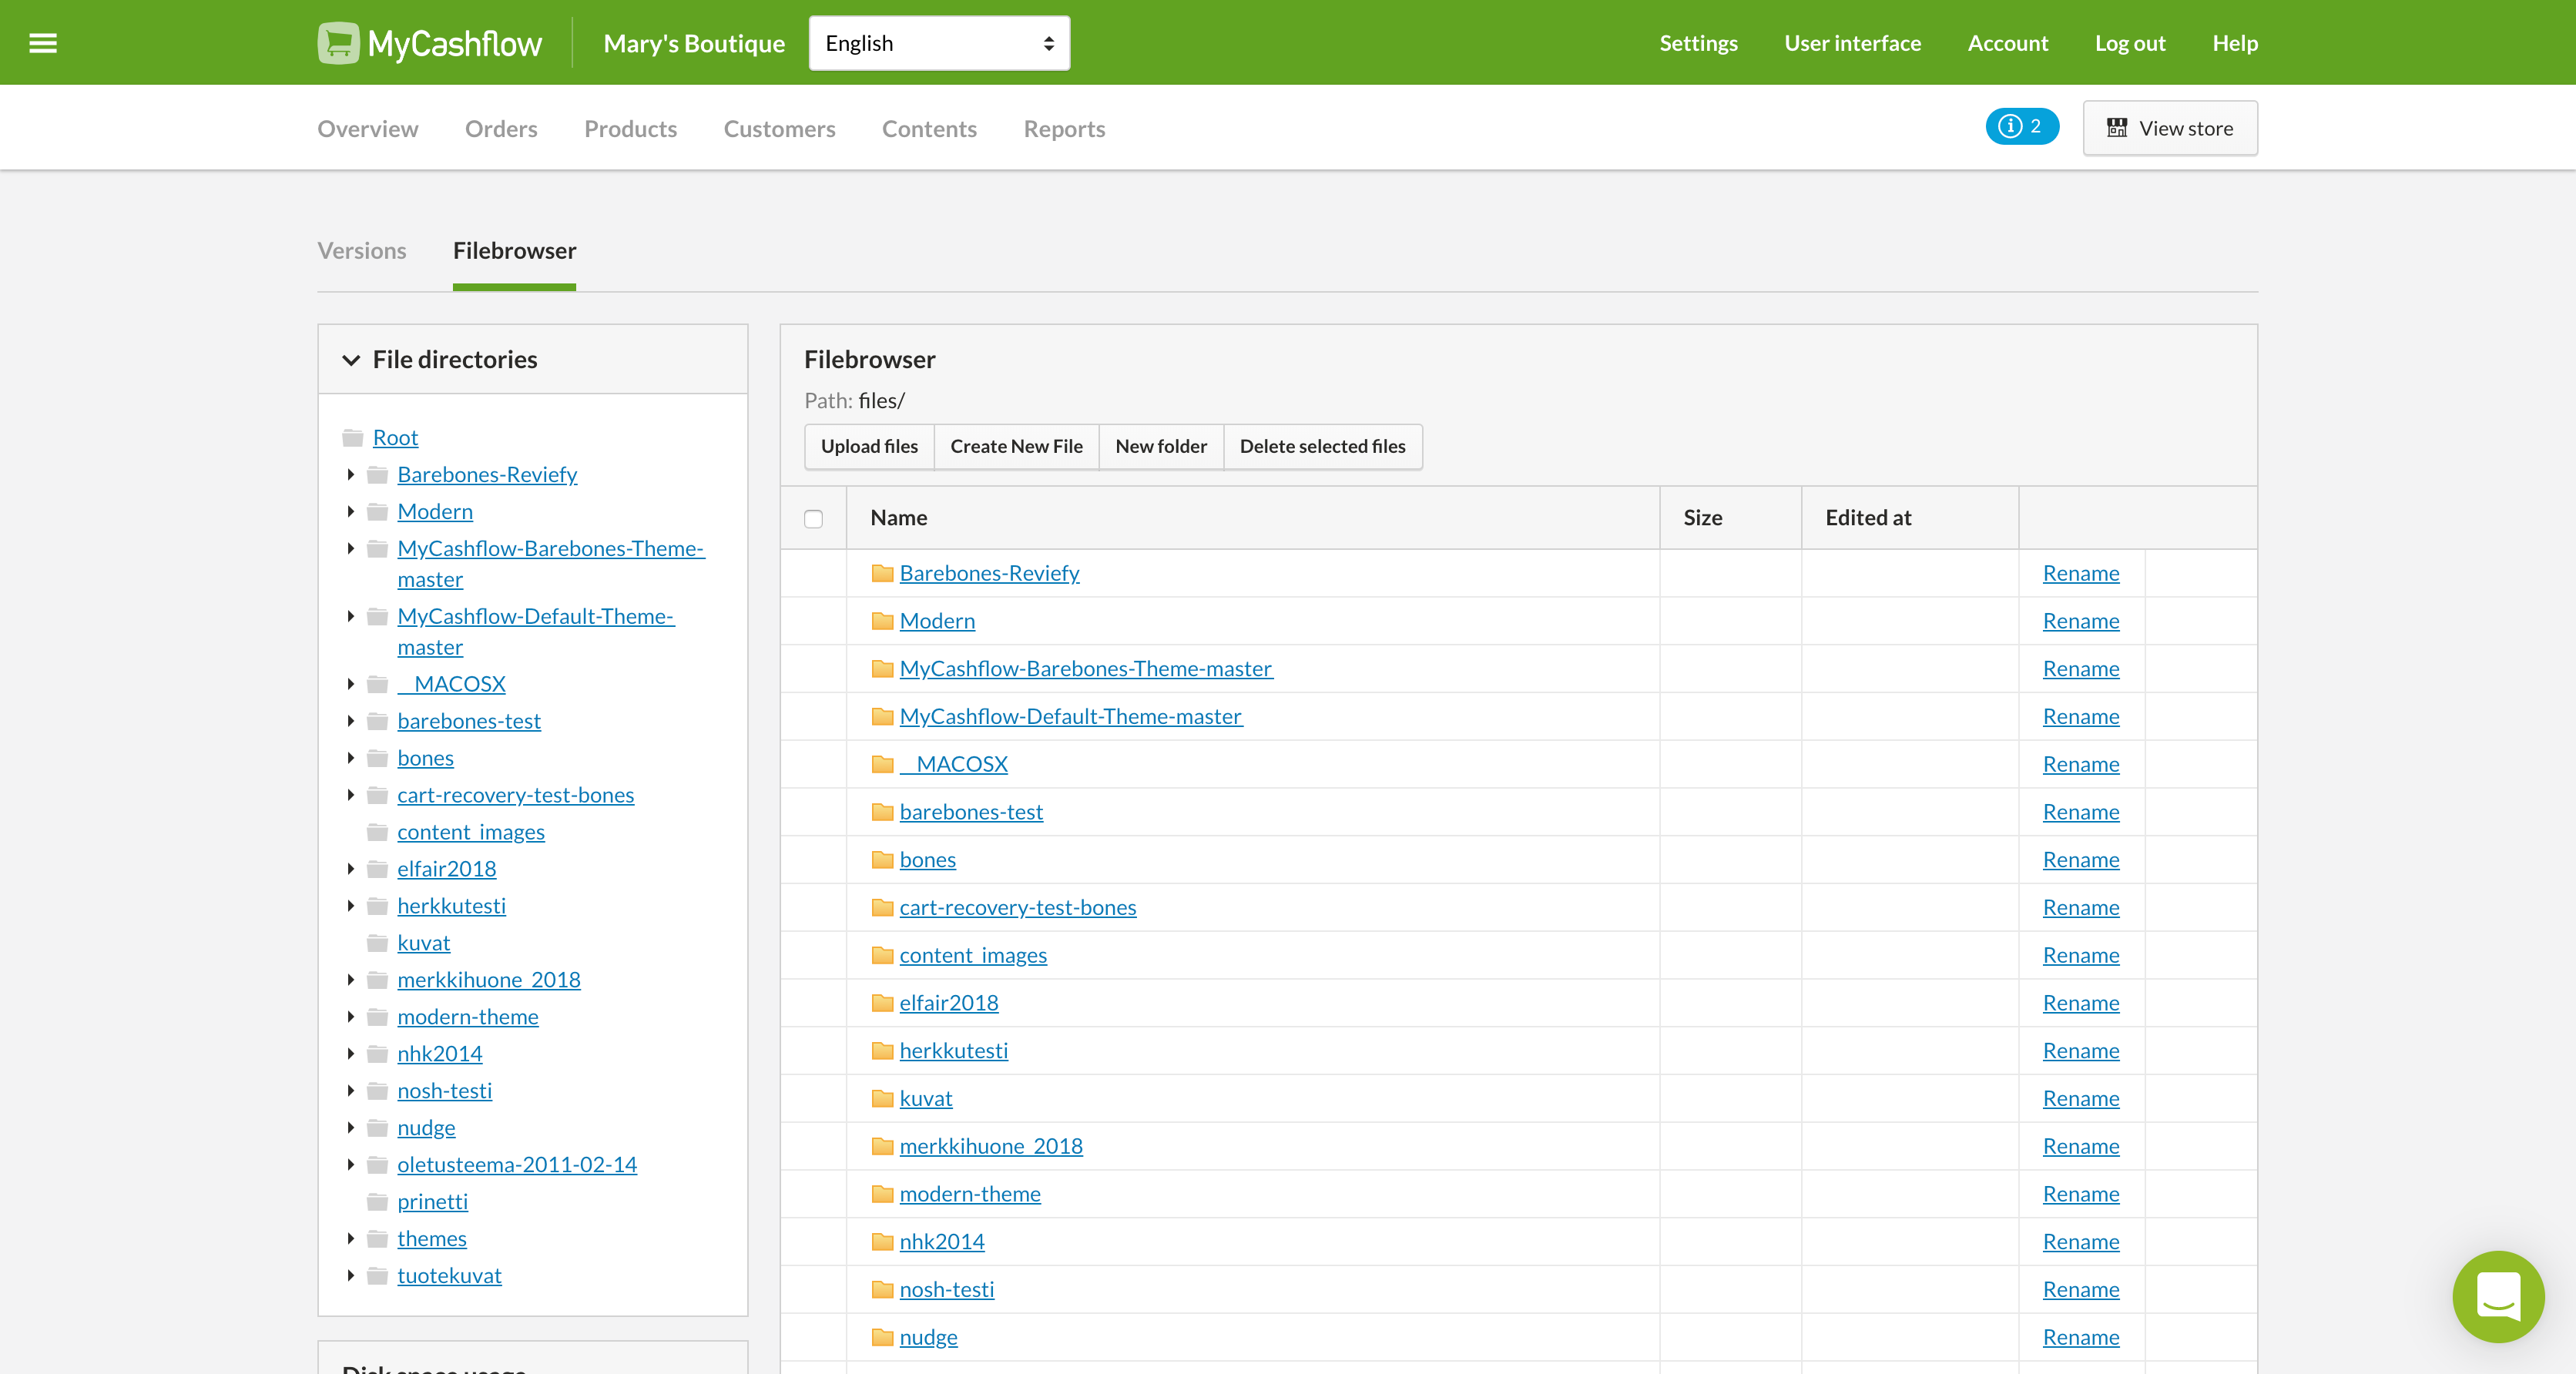
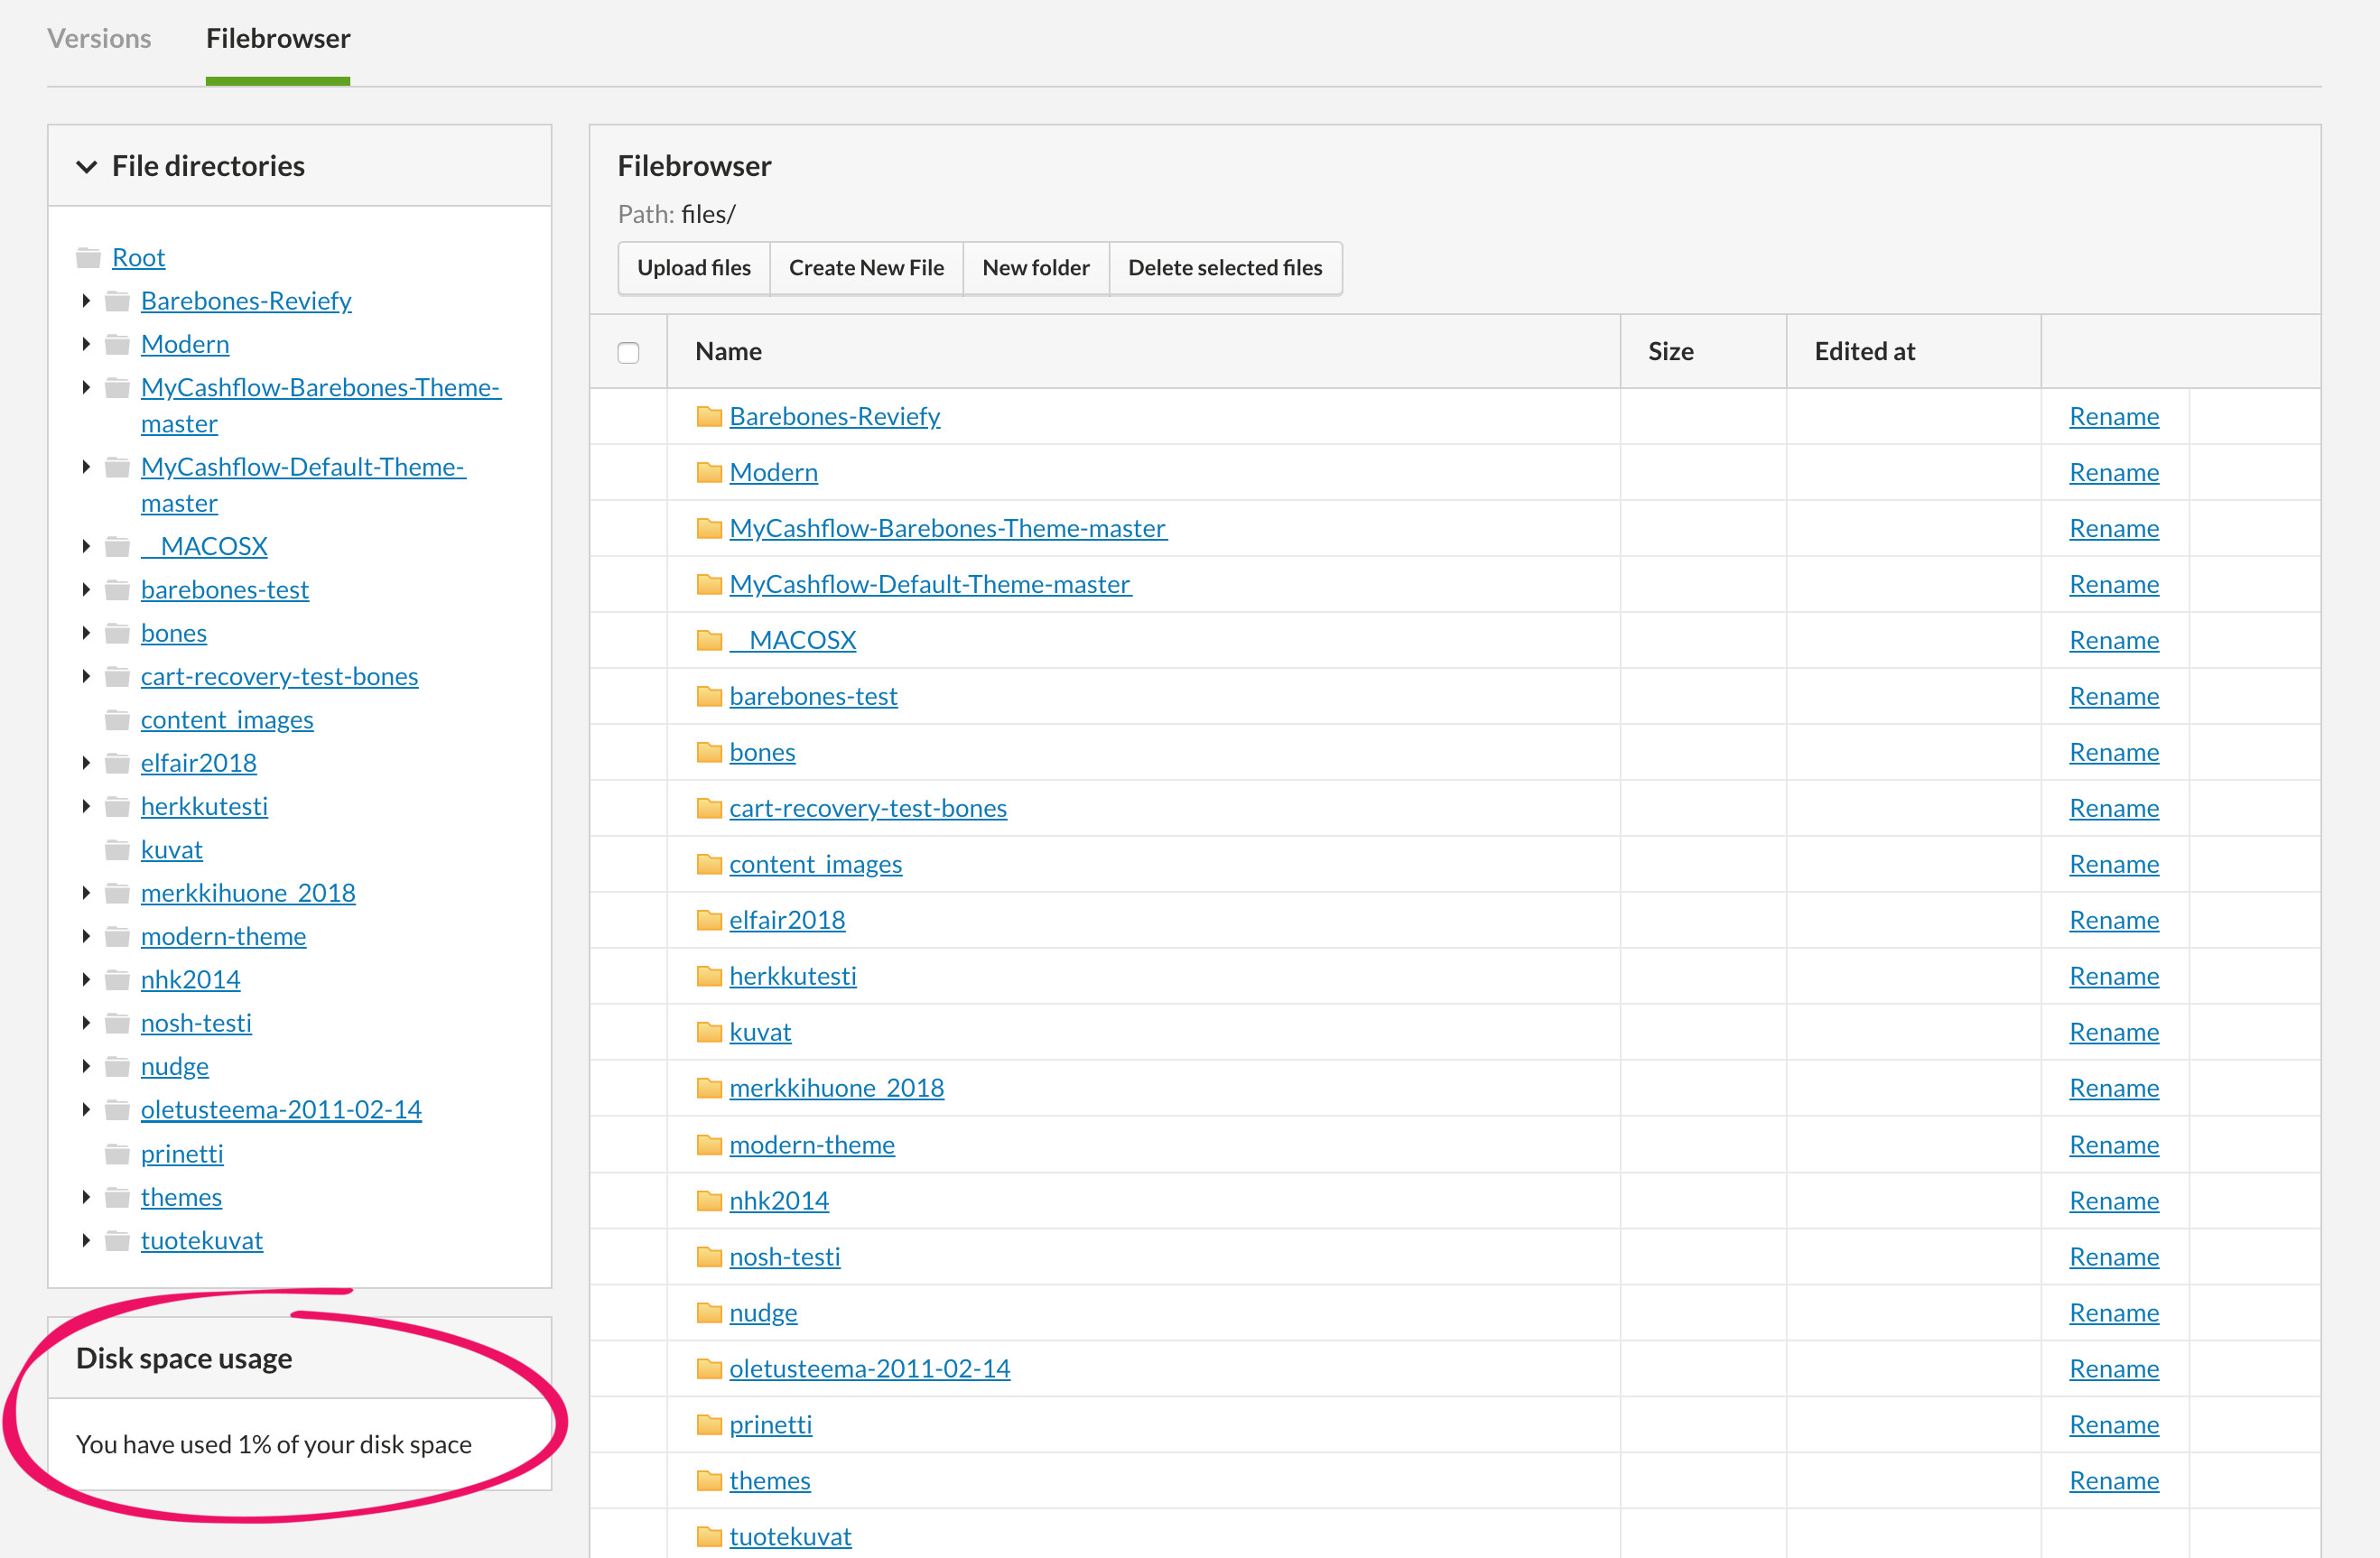
On the left side, you'll be also able to see your online store's file directories as a hierarchical list.

Adding files
In the MyCashflow file browser, you can easily upload files from your computer to your online store:
- In the file browser's top bar, click .

The web browser's file browser opens.
Moving files between folders
- Drag and drop the file on the desired folder.

To move the file level up, drag and drop it on the Parent folder link.
Creating folders
- Click .

Creating files
In the MyCashflow file browser, you can also create text files:
- In the file browser's top bar, click .

- Open the file that you've just created by clicking its name.
The MyCashflow file editor opens.

Editing and deleting files
You can edit any text file by simply clicking its name on the list in the file browser. To edit other types of files, download them to your computer, and, once you've made desired changes, upload them back to your online store.
Deleting a file cannot be canceled, and there is no way to restore a file that has been deleted.
When multiple files are to be deleted, MyCashflow doesn't ask for confirmation, and the files are deleted immediately.
To delete a single file, click the Delete link on the right sight of the file row.
To delete multiple files, select them and click in the folder toolbar.
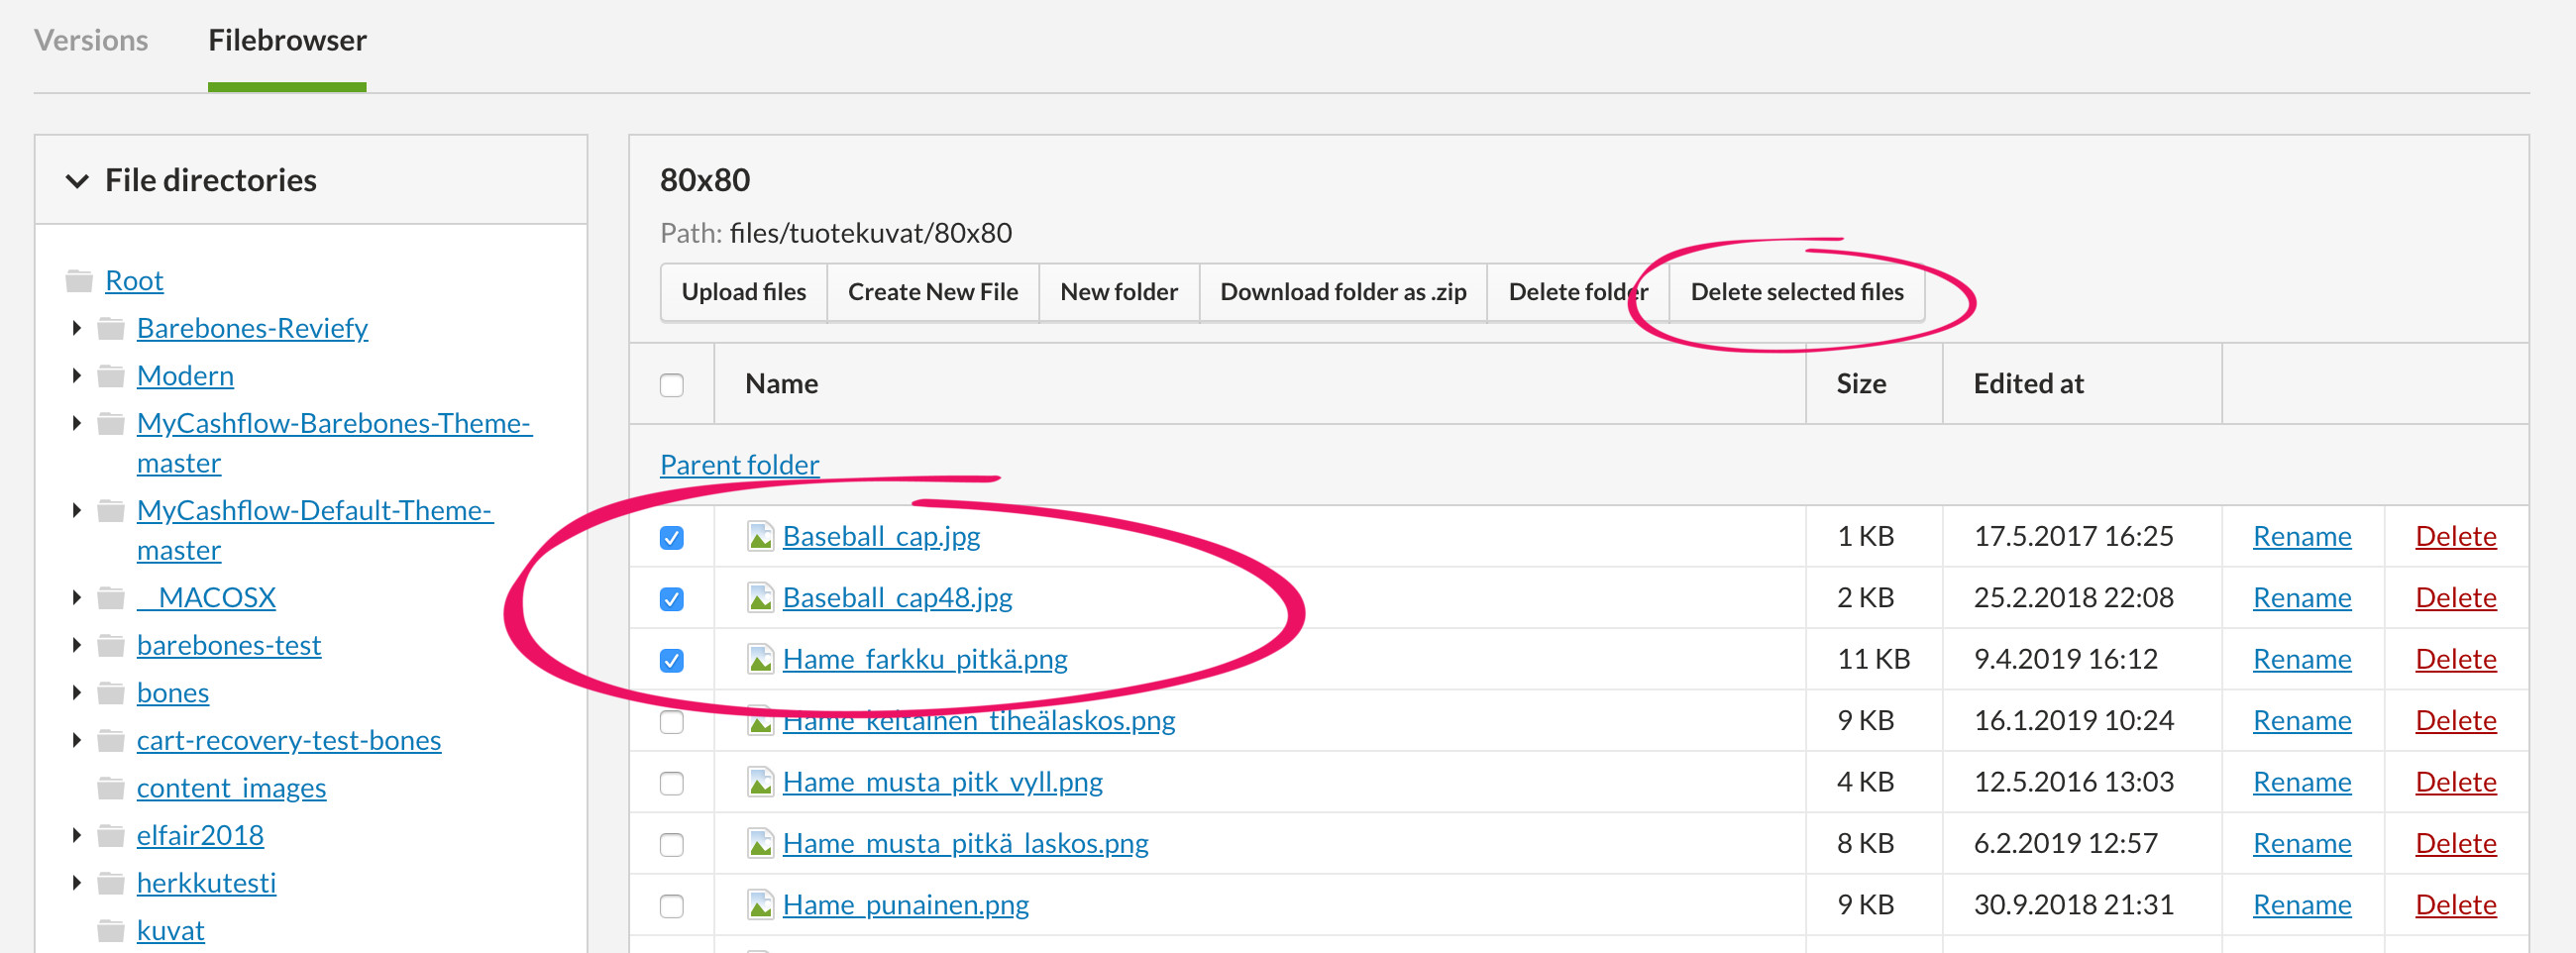
To delete all files from a folder, check the box in the heading row of the file list, and click .
Downloading files from a folder
You can download files from your online store's folders as a ZIP file.
- Go to the folder, and click .
