In MyCashflow, you can manage your online store's customer register in a highly flexible manner.
- Customers can register in your online store while placing an order. You can also add customers to the customer register through the admin panel.
- You can create campaigns as well as do email and SMS marketing aimed at particular customer groups.
To see your online store's registered customers and customer groups, in the admin panel, go to .
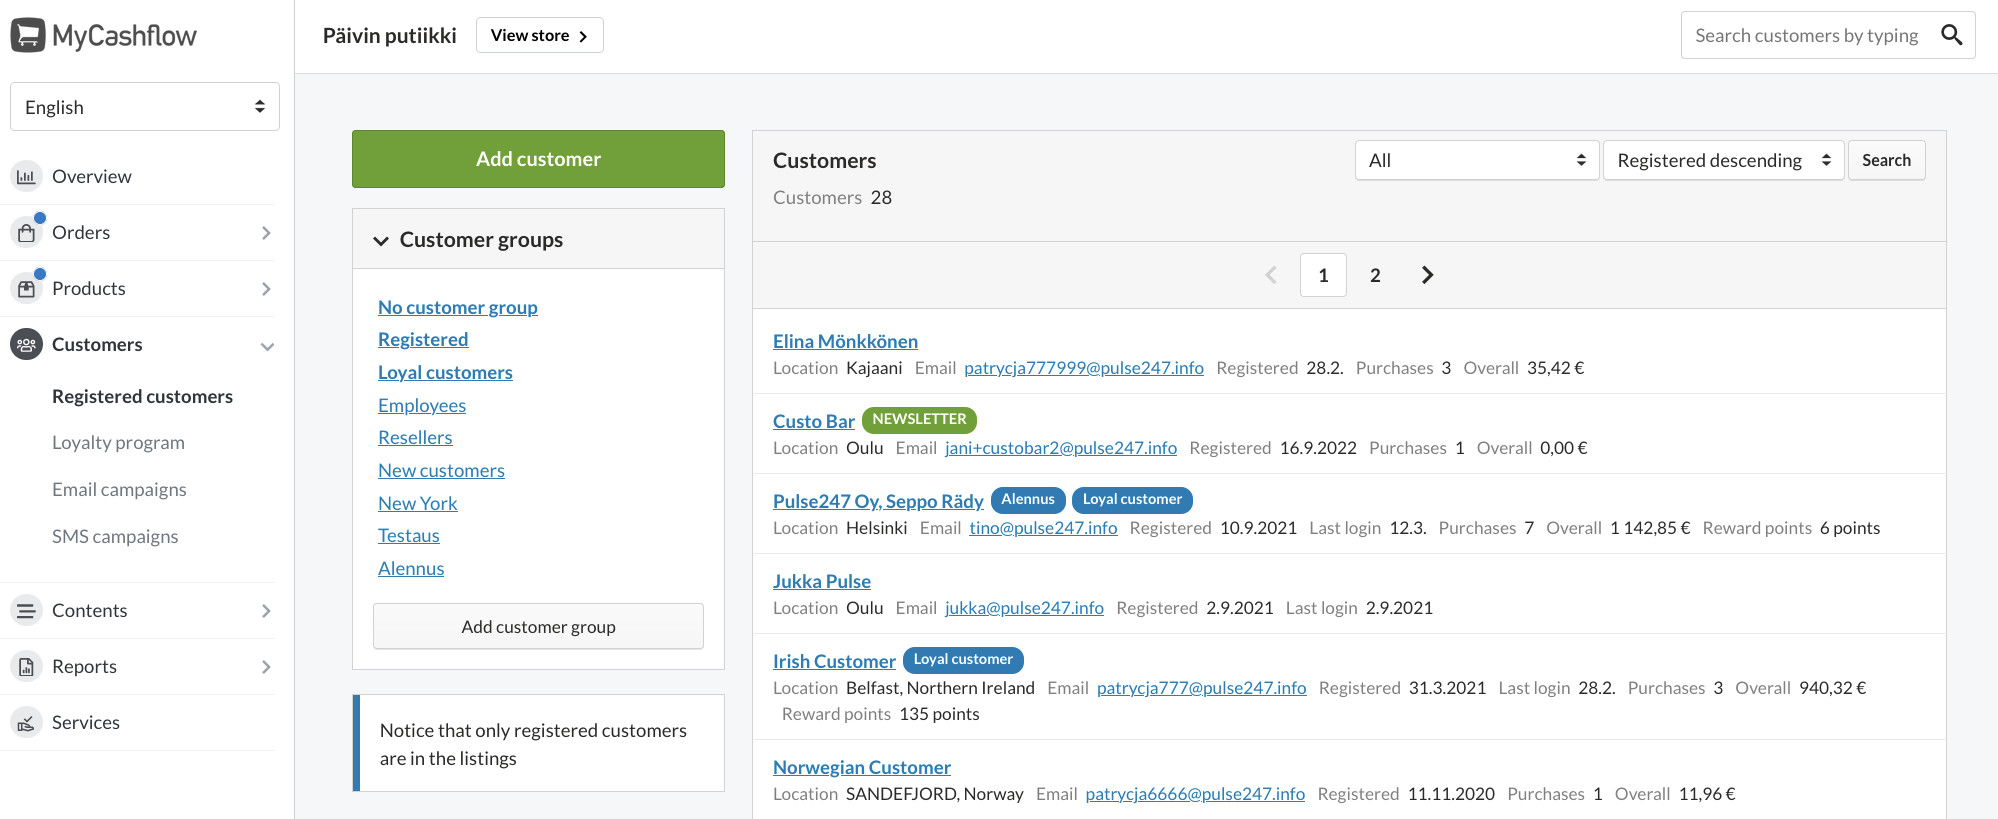
By tapping the customer's name on the customer list, you can open their personal and registration information.
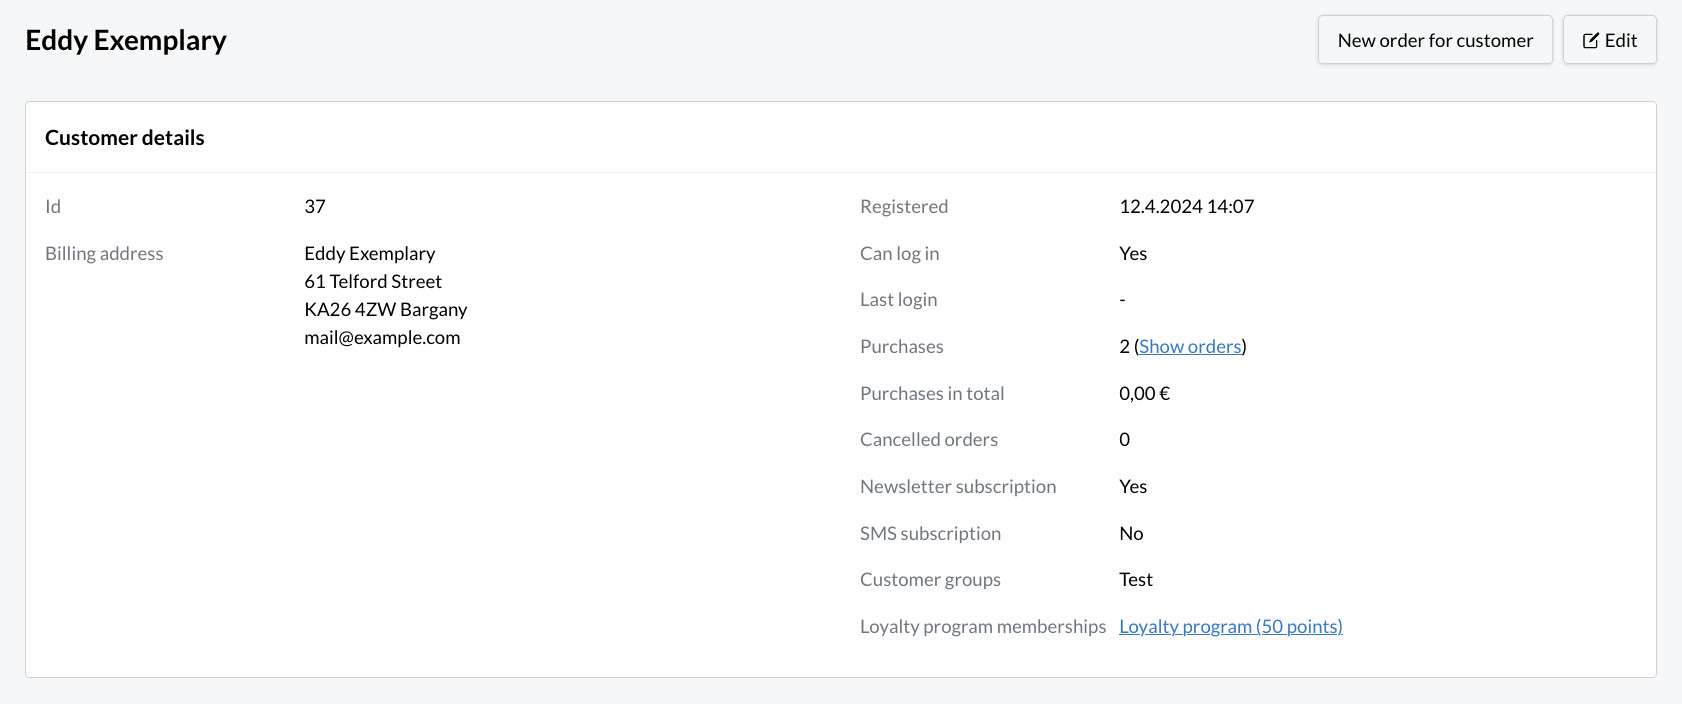
The Show orders link in the Purchases section will open a summary of all orders placed by the customer.
To edit customer information, press the button in the upper right corner of the view. Here you can also create a for the customer, the contents of which you can define yourself.