

With the Meta product feed, you can display your online store's products on Facebook and Instagram.
The Meta product feed is a file automatically generated from the product information of a selected store version, and its content is regularly transmitted to Meta commerce manager. The product feed also includes conversion tracking, which provides concrete information about the effectiveness of your advertising through Meta's tools.
The Meta product feed is part of the MyCashflow Product Feeds extension.
Ordering product feeds
Only an admin account can order product feeds.
Here's how to order a new version-specific Meta product feed for the online store:
Once you have completed the order, the feed details and address will be visible on the extension page. You can view the content of the feed by copying the feed URL into the browser's address bar. Note that not all browsers may be able to display large feeds.
Product feed content
The product feed includes information according to the parameters below for all products and variations visible in the store version.
In the feed product listing, parameters may appear in a different order than on this page and are not parsed into groups.
The prefix g for the parameter indicates that the name belongs to the Google Merchant Center namespace.
Basic product information and description
- g:title
- product name according to the product form (for variation products, by default, in addition to the main product name, the variation name according to the product card's Stock tab)
- g:id
- automatically determined product identifier (for variation products, both the main product and the variation identifier)
- g:item_group_id
- variation main product identifier separately (only in variation product information)
- g:link
- Product page URL address
- g:image_link
- Primary product image URL
- additional_image_link
- additional image URL (parameter can appear multiple times in the information of the same product.)
- g:description
- Product description and
- rich_text_description
- product description and detailed product information in HTML format
Manufacturer identifiers
- g:brand
- brand
- g:gtin
- EAN code or other GTIN identifier from the stock management settings section Barcode (the series of numbers must comply with the standard)
- g:mpn
- manufacturer's part number from the product form section Product code
- g:identifier_exists
- automatically determined information on the use of manufacturer identifiers
- The value is true if the product information contains at least g:gtin or both g:brand and g:mpn.
- The value is false if there is no manufacturer identifier in the product information or if there is only g:brand or only g:mpn.
Product classification and restrictions
- g:product_type
- product category path in the online store
- g:google_product_category
- Google product category number code
- g:gender
- target customer's gender (selectable from the product form section Search engine optimization , if the product's Google product category is Apparel & Accessories)
- g:age_group
- target customer's age group (selectable as well as gender)
- g:adult
- adult entertainment label
Price and delivery information
- g:price
- price
- g:sale_price
- Campaign price
- g:sale_price_effective_date
- Campaign period
- g:availability
- product availability
- g:shipping_weight
- The product's weight
Information determined by product features
The values of the following parameters are based on the product features you have defined:
- g:color
- COLOR
- g:size
- size
- g:material
- material
- g:pattern
- Pattern or graphic printing
- g:condition
- condition class (default new)
- additional_variant_attribute
- additional attribute (parameter can appear multiple times in the information of the same product.)
- LABEL
- additional attribute name
- value
- additional attribute value
- g:internal_label
- g:custom_label_0
- g:custom_label_1
- g:custom_label_2
- g:custom_label_3
- g:custom_label_4
- the identifier of the value of the additional attribute using the specified parameter separately.
Using product features to modify the contents of a product feed
With MyCashflow's product features, you can add product information to a feed that the feed does not natively support (such as an environmental certificate granted to the product or the product's inclusion in a specific discount campaign).
When you use product features to define, for example, product environmental certificates, first create a new product attribute using a custom identifier (such as eco_certificate). Activate the Display as product feature on product pages selection in the product attribute settings.
After this, add values to the product attribute with identifiers to specify environmental certificates.
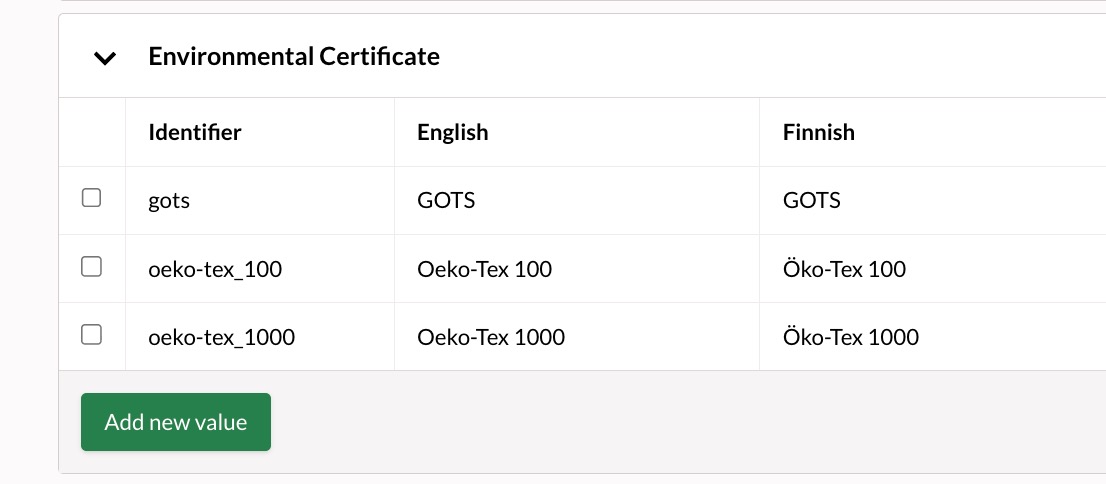
Finally, you can enable the product attribute as a product feature for products or variations. The product feature you specified will appear in the product feed when the feed is updated next time.
Examples
<additional_variant_attribute>
   <label>Environmental Certificate</label>
   <value>Öko-Tex 100</value>
</additional_variant_attribute>- optional identifiers
- identifiers of standard attributes
- internal identifiers or custom identifiers
Optional identifiers
An optional identifier for a product attribute is useful when the product feature does not correspond to any standard attribute supported by the product feed. You can format the optional identifier in any way you like (for example, the identifier for the Environmental Certificate attribute could be environmental_sertificate just as well as eco_certificate).
Identifiers of standard attributes
Certain product feed parameters correspond to the identifiers of the feed's standard attributes:
- color
- size
- material
- pattern
- condition
<g:color>blue</g:color>Internal or custom identifiers
If you define a product feature for internal store use only (for example, to group products included in a discount campaign), you can use an internal identifier supported by the feed or a custom identifier as the product attribute identifier:
- internal_label
- custom_label_0
- custom_label_1
- custom_label_2
- custom_label_3
- custom_label_4
If a product attribute uses a custom identifier of the custom_label type, it can have only one value per product in the feed. Instead, a product attribute using an internal label identifier can have multiple values.
Meta recommends using the internal_label identifier instead of custom_label, as adding or updating it does not trigger Meta's policy review, which could potentially hinder ad visibility, at least temporarily.
If a product attribute uses an internal_label or custom_label identifier, the identifier of the attribute value is also included in the feed as a separate element. As identifiers for attribute values, for example, outlet and spring_2025 would appear in the feed as follows:
<g:internal_label>outlet</g:internal_label><g:internal_label>spring_2025</g:internal_label>
<g:custom_label_0>outlet</g:custom_label_0><g:custom_label_1>spring_2025</g:custom_label_1>The Meta product feed settings
Using the product feed settings you can define the products' shipping countries and define the naming convention of variations in the feed.
Shipping countries
The product feed automatically uses the store version's language and default currency. By defining the delivery countries in the settings, you can provide the customer with more information about the product.
The list below shows the countries where you can advertise your products using the Meta product feed. You can target the feed to any country you choose, regardless of the store version and language.
- Netherlands*
- Australia
- Belgium*
- Spain
- Ireland
- Italy
- Austria*
- Greece
- Latvia
- Lithuania
- Luxemburg
- Portugali
- France
- Sweden**
- Germany
- Slovakia
- Finland**
- Denmark
- Estonia
* you must offer home delivery for the products on offer.
** you must offer home delivery or pickup from a pickup point for the products on offer.
If a country you are interested in is missing from the table, please contact the MyCashflow customer support via the admin panel's chat feature, for example. We can explore the possibility of expanding country support.
Main product name as the variation name
If you activate the Use the main product name as the variation product name setting, the name of each variation product in the feed will be the same as the main product (e.g., T-shirt). Otherwise, the name of the variation product includes the name of the main product in addition to the name of the variation (e.g., T-shirt – XS, where the name of the variation is the size designation).
Specifying the language and currency of a product feed
You can specify the language and currency of your product feed according to the target country, which will make your ads more efficient in this country.
Here's how to specify the language and currency according to the target country:
When you specify store version settings according to the instructions above, your customers will see the same information and prices both in the ads that appear in Meta networks and in your online store.
Enabling the Meta conversion tracking and product catalog
To enable the Meta product catalog and conversion tracking, you need
a Meta Business Manager account
a Meta ad account
a Meta dataset, to which conversion tracking events are sent from the online store
a Meta product catalog, to which the online store's product feed is connected through the Meta data feed.
This guide will go through how to
- create and connect the Meta dataset with the ad account
- set up the Meta pixel and conversions API for the dataset
- connect the Meta dataset to the product feed in the online store
- create and connect the Meta product catalog to the product feed in the online store.
Once you have ordered the Meta feeds you need for the online store, you can connect a Meta product feed to the product catalog in Meta Business Manager and enable the Meta conversion tracking in the online store.
1/5 Obtaining a product feed URL
In order to connect a product feed to the Meta product catalog, you need the Meta feed's URL from the online store's admin panel:
Next, you can create a new product catalog in Meta and attach the product feed address to its settings.
Creating and connecting a dataset to an ad account
This section covers functions outside of MyCashflow. If you notice that any part is outdated, see Meta's guide to creating and managing datasets.
You can report missing information using the page's feedback function.
To set up conversion tracking, you will need the Meta dataset ID and the Meta conversions API access token. You get these identifiers by creating a new dataset in Meta Business Manager. The completed credentials must be entered into your desired Meta product feed's conversion settings in the store's admin panel.
Now you can configure the settings by following these steps:
The dataset is now linked to your Meta ad account. The details of the dataset you created are visible on the page.
3/5 Setting up the Meta pixel and Conversions API for the dataset
This section covers functions outside of MyCashflow. If you notice that something is outdated, check Meta's instructions for using the Meta Pixel and Conversions API.
You can report missing information using the page's feedback function.
4/5: Connecting the dataset to a product feed in the online store
- Open the desired Meta feed's conversion settings and attach the dataset ID and access token you copied into the settings.

5/5 Creating and connecting a Meta product catalog to a product feed
This section covers functions outside of MyCashflow. If you notice that something is outdated, check Meta's guide to managing product catalogs.
You can report missing information using the page's feedback function.
- Go through the side bar to the page .
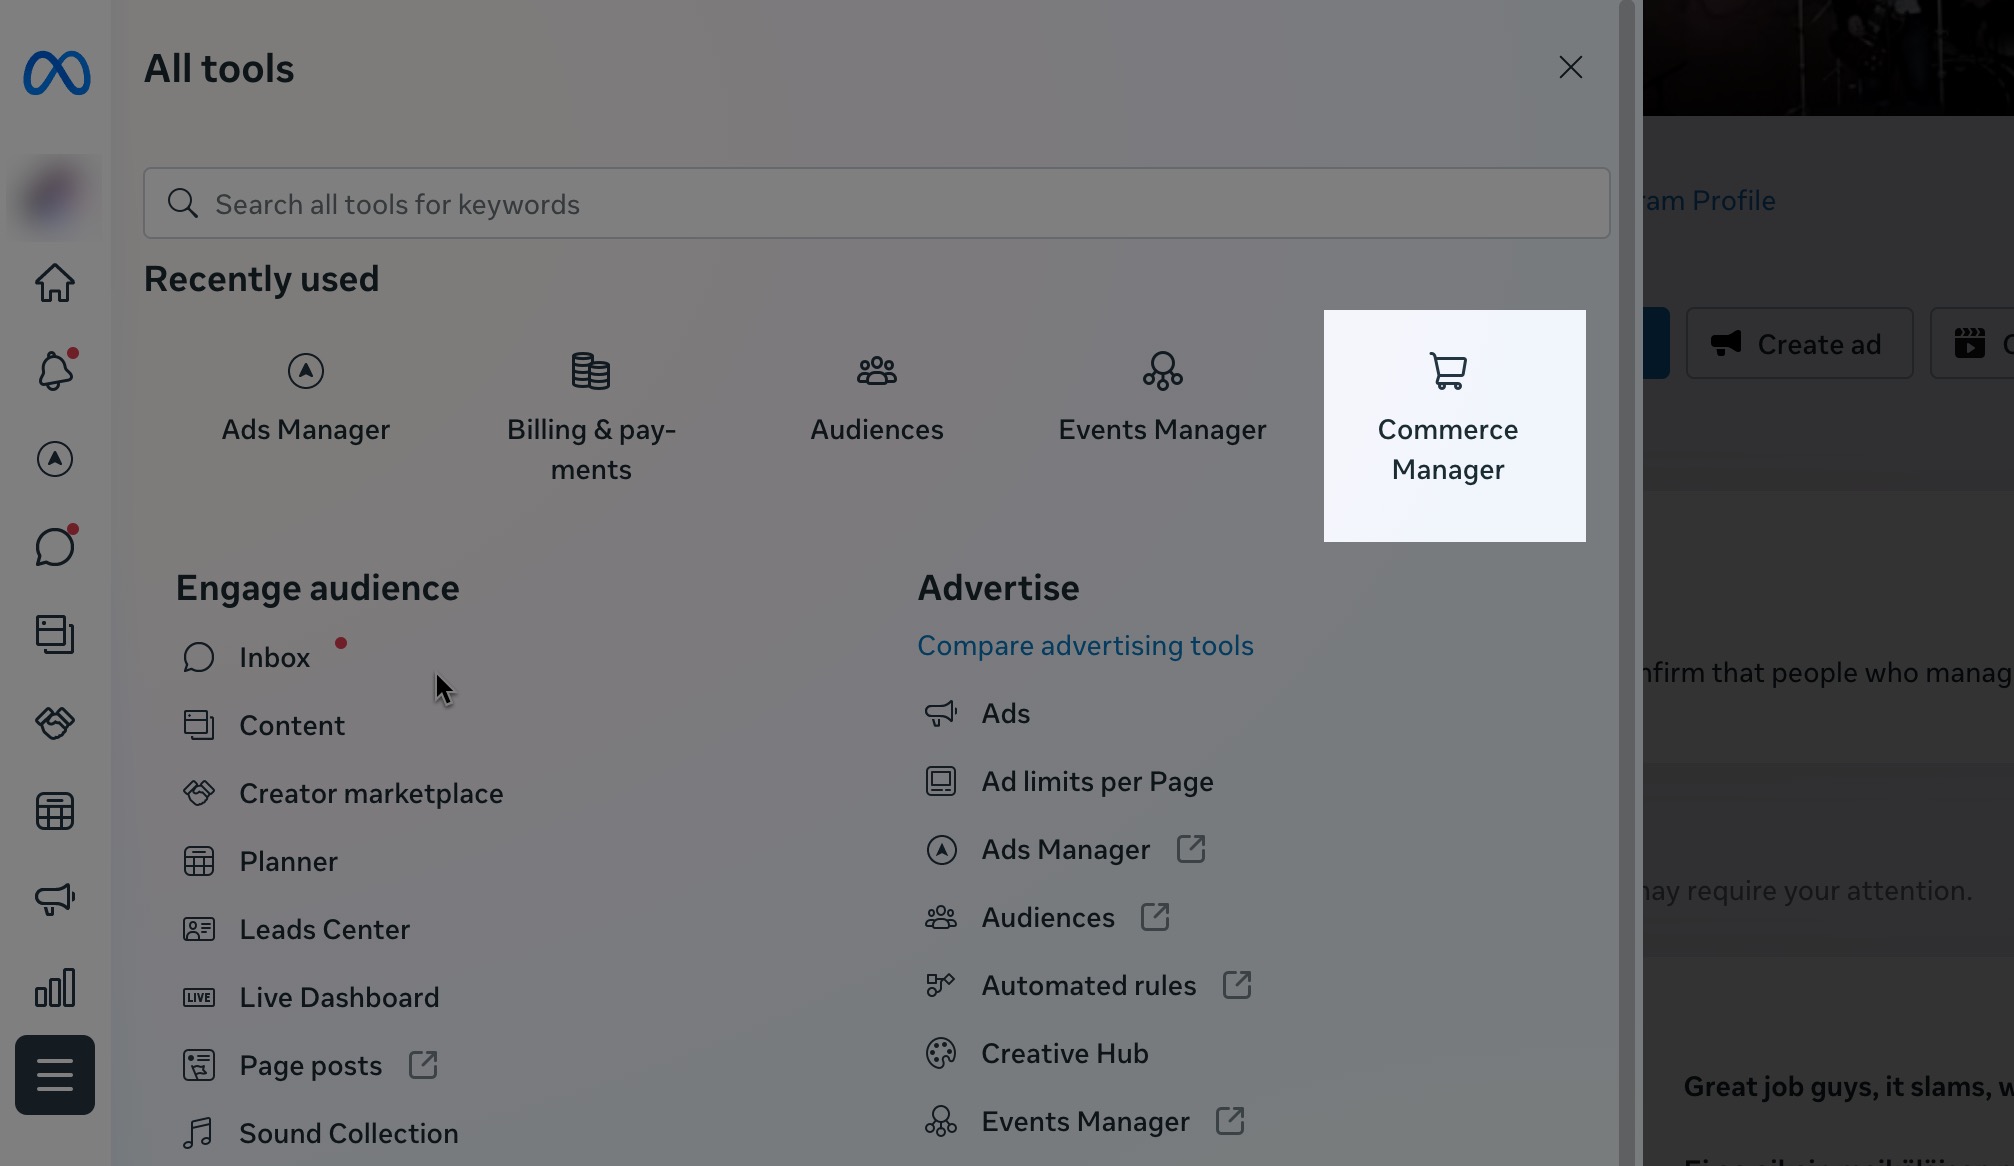
Once you have saved the settings, the first synchronization of the store version products to Facebook will begin.
In Meta Business Manager, you can add a dataset to the settings for automatic site matching search. This way, you can automatically match your customers' data to Meta users based on the information they have provided (e.g., email address or phone number).
The Meta product feed's conversion events
With meta-conversion tracking, your online store's events are transmitted to a data set in Meta Commerce Manager. This is how you can determine, for example, how many customers have visited your online store by following an ad link seen on Meta's channels and then placed an order. Conversion tracking transmits data to Meta's system through both the Conversions API and the Meta Pixel.
Conversion tracking is included in the MyCashflow Meta product feed, and you can enable it by adding the Meta dataset ID and Meta Conversions API access token to the Meta product feed's conversion settings.
Meta conversion tracking covers the following information:
- event name ()
- event time
- event source ('website')
- event-specific parameters
- user data.
Event data included in conversion tracking:
| Event name | Event description | Conversion method | Parameters |
|---|---|---|---|
| PageView | viewing any page | browser (Meta Pixel) | |
| ViewContent | product page view | browser (Meta Pixel) server (Conversions API) |
|
| AddToWishlist | adding to the wish list | browser (Meta Pixel) server (Conversions API) |
|
| AddToCart | adding to cart | browser (Meta Pixel) server (Conversions API) |
|
| InitiateCheckout | going to the checkout () | browser (Meta Pixel) server (Conversions API) |
|
| AddPaymentInfo | adding payment information | server (Conversions API) |
|
| Purchase | completing an order | browser (Meta Pixel) server (Conversions API) |
|
| Lead | Subscribing to the newsletter | server (Conversions API) |
|
| CompleteRegistration | Customer registration | server (Conversions API) | event_id |
In connection with Conversion API events, the following user data is transmitted if available:
browser identifier (fbp)
click ID (fbc)
IP-address
user agent
customer number
email address (distributed)
phone number (distributed)
first name (distributed)
surname (distributed)
city (distributed)
postal code (distributed)
country (distributed)
Updating the product feed
Product feeds are updated automatically once a day in the early morning. Changes made to products in the online store or additions or deletions of products are therefore not immediately visible in the feeds.
You can also update the product feed manually on the admin panel's page by pressing the  button next to the feed to be updated. You can update the feed once every 30 minutes.
Deleting a product feed
Here's how to delete a product feed from a version and terminate the associated advertising:
The advertising associated with the deleted product feed will cease once the ad service's bot next time checks the updates for your product feeds.
Frequently Asked Questions
Solutions for issues related to Meta product feed and conversion tracking.
Why are only PageView events logging into Facebook?
If no conversion events other than PageView are recorded into Facebook, the Meta Conversions API access token is probably incorrect or missing from the product feed's conversion settings in the MyCashflow admin panel.
Recording PageView events works with the dataset ID, so if only PageView events go through, the dataset ID is probably correct, but the API access token is wrong.
Why are no conversion events being logged into Facebook?
If Facebook does not record any conversion events from the online store, check that the credentials are correct in the Meta feed conversion settings.
Make sure to use the dataset ID in the settings (the owner ID is not used for anything in the Meta feed conversion settings).
