In this article you'll learn how to create new brands as well as how to edit the brands that already exist in your online store.
There are two ways of creating brands:
- via the Brands menu on the page or
- via the product form when adding or editing a product.
Adding brands via the menu
To add a brand via the Brands menu:
Adding brands via the product form
To add a brand while adding or editing a product:
After creating a brand, you can start adding products to it.
Editing brands
To edit an already existing brand:
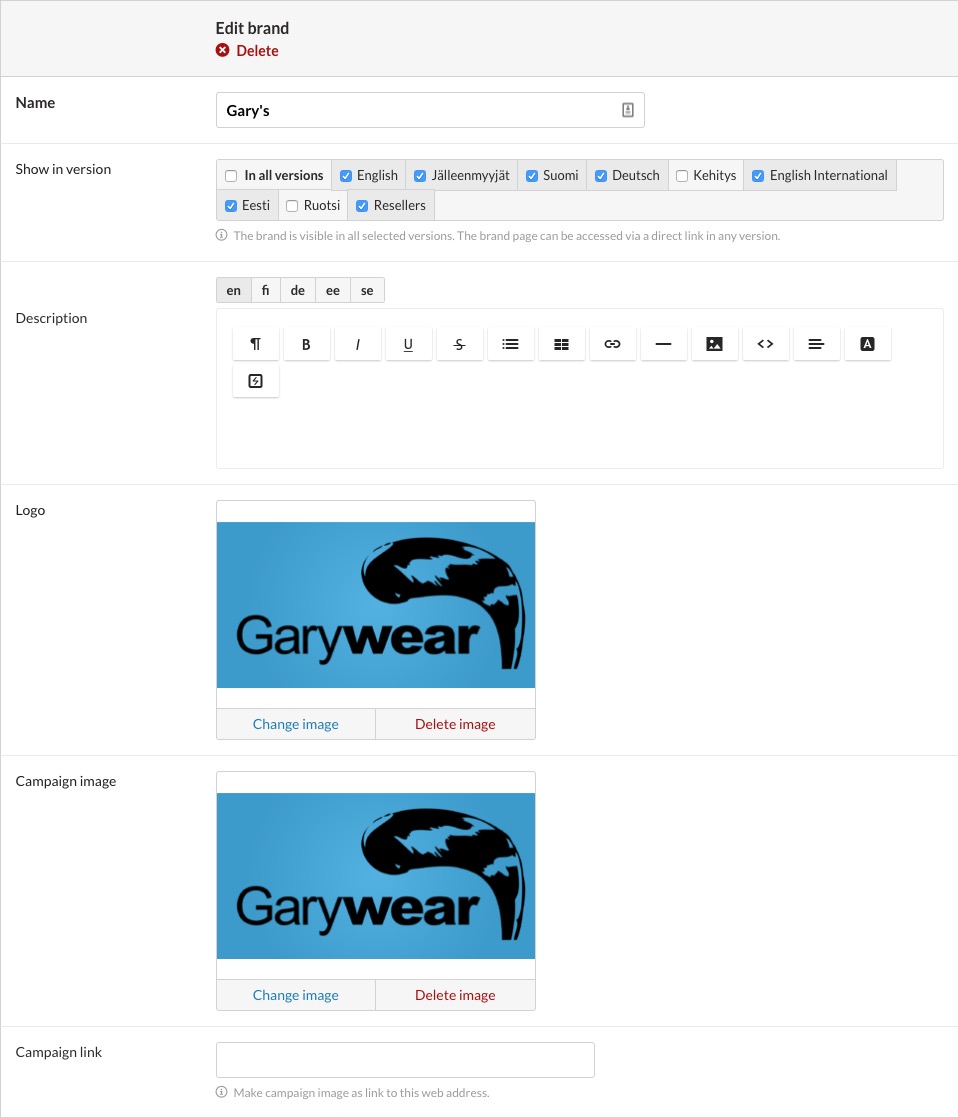
The brand form and its fields

- Name (required): the brand name that will be displayed in places such as on navigation lists and in the heading of the brand's page.
- Show in version (required): select the store version in which the brand should be visible. You must select at least one version so that the brand will be visible to visitors to your online store.
- Description: describe the brand. Present the brand and its products here on a general level. In the text make sure that you use keywords that are relevant to the brand to increase the page's search engine visibility.
See also tips for optimizing your online store for search engines ›
- Logo: add the brand's logo. In a theme, the logo can be displayed on navigation lists, for example. In the default theme, the logo is displayed on brand pages.
- Campaign image: add an image file which, in the default theme, will be used for creating a banner on the brand page.
- Campaign link: the campaign image can be turned into a link, either to another page in your online store or to an external destination. Make sure that you enter internal links in the following format:
/page/5.
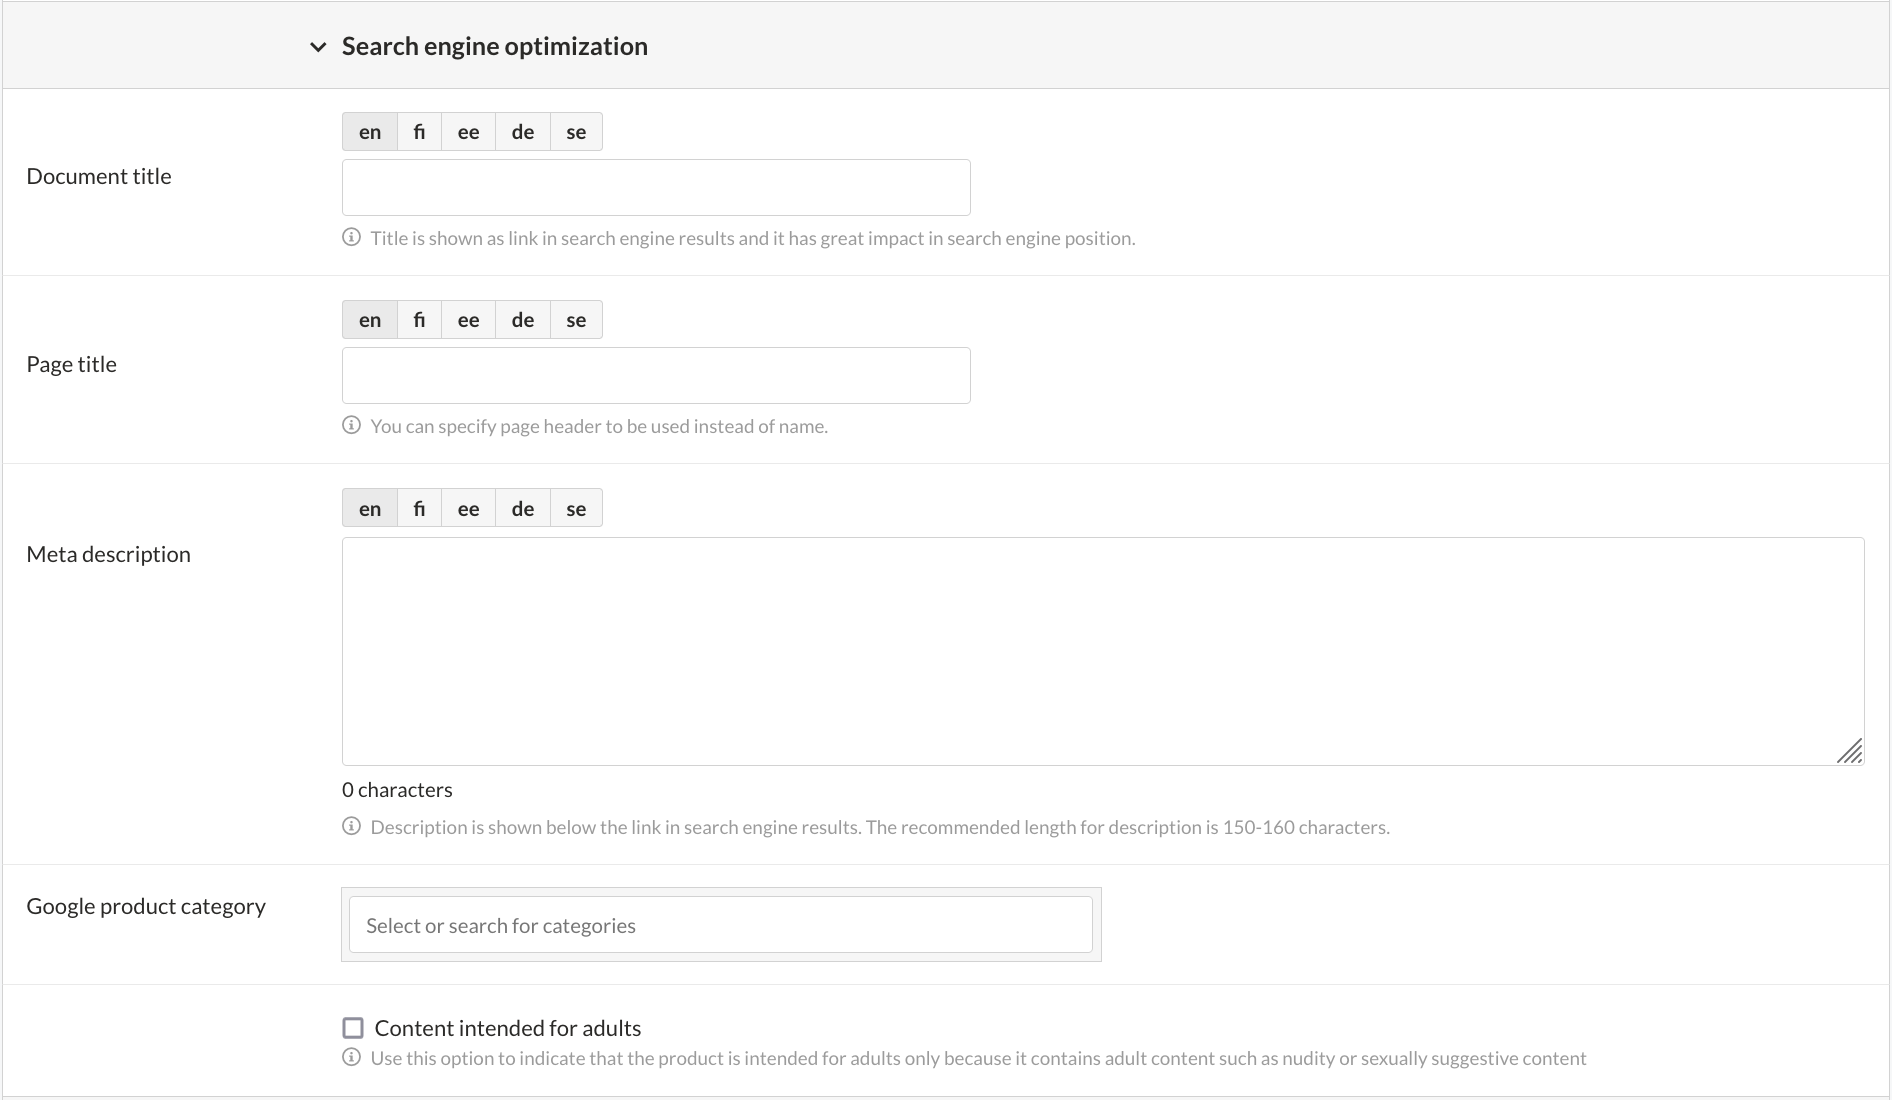
Search engine optimization
If you have installed the Web Designer extension, in the Search Engine Optimisation section you can specify the document and page titles and meta description that will appear in search engine results. (Find out more about optimizing your MyCashflow online store for search engines)

The page title serves as the content header on the online store's product page, while the document title is included in the tab label at the top of the browser window or below the address bar. If you leave the title empty, MyCashflow will use the product name as its substitute.
In addition to search engine optimisation, you can set a Google product category for product feeds or ads and, if necessary, mark the product as adult content.
Template file
If your online store has the Web Designer extension, you will also see the a Template file section on the form, where you can choose an alternative page template (if one is included in the store theme).


