
The Google Search Console tools provide you with a useful insight into your website's search terms, traffic, and ranking in Google's search results.
The information provided by the service is especially useful when working on a website's search engine visibility.
Pricing
Using the service is free of charge.
Installation and setup
Extensions are not available in MyCashflow Free plan.
To enable the Search Console, you must have an active Google account. For instance, if you've ever set up a Google email account for yourself, you have a Google account.
See also Google Search Console Help Center.
Verifying ownership using Google Analytics
It is primarily recommended to verify ownership in Search Console by linking Search Console to Google Analytics.
Verifying ownership by using the Google Search Console extension
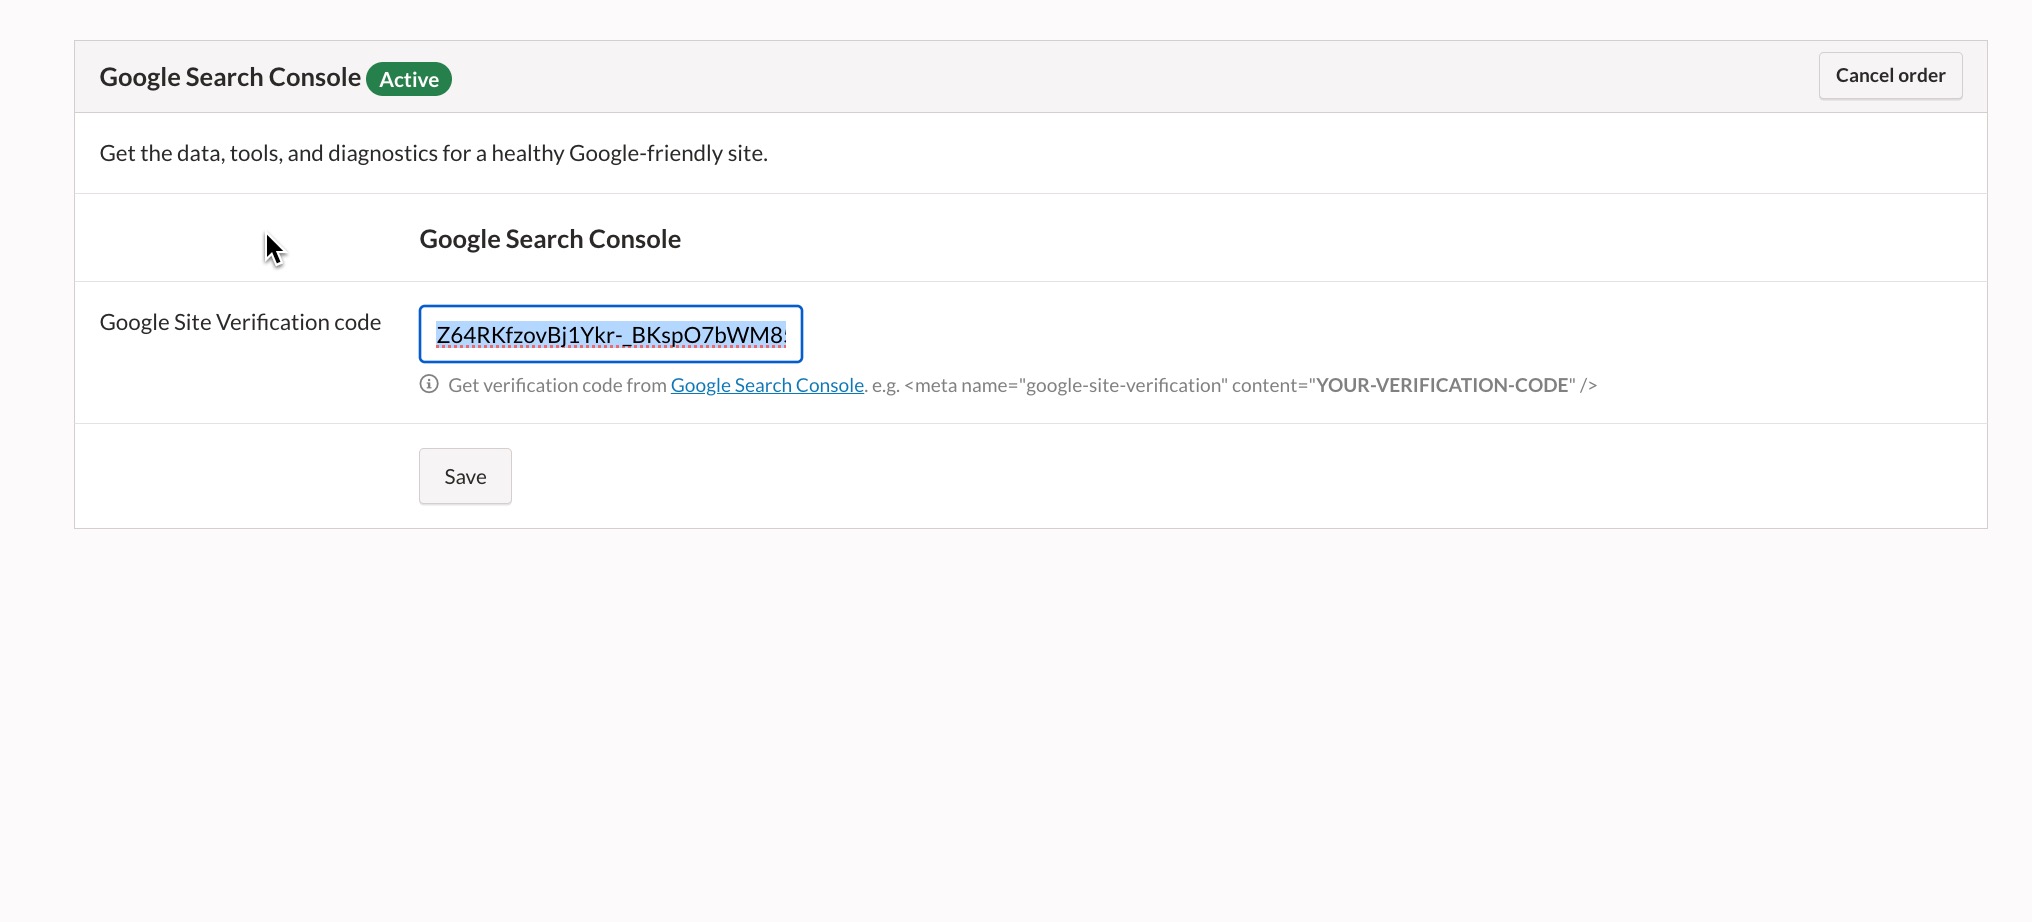
We recommend linking to Google Analytics as the primary verification method, but if this is not possible, you can enter the verification code from your Search Console account into the settings of the MyCashflow Search Console extension.
The {Extensions} tag must be found in the online store theme to enable using the extension.
- First, choose according to the following options whether you are using existing network assets or creating a new one:
- I have a verified web property: Go to Search Console management, select the property, and go to the page . Copy the necessary code from the section HTML tag.
The code is in the format Ecg42O_FJMqwhuCWTHVpzEXWb9uu7J_9V70hovFN5ns
- I am creating a new web property: In the creation process, select URL as the type and enter the online store's address (including the protocol, e.g., https://www.example.com). Select HTML tag as the verification method and copy the code provided by the page into a separate text file, for example.
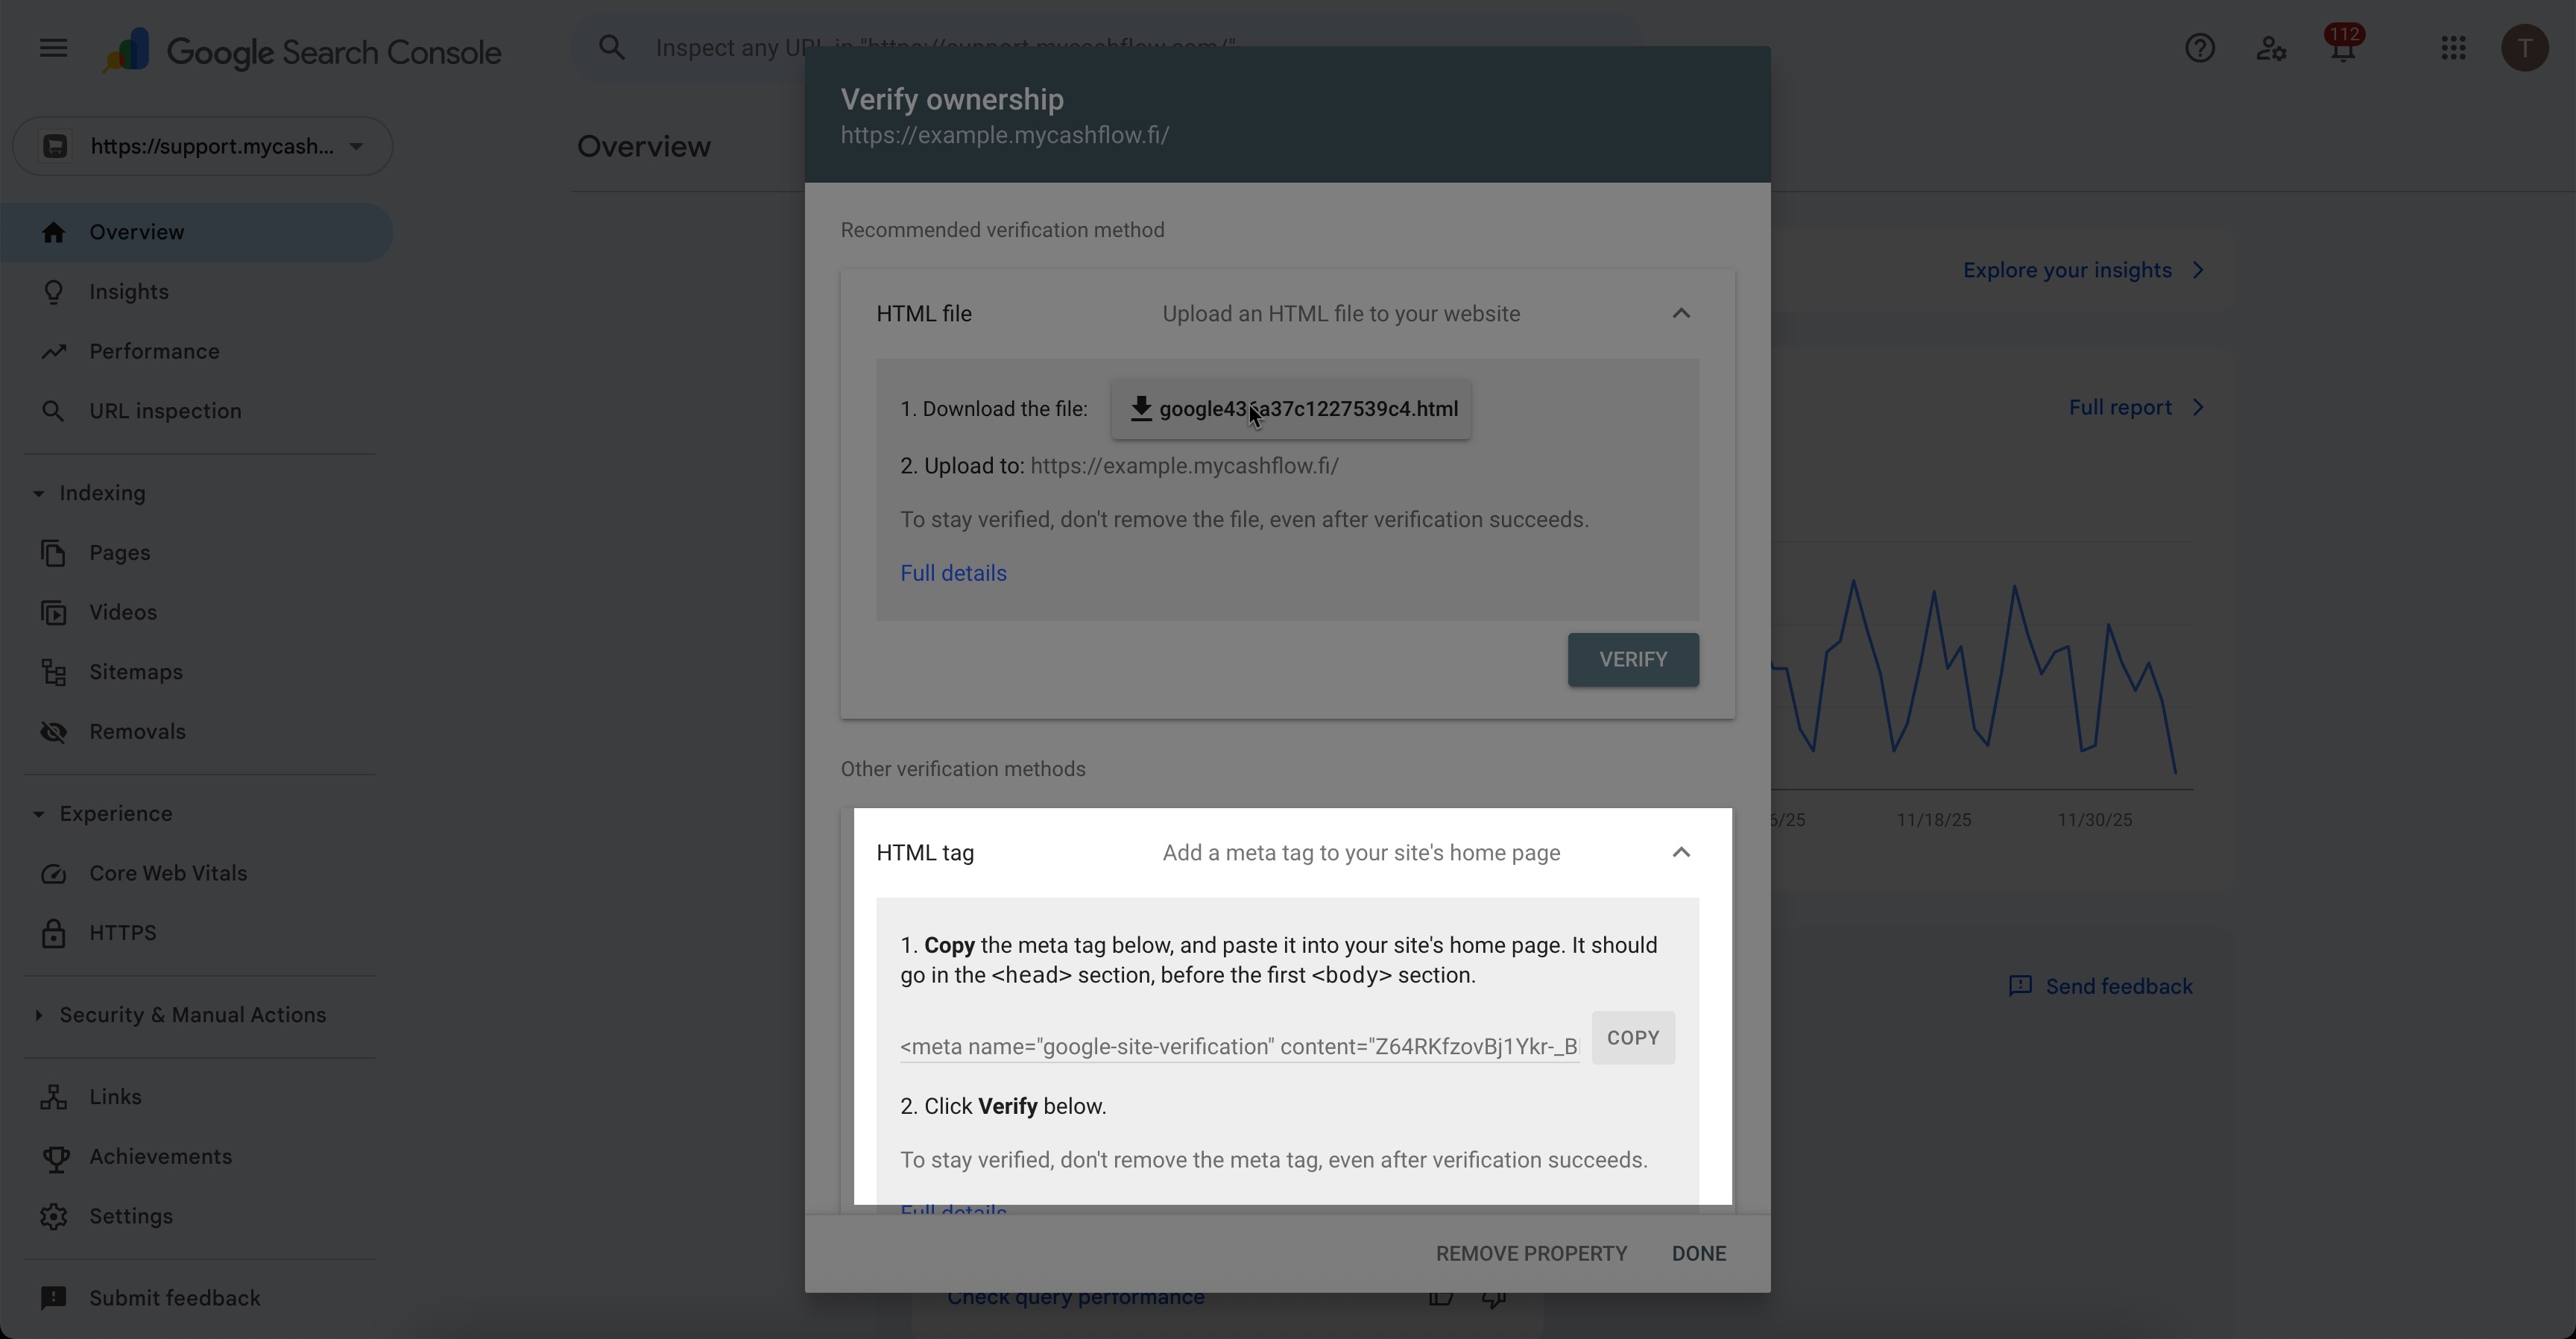
- I have a verified web property: Go to Search Console management, select the property, and go to the page . Copy the necessary code from the section HTML tag.
- Go to the MyCashflow admin panel's page and paste the verification code in the extension settings.
Verifying ownership by using an HTML file
Primarily, you should verify your account via Google Analytics or by providing Search Console's verification code in the extension settings (see Installation and activation).
You may want to verify via an HTML code only if you plan to use multiple Search Console accounts in different versions of your MyCashflow online store. But in such case it may anyways be better to verify via a separate Analytics account.
If you'd like to avoid entering the verification code in the settings for the Google Search Console extension for some reason, you can also verify by adding the Search Console HTML file to your online store's file directory.
To do so, you'll need the MyCashflow Redirects extension.
- Create a new redirect with the following details:

- Source address: /verification_file_name.html
Target address: /files/verification_files_name.html
Make sure that the file names in source and target address are identical.
SSL-encrypted domains and subdomains
Search Console interprets encrypted domains and subdomains as separate sites.
Once you have enabled encryption on the domain or added a subdomain, add them as new web properties in Search Console.
E.g. A single domain with SSL encryption should be added as four websites in the Search Console:
- http://www.example.com
- https://www.example.com
- http://example.com
- https:/example.com
Also remember to add a new sitemap to Search Console for each domain.