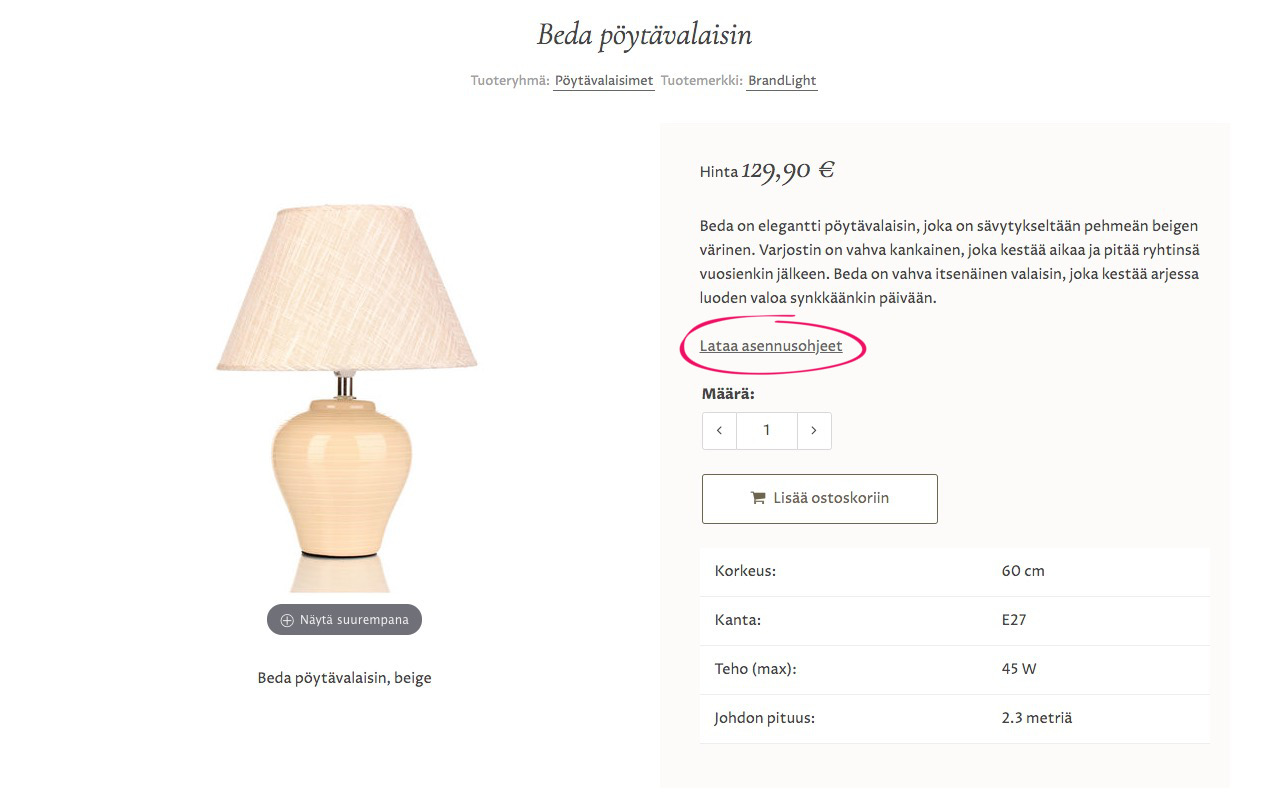
MyCashflow includes a CSV-based product document tool for adding free for download product documents to product pages (such as PDF guides or brochures).
The feature is still under development
While it is already possible to use product documents in MyCashflow online stores, you should be aware that the way they work can still change in the future. To stay up to date with all changes, follow our changelog.
Displaying product documents on product pages requires adding support for them to your store theme. See how to add theme support for product documents.
If you'd like to add files that customers can download only after purchasing the product, check out downloadable products.
When necessary, you can also add product documents to product pages by using the text editor.
Adding product documents to products
You can add product documents to products by using CSV import:
If the support for product documents has been added to your store theme, the imported documents will be available on the product page at the location defined in the template.

Editing product documents
You can edit product documents by using CSV export and import:
Removing product documents from products
You can remove product documents from products by using CSV import.
- To remove product documents, create a CSV import file according to the examples below. There are three options for determining which product documents to remove:
- Removing by file name
To remove a document from a product, use the product ID and document file name (the sample file removes the same document from two different products):
ProductID; DocumentFile; Remove; 1; file1.png; CONFIRM; 2; file1.png; CONFIRM; - Removing by document ID
Each product document has its own identifier, which you can find out by exporting product documents to a CSV file. You can combine the product ID and document ID to remove a document from a product:
ProductID; DocumentID; Remove;
1;         1;          CONFIRM;
1;         2;          CONFIRM;
In this example, two different documents are removed from one product.
- Removing by link identifier
Each product–document link also has a unique numeric identifier (e.g. Document X belongs to product Y = 25). You can find the link identifier by using CSV export, and you can use it to delete a document from a product:
ProductDocumentID
4;                 CONFIRM;
13;                CONFIRM;
25;                CONFIRM;
- Removing by file name
- In your online store's admin panel, go to .
- Select Product documents as the import type, and upload the file you've previously created.
- Finally, click Send.
The product documents specified in the import file have now been removed from the products, but the document files themselves are still stored in the documents/ folder in the file browser.
Adding theme support for product documents
Displaying product documents on your store's product pages requires adding the product document download list to your store theme.
The download list can be added by placing the {ProductDocuments} tag at the desired location on the theme's product page. Read the {ProductDocuments} tag's instructions for more information.
So far none of MyCashflow's ready themes includes support for product documents.
Adding the tag and formatting its output on the product page requires making changes to your store theme. If you're not familiar with modifying your store theme's HTML/CSS/JavaScript files, contact the designer of your online store's theme or the MyCashflow customer service.


