In MyCashflow, you can use product variations to differentiate between models, colors, or sizes of the same product. For instance, if you sell clothes, you can create separate variations for each color and size of the product.
You can create an unlimited number of variations, and doing so won't consume the product limit of your MyCashflow plan.
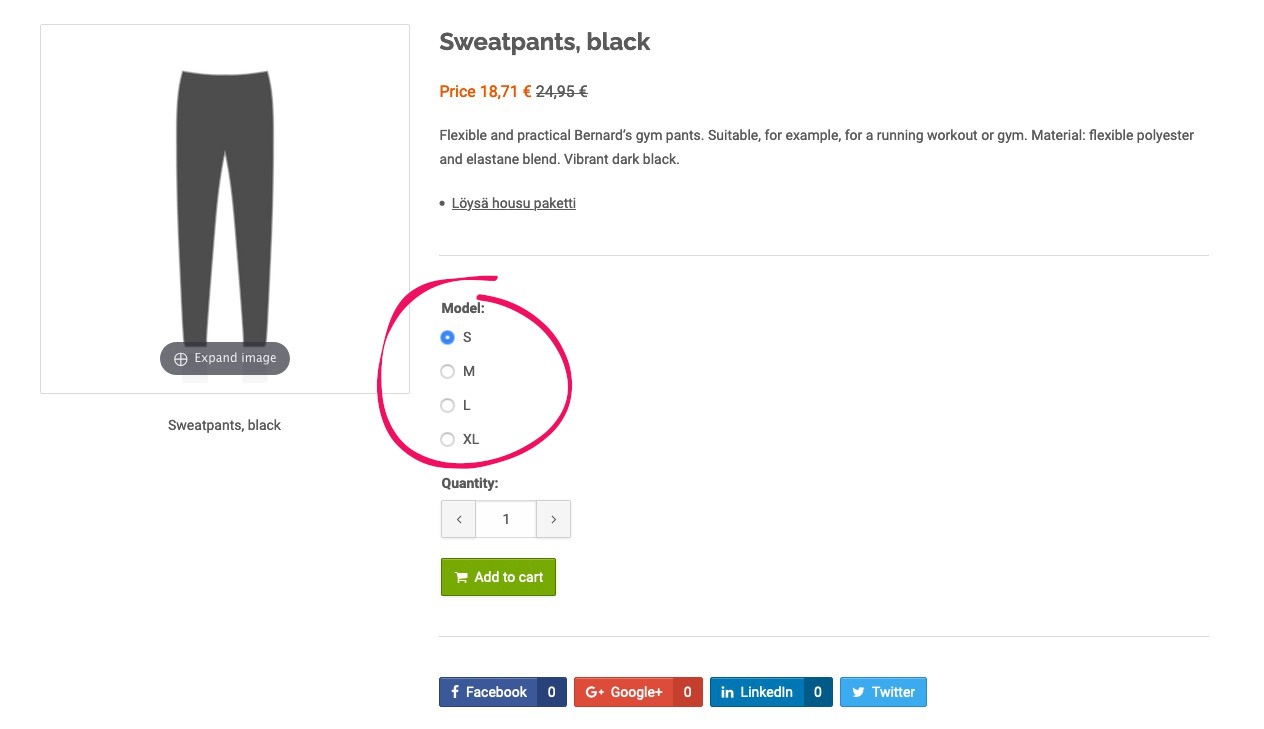
After you've created variations for the product, the visitors will select just one variation for purchase.

Creating product variations
Product variations can be created in the admin panel, in the product card's Stock tab.
If a stock balance has been defined for the main product, to add product variations, first you must disable the main product's stock balance.
To track the stock balance for a product that has variations, define a separate stock balance for each variation.
- To create a new variation, go to the product card's Stock tab, and select the option There are product variations.

- Provide all the necessary information in the form. If you leave any of the fields empty, the main product's information will be used instead (apart from the product code).
 Product codes for variations are mainly used for identifying the variation during data transfers between MyCashflow and other software.
Make sure that the product codes are unique
If multiple products or variations have the same product code, errors are bound to occur during data transfer between systems.
Do not use the same product codes for products and variations. Even if duplicate product codes do not result in any errors, they will make it more difficult to manage the products.
If a variation doesn't have its own product code, the product code for the main product won't be used in its place.
Using the variation splitter
You can use the variation splitter to display different properties for a product variation in the form of drop-down menus on your online store's product pages. You may want to use the variation splitter with product variations that have multiple properties requiring selection (e.g. size and color). In such a case, the customer will be able to select the desired variation based on its properties displayed in drop-down menus.
The variation splitter requires support in the store theme
If the variation splitter doesn't work on the product page, most probably it's not supported in the store theme.
When necessary, read more about adding support for the variation splitter to the store theme.
Note: The variation splitter doesn't support product bundles.
MyCashflow's latest default theme does not contain ready support for the variation splitter.
To create a variation by using the variation splitter:
- In the variation's name, indicate its properties according to the example below:
Property name: value | Property name: value
For instance, for a T-shirt that comes in different sizes and colors, you can provide the following information in the variation's name:
Size: S | Color: RedSize: S | Color: GreenSize: S | Color: BlueSize: L | Color: RedSize: L | Color: Green
The variation splitter automatically converts the variations created according to the example above into interactive drop-down menus in your online store. The available options are created in the same order in which you indicate them.
Adding support for the variation splitter to the store theme
If the variation splitter doesn't work in the online store even though the variations have been named according to the required pattern, the store theme most probably doesn't support the variation splitter.
Enabling the variation splitter involves modifying the theme's HTML/CSS/JavaScript files. If you're not familiar with it, contact the designer of your store theme or our customer service.
See the theme guide article for the installation of the variation splitter.
Managing variation images
You can define variation-specific product images that will be displayed e.g. on product pages, at checkout and in notifications sent to customers from your online store.
Attaching product images to variations
The admin panel allows you to attach product images to variations in two different ways, which are presented below.
Variation images aren't compatible with the variation splitter.
If variations' names use the variation splitter, variations with product images won't work correctly on the product page:
- Selecting a variation doesn't work in the purchase form for images attached to variations via the variation image tool on the product card.
- Variation images attached by using captions aren't displayed in the image gallery.
Attaching product images to variations via the product card
The admin panel's product card provides an easy-to-use tool for attaching images to variations.
When you attach product images to variations in this way, the images will be displayed on the product page provided that the variation images' Interface tags have been added to the product template (themes/shop/THEME/product.html).
See detailed instructions for implementing variation images in themes.
If you're not familiar with modifying your store theme's HTML/CSS/JavaScript files, contact the designer of your online store's theme or the MyCashflow customer service.
- Select the desired image and click .

The image is now attached to the variation.
Attaching product images to variations by using captions
If the store theme doesn't support the product card's variation image tool, you can attach a product image to a variation by settings the variation's name as the image's caption.
When attaching product images to variations in this way, the selected variation's image will be displayed on the product page provided that the store theme is equipped with the JavaScript plugin used for changing gallery images.
Learn how to enable the plugin.
If you're not familiar with modifying your store theme's HTML/CSS/JavaScript files, contact the designer of your online store's theme or the MyCashflow customer service.
- As the image's caption, provide the name of the variation that the image should be attached to.
Also, update the caption for the main product's image to correspond to one of the product's variations so that the image can be displayed when the variation is selected.


You can now define other variations' images in the same way.
Removing images from variations
If you've attached the wrong product image to a variation, you can remove it by removing that product image from the product. As a result, the product's main image will be set as the variation's product image.
Ordering variations
- Grab the
 icon on the left side of the row. The icon becomes visible when you hold the pointer over the row.
 - Drag the whole row to the desired location on the list.

The variations' order will be instantly updated in your online store.
Linking to variations
After you've created product variations in your online store, you can create direct links to any of them by adding the variation's ID in the format ?variation_id=8 to the product link.
When a visitor follows the link to the product page, the variation of your choice is going to be selected on the page.
You can check variations' IDs by using e.g. the CSV export.