Many content types in MyCashflow have a text field, in which you can format contents by using our graphic text editor.

Such content fields can be found, for instance:
- On content pages and in news
- On the product form
- On product categories' and brands' presentation pages
- In the online store's and store versions' settings
- In banners
- In shipping and payment method settings
- In campaigns
- In email campaigns
Enablement
If your online store still doesn't use the new text editor in all text fields, you can enable it for the whole store by using the editors' bulk change tool.

If you wish so, you can also enable the new editor on individual pages. In this way, you'll be able to test the new editor before enabling it for the whole store.
Inline formatting
In MyCashflow's WYSIWYG text editor, you can easily use the most popular inline formatting in the text.
Below you'll find the inline formatting options available in the WYSIWYG text editor:
 : Bold
 : Italics
 : Underscore
 : Strikethrough
 : The text editor contains multiple, ready-to-use styles that enable you to create versatile text elements.
Heading styles can be used for creating the HTML headings
h1–h6. You may want to use the styles whenever you create a heading.The Quote style enables you to create indented paragraphs.
The Code style enables you to write a text with an even font, where no inline formatting can be used.
 : Text position (e.g. alignment to the left or right)
 : Add lines to the text to visually separate consecutive paragraphs.
 : Set the text's font and background colors
Using lists in texts
In the MyCashflow text editor, you can use both ordered and unordered lists.
To create a multilevel list in the MyCashflow text editor, indent the selected items by using the toolbar's indentation buttons >Indent and <Outdent.

Using tables in texts
In the MyCashflow text editor, you can add tables to the text with the help of the easy-to-use table tool:
Read more about the MyCashflow text editor.
- Select the option from the table menu
 .
. - If you wish so, you can also add a heading row to the table:

You can remove rows and columns at any time by using the options in the editor's table menu. You can also delete the entire table.
Using images in content fields
There are multiple ways of adding images to content fields.
To add images to the text either drag them from your computer to the desired location within the text or use the editor's image tool:
- Open the window for adding images by clicking the image button
 .
. - To add a new image file, drag or select it from your computer in the Upload tab.

Content images' location in the file directory
The images added to content fields are automatically saved in the online store's file directory /files/content_images. The easiest way to find it is by using the file browser.
Resizing images in content fields
After adding an image to the content field, you can change its display size.
- Grab the square in the image's lower right corner, and resize the image by dragging it:

Resizing the image in the content field does not change the size of the image file – the image will simply be displayed in a different size.
Other ways of modifying images
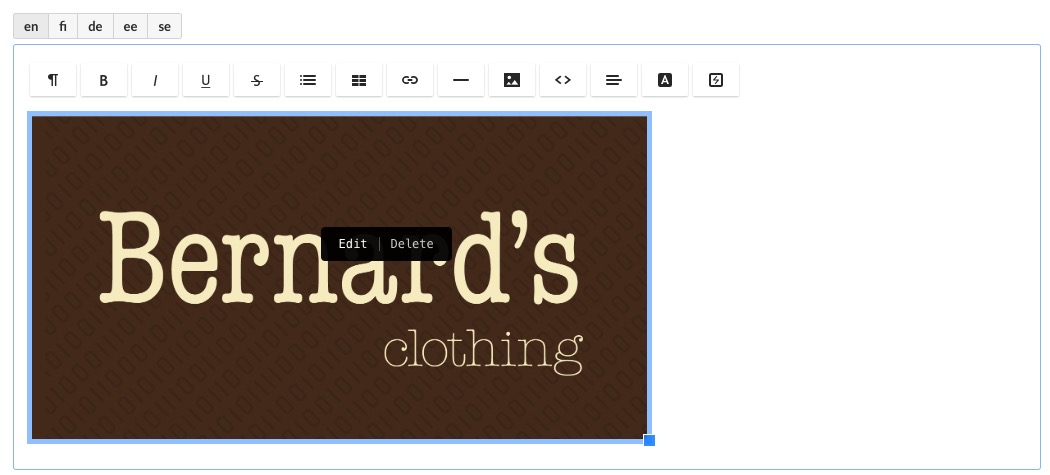
To see other options for editing the image, click in the middle of the image:
You can define the following settings for images:
- Title: A text that serves, e.g., as an image's alt text in the default theme.
- Caption: A text that is displayed, e.g., as a caption under an image in the default theme.
- Position: Image alignment to the left, right or center in relation to the text.
- Link: A URL address that users are redirected to after they have clicked an image.
- Open link in new tab: Sets the link to open in a new browser tab.
Enter the online store's internal links in the format /product/5 and external links in the format https://www.example.com.
Adding links to texts
You can add to the content text links both to the online store's contents as well as to external pages.
Creating text links
To add a text link:
- In the editor's toolbar, click the link button
 .
. - To create a link to one of your online store's pages, use the search field in the Select page drop-down menu:
Type at least three characters in the field to initialize the search. The search targets products, product categories and brands, as well as content pages.

Select the desired page from the search result list.
The online store's internal links can also be entered in the URL field in the format /product/23 (the number should be replaced with the destination's ID number).
- To add a link to an external address, enter the link's URL address.

Adding links to images
To add a link to an image that has been added to the contents, follow these steps:
- Define the settings for the image link:

- Title: A text that serves, e.g., as an image's alt text in the default theme.
- Caption: A text that is displayed, e.g., as a caption under an image in the default theme.
- Position: Image alignment to the left, right or center in relation to the text.
- Link: A URL address that users are redirected to after they have clicked an image.
- Open link in new tab: Sets the link to open in a new browser tab.
Enter the online store's internal links in the format /product/5 and external links in the format https://www.example.com.
Embedding videos in the editor
In the MyCashflow text editor, you can embed videos from external services (such as Vimeo and YouTube).
Many video sharing websites have options for sharing and embedding videos, from which you can obtain a HTML code snippet that you can then add to the contents in the MyCashflow text editor to display the video on your website.
For more information, see the instructions on services' websites:
Example: How to embed a YouTube video
- Open the desired video on YouTube and open the Share menu from the video tools:

- Switch to the HTML markup view by clicking
 in the editor.
 - Paste the embed code you've copied earlier at the desired location, and switch back to the regular editor view by clicking once again.

The embedded video should now be visible in the content field.

Embedding audio files in the editor
In the MyCashflow text editor, you can embed audio files from external services (such as SoundCloud).
Example: Embedding an audio file from SoundCloud
- In the file's tools, click Share.

The share window opens.
- In the share window, go to the Embed tab.

- Go to the page on which you'd like to embed the audio file and open the HTML view in the text editor by clicking .
If you still haven't enabled the new editor, do it now.
- Paste the embed code to the source code at the location at which the file should appear in the contents.

Using HTML code in the editor
If you are skilled in HTML, you can process the content markup without using the tools provided in the editor.
.
After making all the necessary edits in the HTML code, click once again to switch back to the graphical view. The changes will be updated in the editor immediately.
Not all HTML tags are displayed in the admin panel's content preview, but they will be visible in the store's public area.
Some HTML tags are deleted from the contents automatically (e.g. <script>).
Using Interface markup in the text editor
You can use MyCashflow's Interface tags directly within text. To add longer pieces of markup to the text, you may want to use the Interface markup functionality.
To add to the text those Interface tags whose attributes don't require editing:
- Type the desired Interface tags at the relevant position.
In this example, we add the online store's contact details to the text. You can add tags either within the text or as separate paragraphs.

See MyCashflow's Designer's Guide for an extensive list of the available Interface tags.
- Visit your online store's customer area to make sure that the Interface tags print the desired contents within the text.

In this section, we dealt with Interface tags whose attributes don't require editing. In the next section, we show how to add custom HTML markup to tags.
Using attributes with markup in the text editor
Some Interface tags have attributes with which you can use custom HTML markup. In such cases, you should add the Interface tags to the text by using the editor's Interface markup tool:
- In the window that opens, type the desired Interface markup.
In this example, we add a list of products that are compatible with the product that is edited.
The
beforeattribute is used for defining the title of the product list.The
helperattribute makes use of the online store's theme file themes/shop/THEME/helpers/list-product.html
See MyCashflow's Designer's Guide for an extensive list of the available Interface tags.
The contents produced by the Interface markup that you've just added is now displayed on the page.
You can edit the markup at any time. To do so, place the cursor anywhere within the markup, and click the button in the text editor's toolbar.