MyCashflow enables you to create content pages, on which you can tell your customers about your company and product catalog. Here you can learn how to manage content pages in your online store.
Technically, shipping conditions in multilingual online stores constitute content pages. Read more ›
Content pages in the default theme
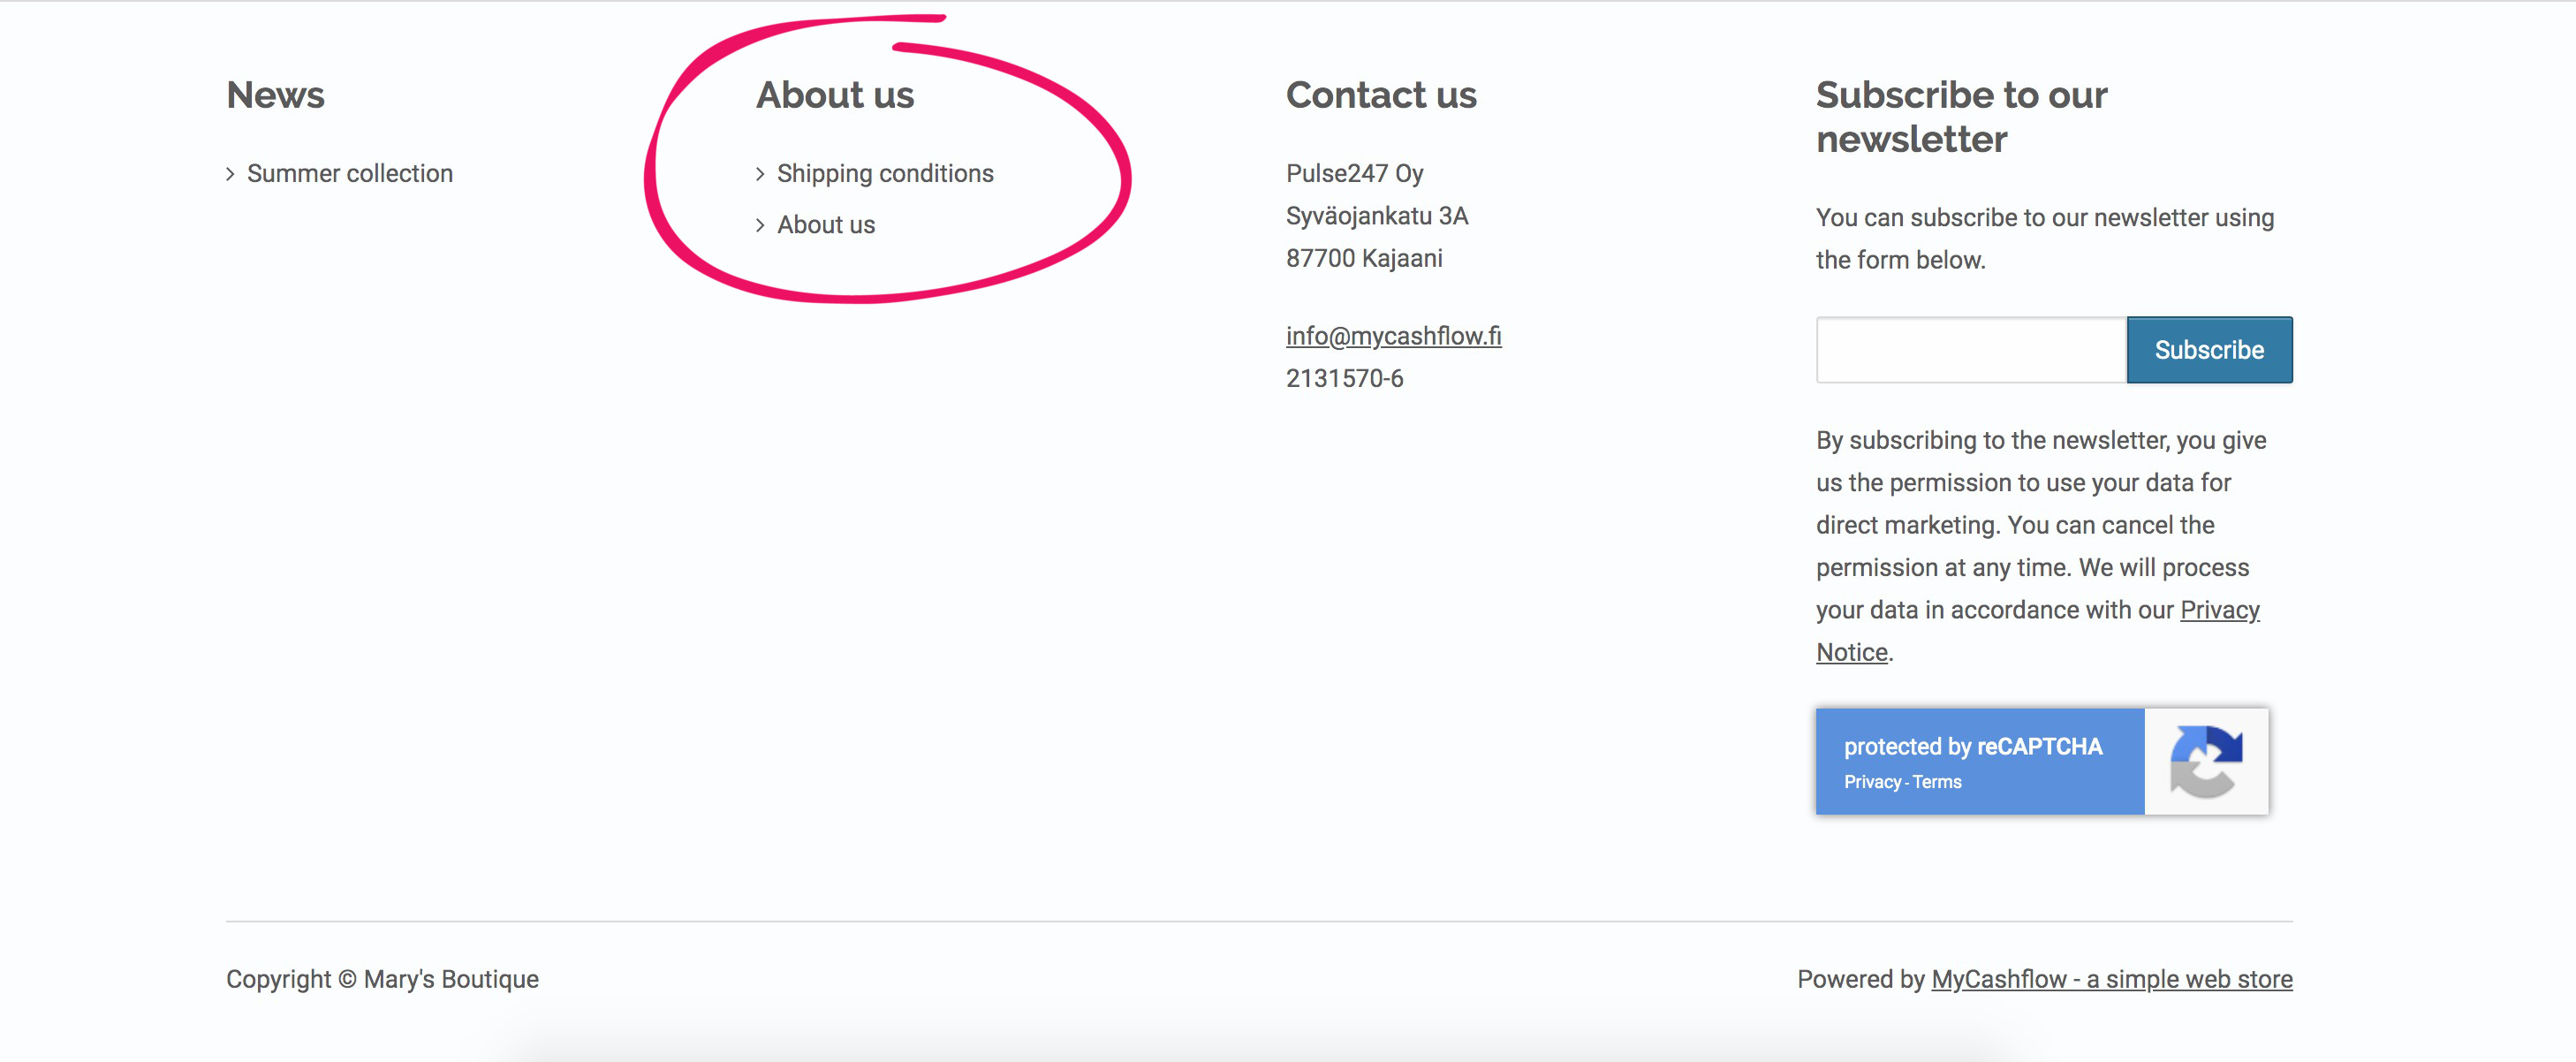
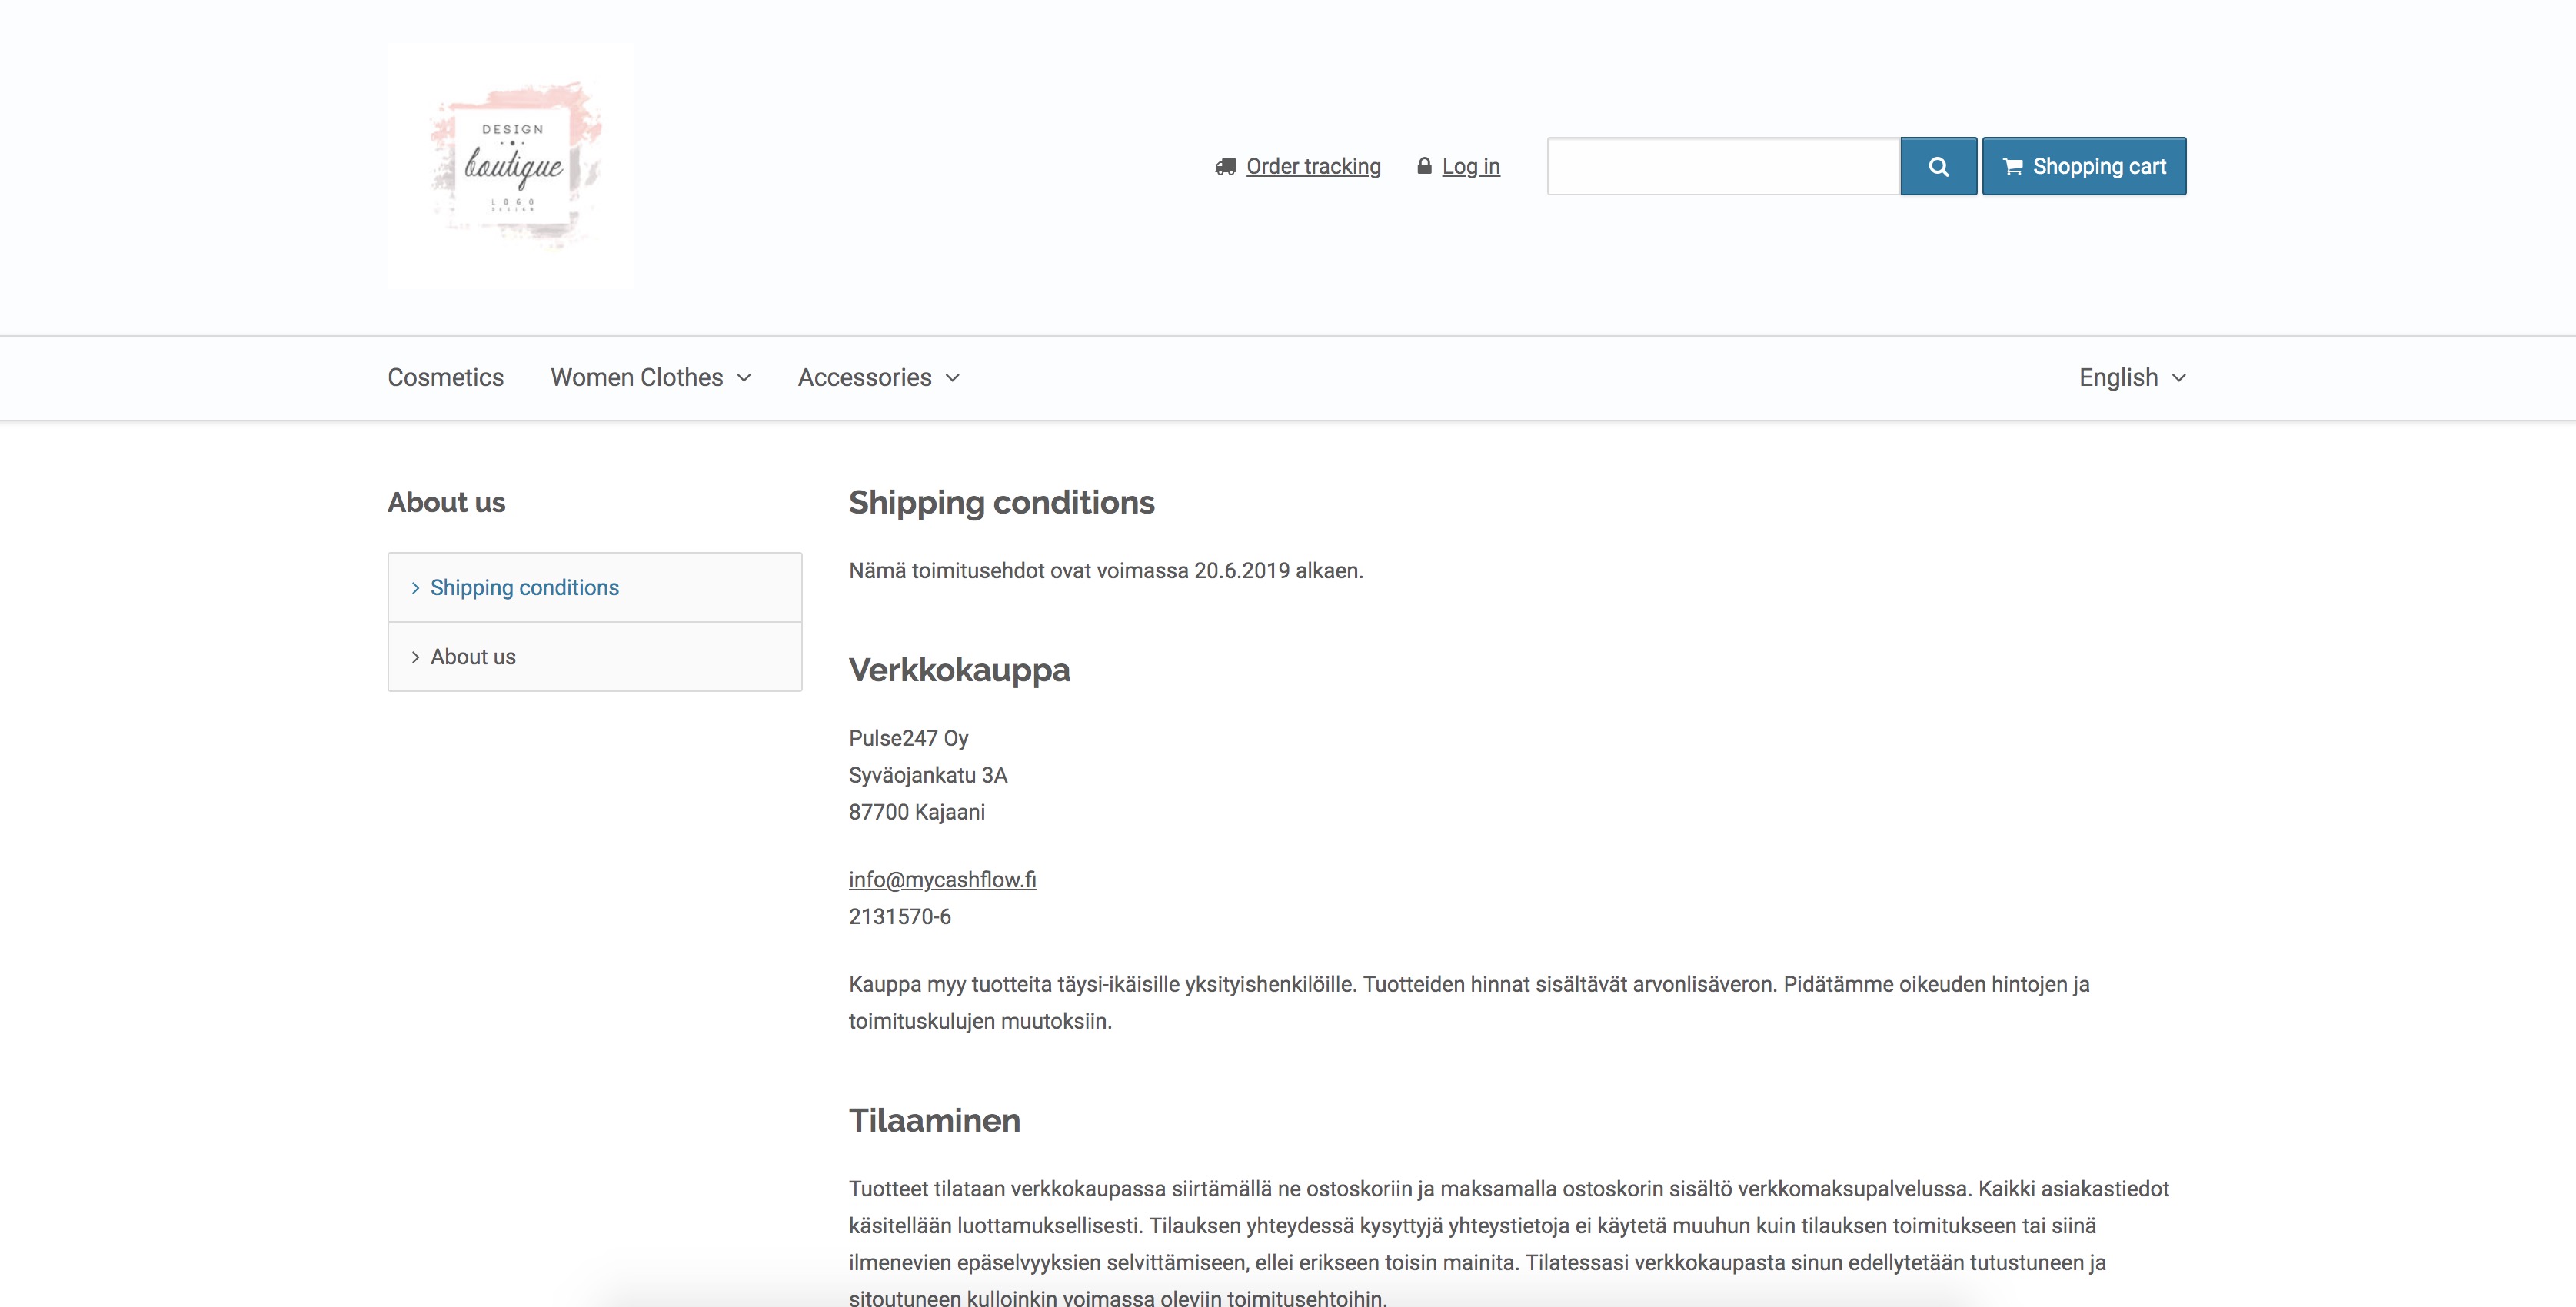
The sample image above shows a content page with the contact form embedded by using the {ContactForm} tag.
The theme can be modified to move the content page navigation to a different spot or add new navigations to the theme. The appearance and properties of content pages can be modified as well.
If you don't have any experience in editing theme files, contact your theme's designer or our customer service.
Creating and modifying content pages
To create a new content page in your online store:
- In the left-hand pane, click .

To edit an already existing content page:
- In the admin panel, go to .
- From the left-hand pane or the Latest activity list, select the desired page.
- In the page's details, click .
- Make the desired changes.
- Click .
The settings in the content page form

- Name: enter a name for the content page that sums up its contents best. The name will be displayed to visitors in the navigation sidebar and as the page's title.
- Show in version: select the versions, in which the page should be visible.
You must select at least one version, so that the page is displayed in your online store.
- Location in menu: select the page under which the page you're currently editing should be displayed in the menu. If the page should be displayed on the top level, select the empty item at the top of the list.
- Image: upload an image file for the content page.
The default theme does not support the content page image. If you use the default theme, add the
{InfoPageImage}tag to the content page template to display the image. - Content: enter the page's contents here.
- Link URL: if you enter an internal (/category/2) or absolute (www.osoite.fi) link, the visitor will be redirected to the address by selecting the page in the navigation menu. In such a case, instead of being shown the page's contents, the visitor will be taken to the link's destination.
Search engine optimization
If you have installed the Web Designer extension, in the Search Engine Optimisation section you can specify the document and page titles and meta description that will appear in search engine results. (Find out more about optimizing your MyCashflow online store for search engines)
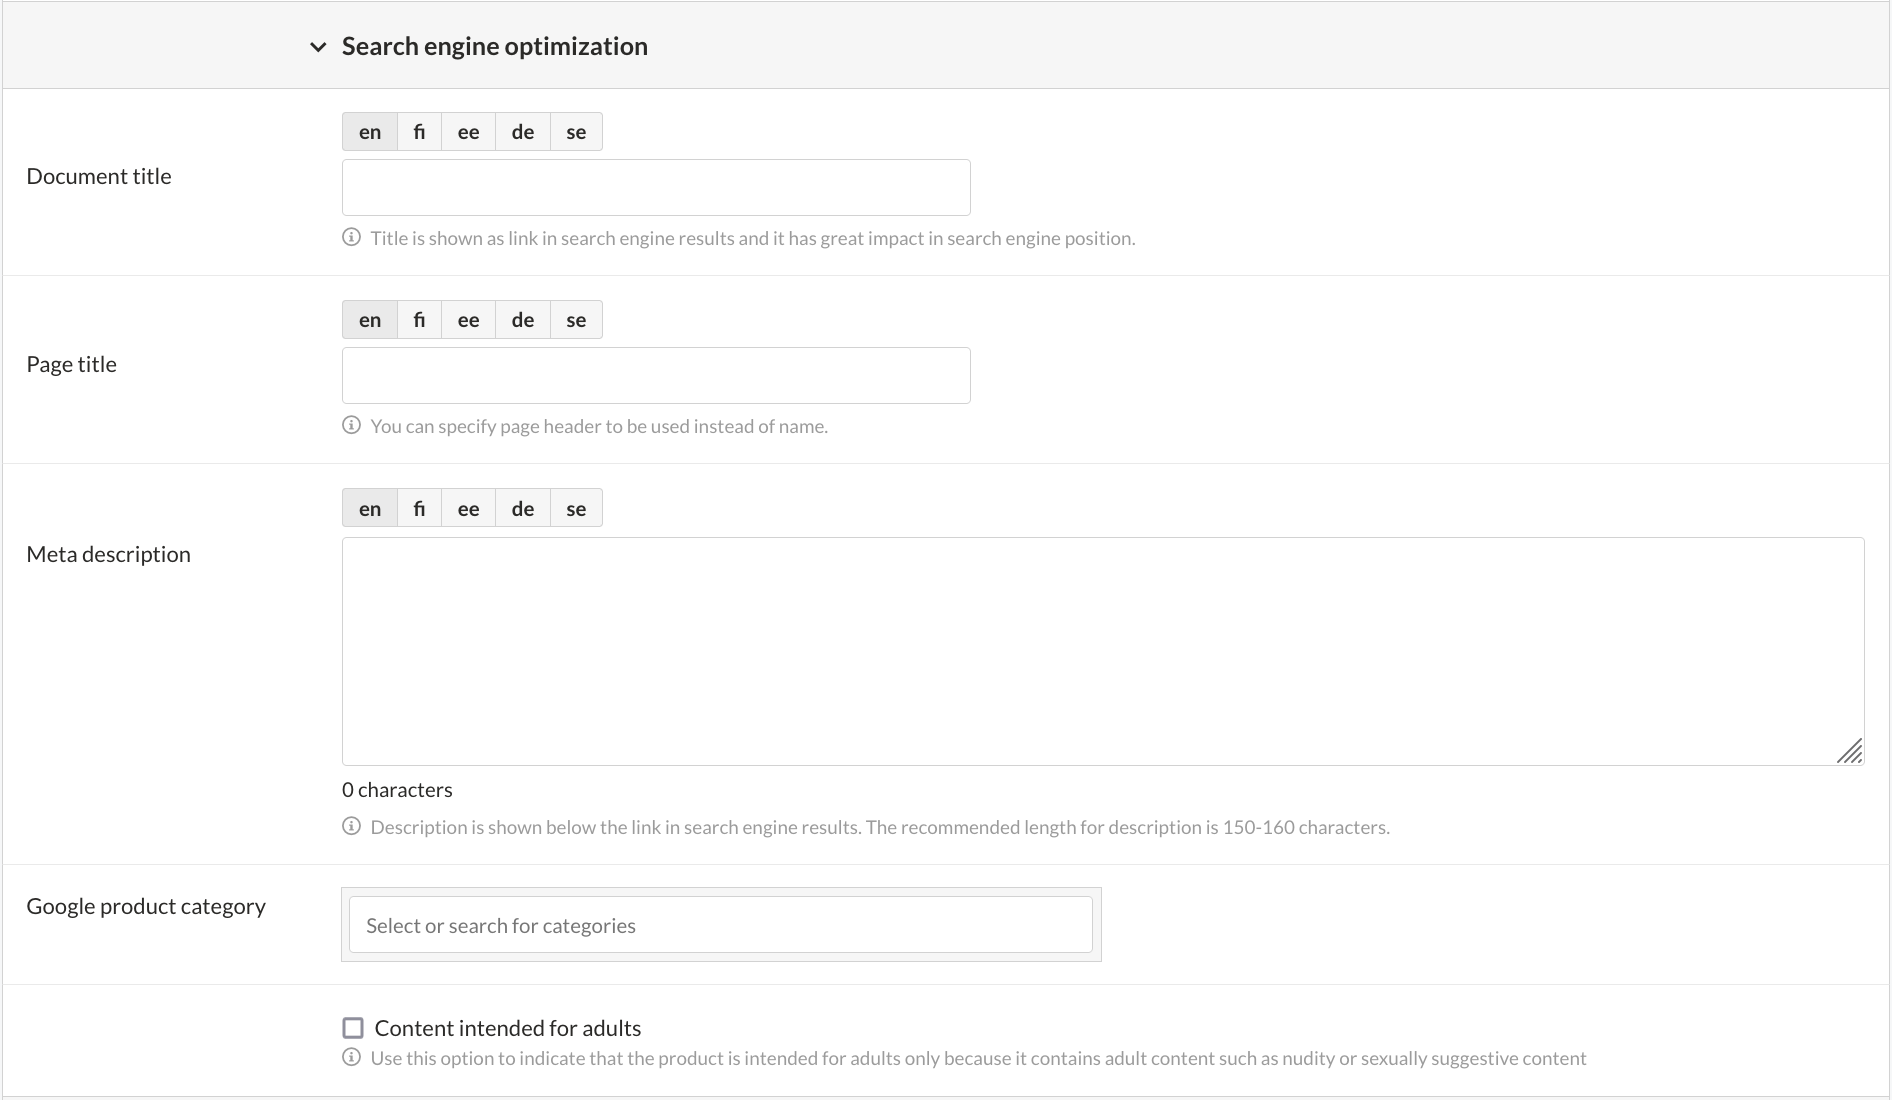
The page title serves as the content header on the online store's product page, while the document title is included in the tab label at the top of the browser window or below the address bar. If you leave the title empty, MyCashflow will use the product name as its substitute.
In addition to search engine optimisation, you can set a Google product category for product feeds or ads and, if necessary, mark the product as adult content.
Template file
If your online store has the Web Designer extension, you will also see the a Template file section on the form, where you can choose an alternative page template (if one is included in the store theme).
Learn more about creating custom templates.

Sorting content pages
You can sort content pages to obtain the desired order in the menu.
- Grab the
 icon visible on the left side of the page's name in the menu.
 - Drag the page to the desired position in the menu.

If you drop the page between two other pages, it will be moved to the new location on the same level.
If you drop the page on top of another page, it will become its subpage.
The new order will be updated in your online store automatically as you make the changes.
Deleting content pages
To delete a content page:
- In the admin panel, go to .
- From the left-hand pane or the Latest activity list, select the desired page.
- In the page's details, click .
- At the top of the content page form, click the Delete link.