You can attach products to your online store's product categories in three different ways. This article presents all of them.
You can attach a product to multiple product categories. When necessary, you can also choose not to attach a product to any category. Such products won't be visible in your store's search or menu but will be still accessible via a direct link. The products can still appear on other product lists, such as that for best-selling products.
1) Dragging on the Products page
- Grab the
 icon on the left side of the row. The icon becomes visible when you hold the pointer over the row.
To add a product to a product category and remove it from all other product categories, press the keys continually.
- Drag the product onto the desired product category in the Product categories menu.

2) Using the product form
You can add a product to product categories while still creating or editing it in the admin panel.
- In the product form's Payment method basic information, select the desired product category for the product.

You can provide further details for the product category later by selecting the desired product category from the Product categories menu on the page.
3) Using the product card
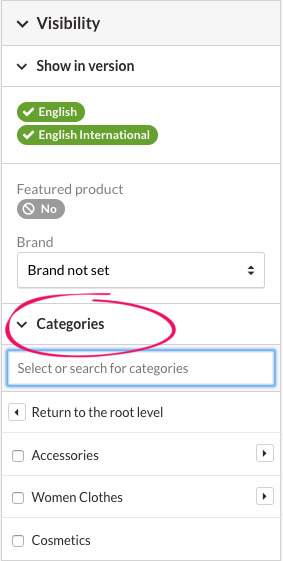
Select all the desired product categories from the menu. A new menu will be added every time you select a product category.
After adding the products to the product category in any of the ways, you can also sort the products within the category to suit your needs.