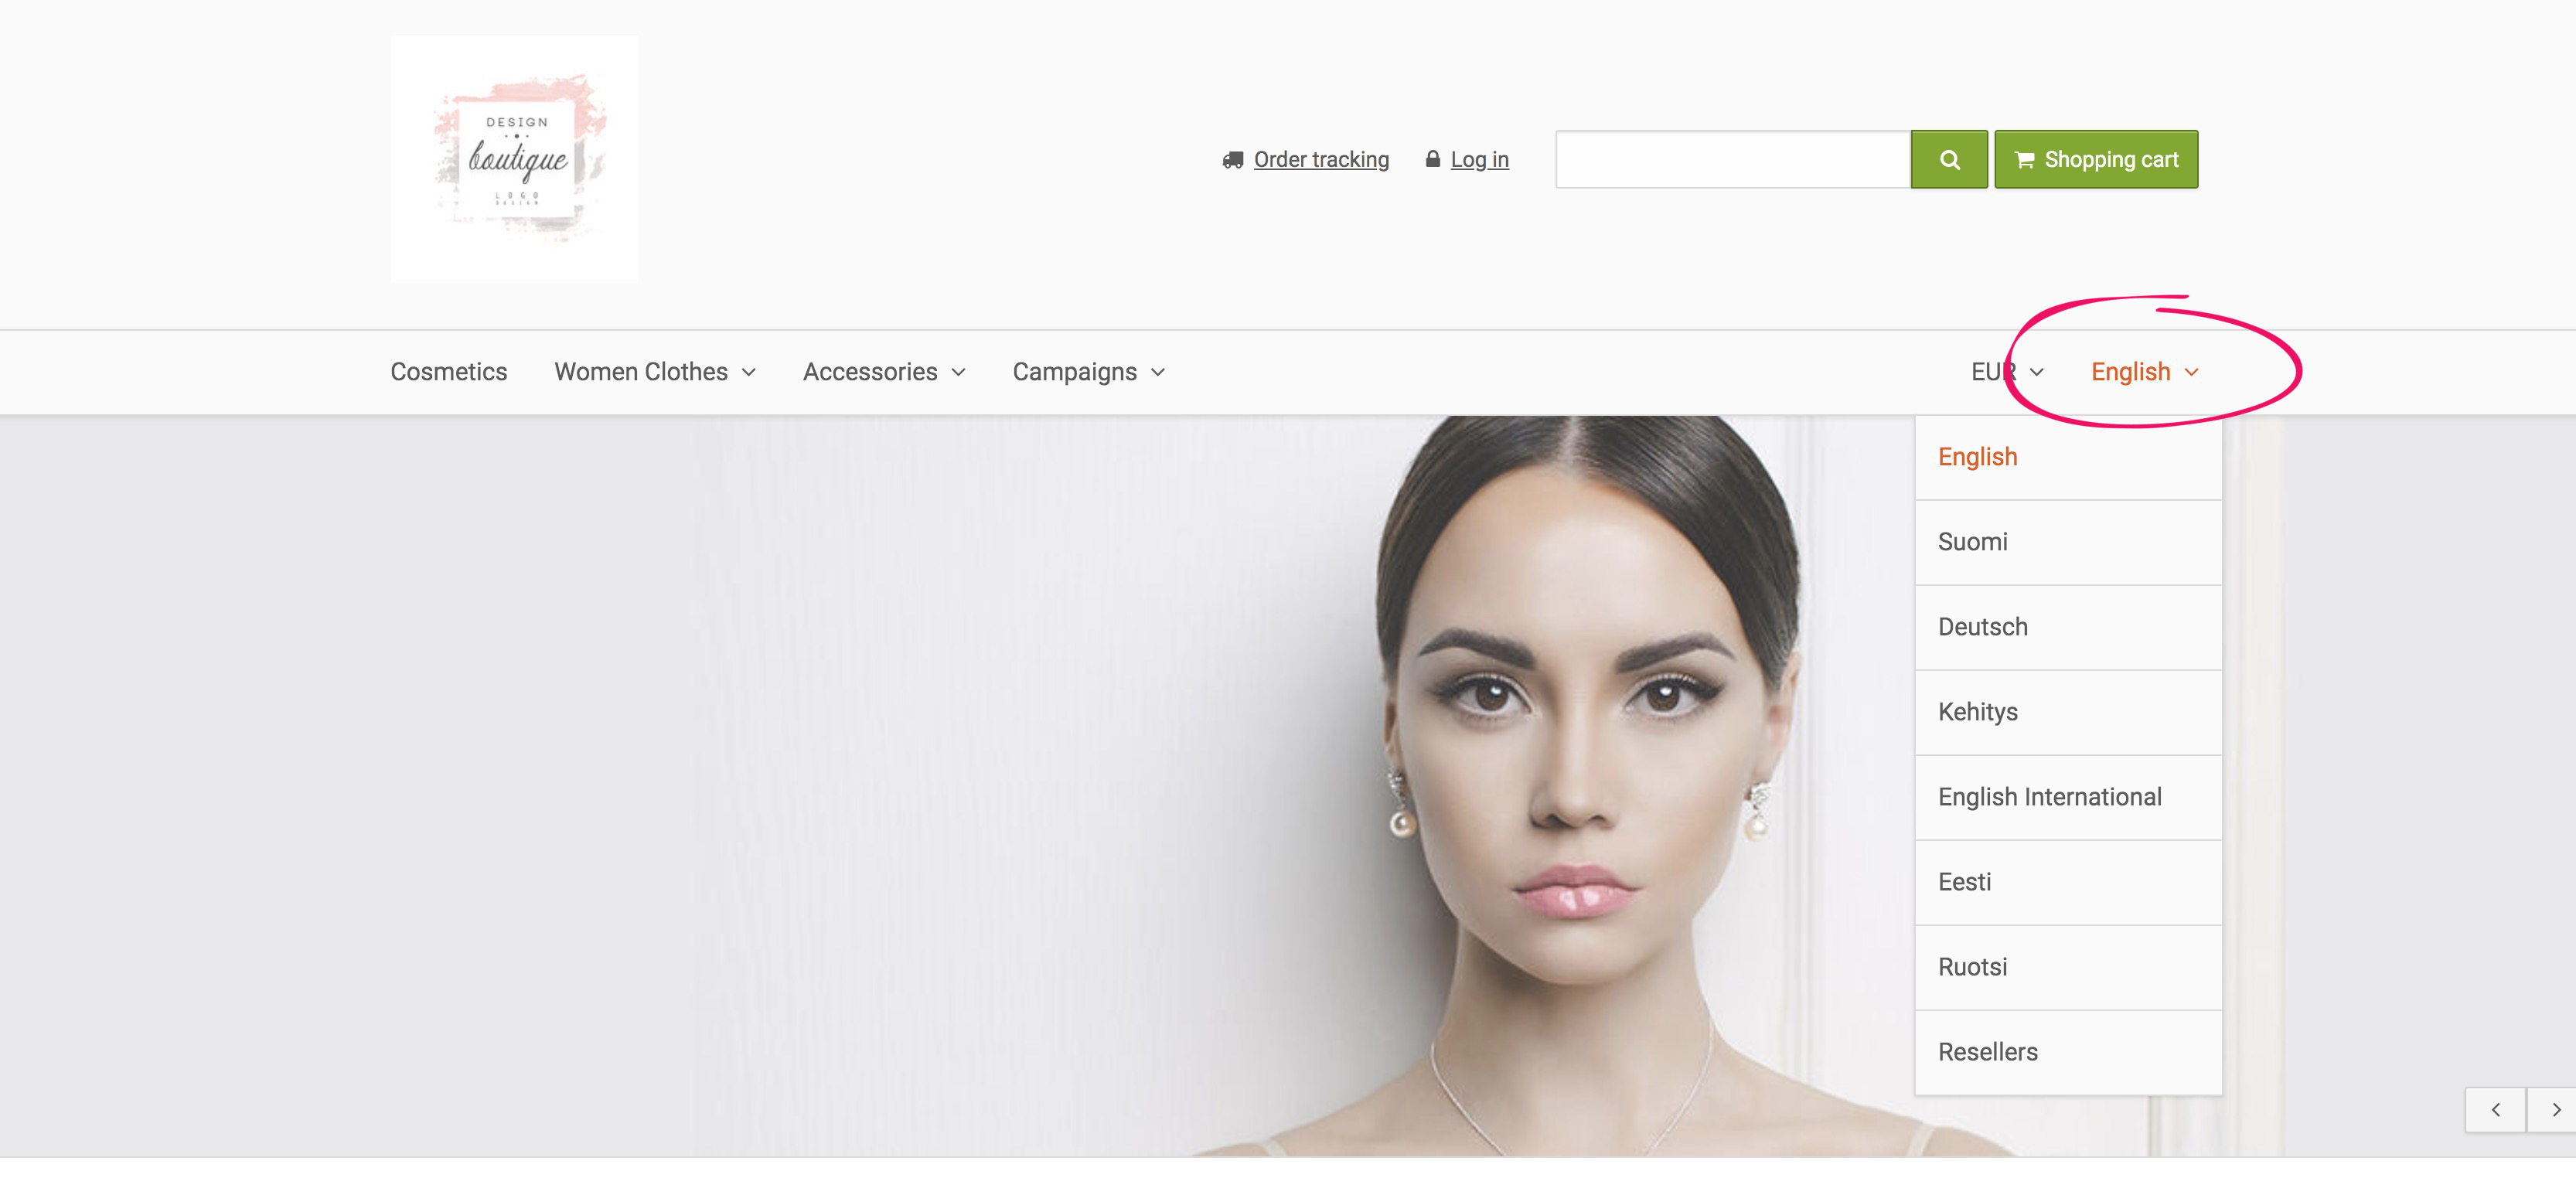
If you'd like to enter foreign markets, you may want to translate your online store's texts into all the target languages. In MyCashflow online stores, you can translate all the contents you created as well as the user interface texts that appear in the theme.
To be able to translate contents into other languages, you must create new language versions of your store first.
Creating multiple store versions is not possible in the MyCashflow Free plan.
Apart from creating separate language versions of your store, you may want to enable separate subdomains for each version. In such a case, different language versions will have separate addresses in the format http://en.example.com.
The customer area in multilingual stores

The availability of the language menu depends on the store theme. If the language menu is missing from the store, make sure that the {LanguageNavigation} tag has been used in the correct location in the theme.

In case of multilingual pages, only the translated content will be displayed. So, if you've translated the product's name but not the description, only the name will be displayed.
Translating contents
After multiple language versions have been created in the store, in the admin panel's content forms (of products, product categories, pages etc.), you'll see two translation-related elements:
Translating your store theme and user interface
MyCashflow contains a lot of ready-to-use text snippets:
- User interface texts (buttons, link texts)
- Email and document contents
- Shipping conditions and corresponding content texts.
All of these texts can be translated by using the dictionary tool. In the dictionary, you can also edit the original texts to suit your online store's needs.
Most of the texts contained in MyCashflow and the default theme have already been translated into numerous languages. To see the translations, simply add a new language column to the dictionary.
- To access the dictionary tool, in your online store's admin panel, go to . To start translating, first add a new language to the dictionary:
- After adding a language column for the new language, you'll be able to edit the desired rows in the dictionary:
- Make the desired changes to the text.
- Click .


