Here you can learn how to create new payment methods and modify the already existing ones in your online store's admin panel.
Creating payment methods
This is how to create a new payment method:
The payment method is now ready to be used.
Editing payment methods
This is how to edit an already existing payment method:
The settings in the payment method form
Payment method settings are set in the payment method form. Depending on the payment service, the payment method form may also include other settings apart from the ones described below. For more information on these additional settings, see the instructions for the relevant payment service.
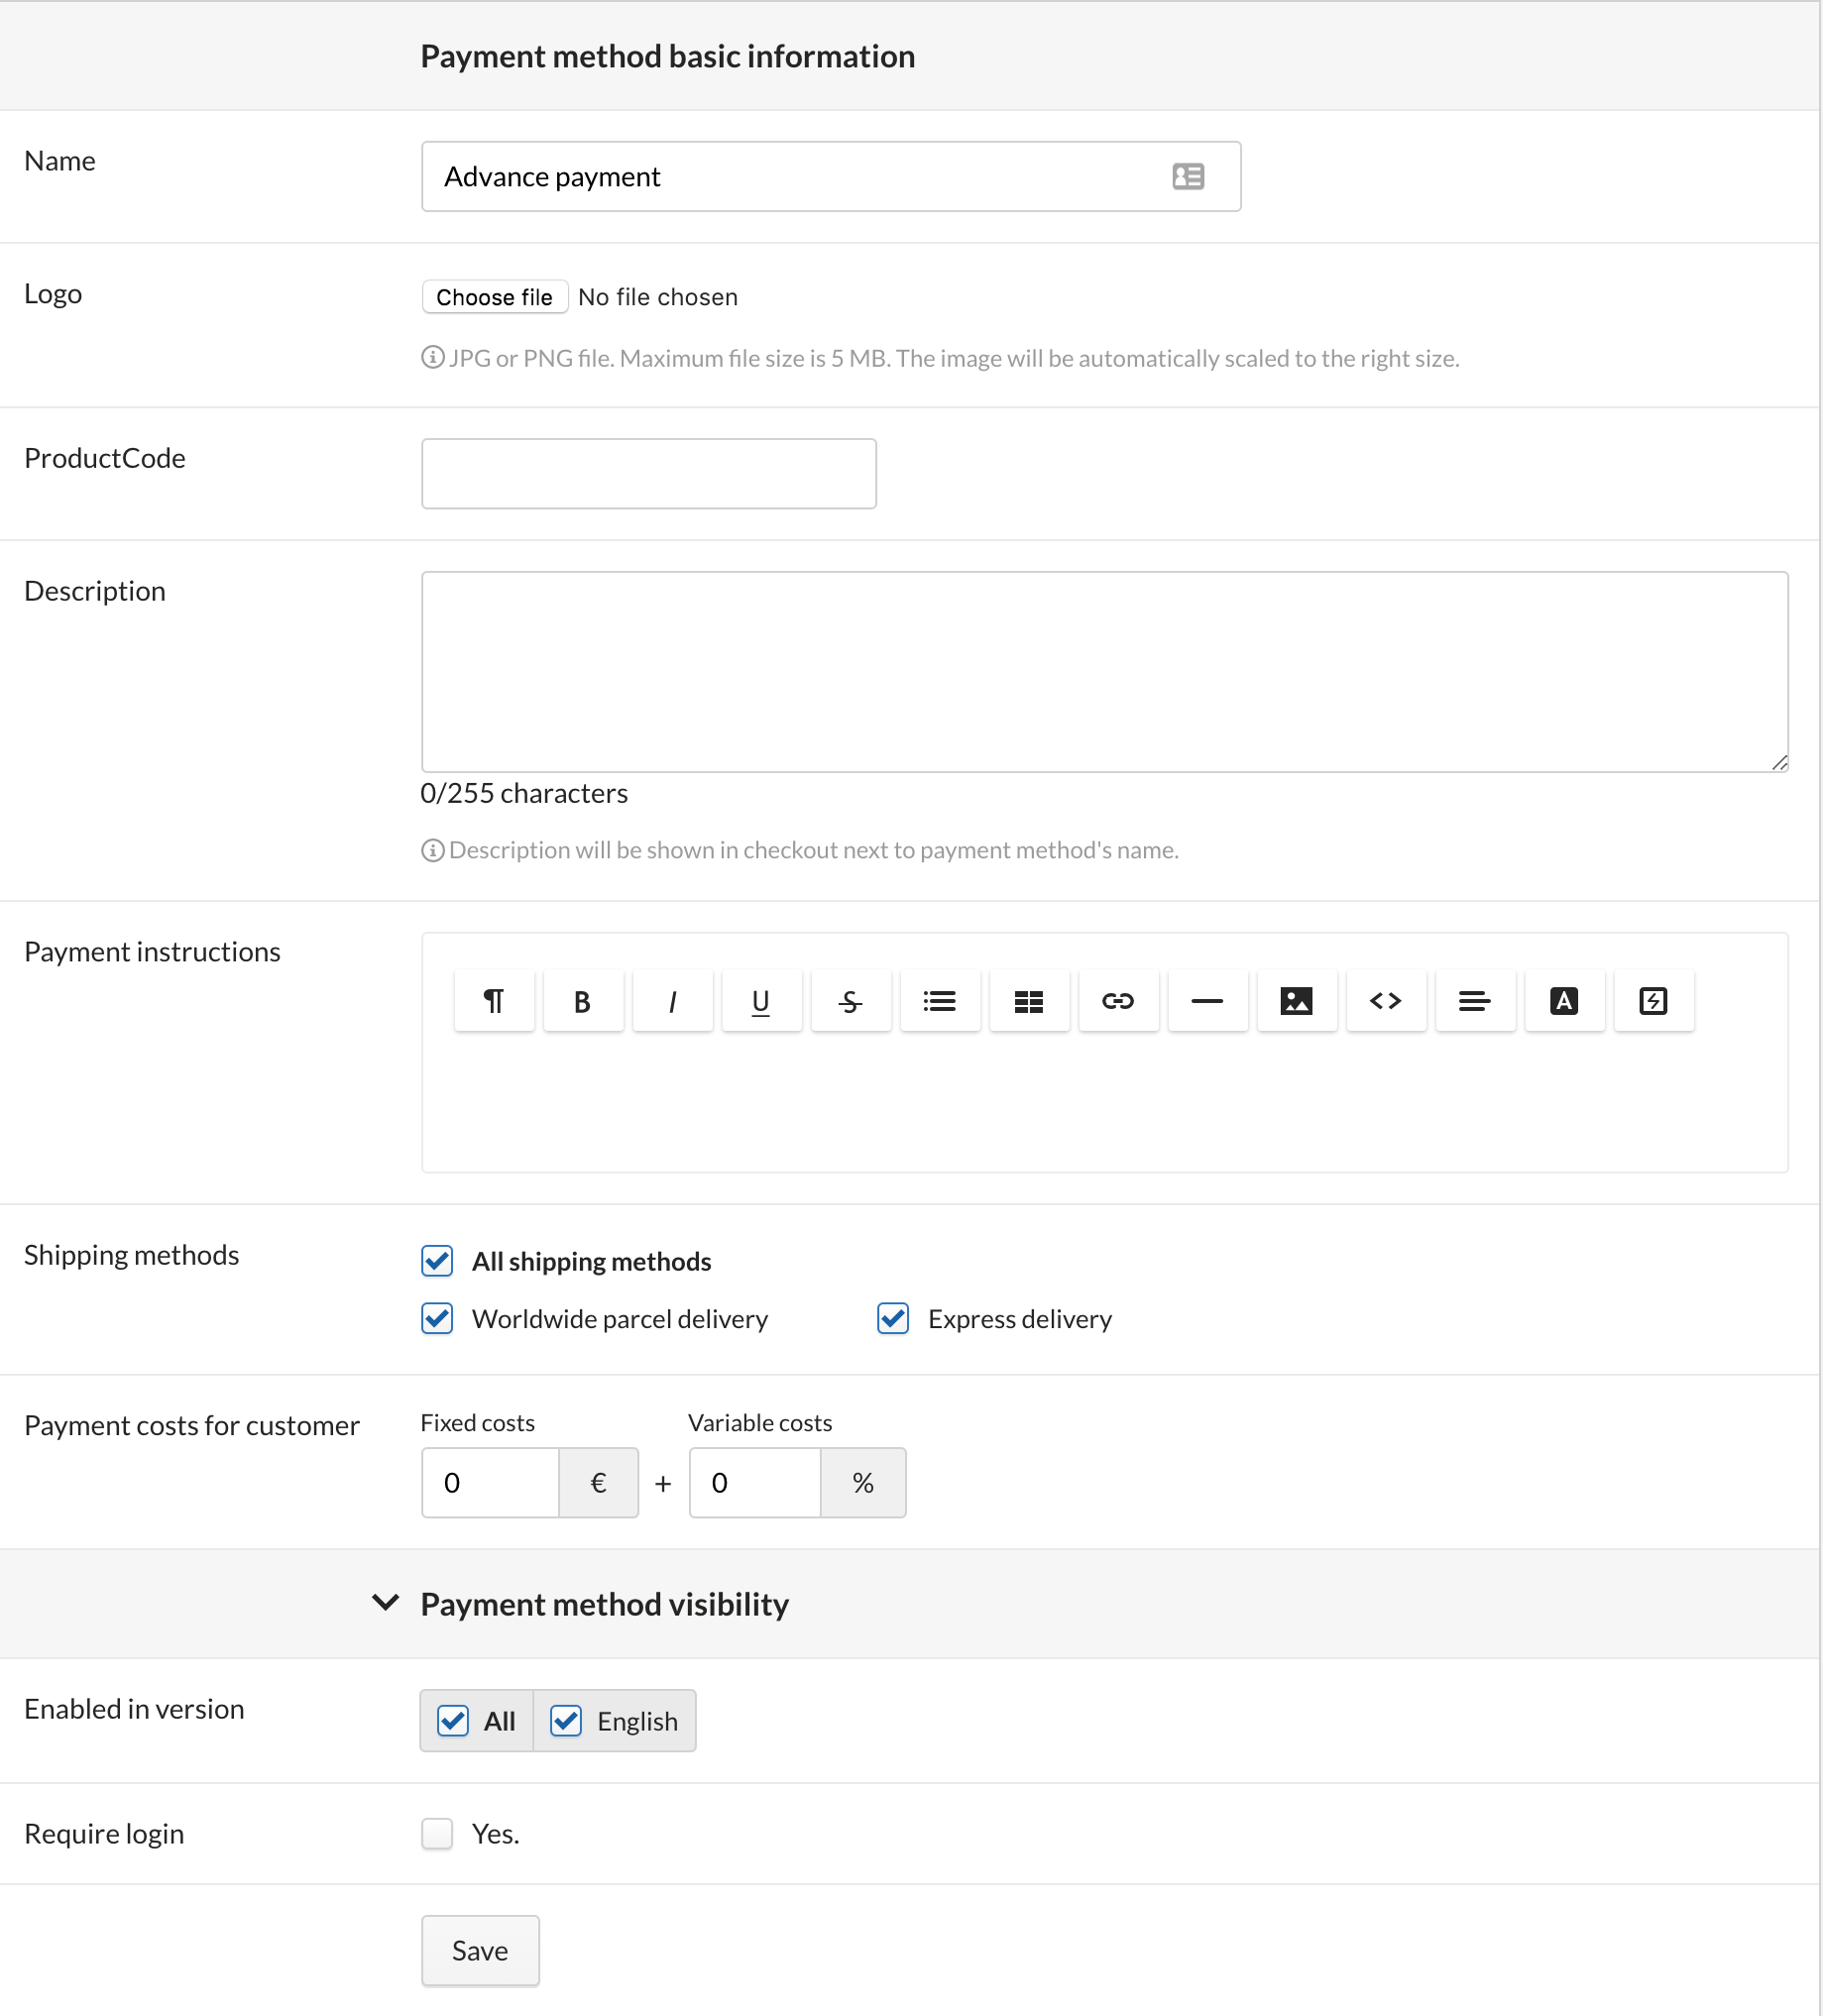
- Name: The payment method's name is displayed at checkout, so enter an unambiguous name that makes it clear what kind of payment method it is (e.g. credit card payments).
- Logo: in the default theme, the payment method logo is displayed at checkout in the payment method selection menu.
- Product code: the product code may be required, for instance, by financial management applications. If you're not aware of any external services that you use requiring the product code, leave this field empty.
- Description: the description is displayed at checkout during payment method selection. Make it clear in the description what kind of payment method is in question.
- Payment instructions: In the default theme, payment instructions are displayed to the customer on the order confirmation page and in the order confirmation email if the customer's payment is open (as for online payment services, the payment will often have been made when the message is being sent).
- Shipping methods: select the shipping methods for which the payment method should be enabled.
The payment method will be displayed at checkout only if the customer selects one of the allowed shipping methods.
- Shipping methods: set payment fees for the payment method that will be added to the order total at checkout. Payment methods can have fixed or variable fees, or both.
- Enabled in version: Limit the payment method's visibility to selected versions. In this way, you can have payment methods that will be available only in foreign language versions.
In the payment method details, the payment method can easily be hidden or made available in selected versions with the help of the Show in selected store versions toggle.
If you don't select any version, the payment method won't be enabled in your online store at all.
- Require login: limit the payment method's availability to logged-in customers.
You can also restrict the use of the payment method to selected customer groups. Select or look for the desired customer groups in the field Limited for customer groups.
After the use of the payment method has been limited to certain customer groups, the method will be available at checkout only to the logged-in customers who belong to any of the selected groups.