This section covers the recommended process for developing a MyCashflow theme, using the graphical appearance editor and the customizable default theme. The instructions cover creating a hidden development version, installing and modifying the default theme, as well as publishing the changes in the online store.

1/4: Creating a development version

It is advisable to always edit the theme in the hidden development version of the online store, so you can complete the changes at your own pace before publishing them to the online store's customers.

  1. Go to the admin panel page User interface > Versions.
  2. Create a new version by pressing the New version button in the left column.

    The version form opens.

  3. Fill in at least the following information on the version form:
    • Version name: Name it, for example, Development version.
    • : Enter the address in the format URL addressdev.STORE-NAME.mycashflow.fi
    • Close temporarily: Ensure that the version is closed (this is the default setting if you are just setting up the store).
  4. Save the form.

2/4: Installing the editable default theme in the development version

Here's how you can install the customizable default theme into your development version:

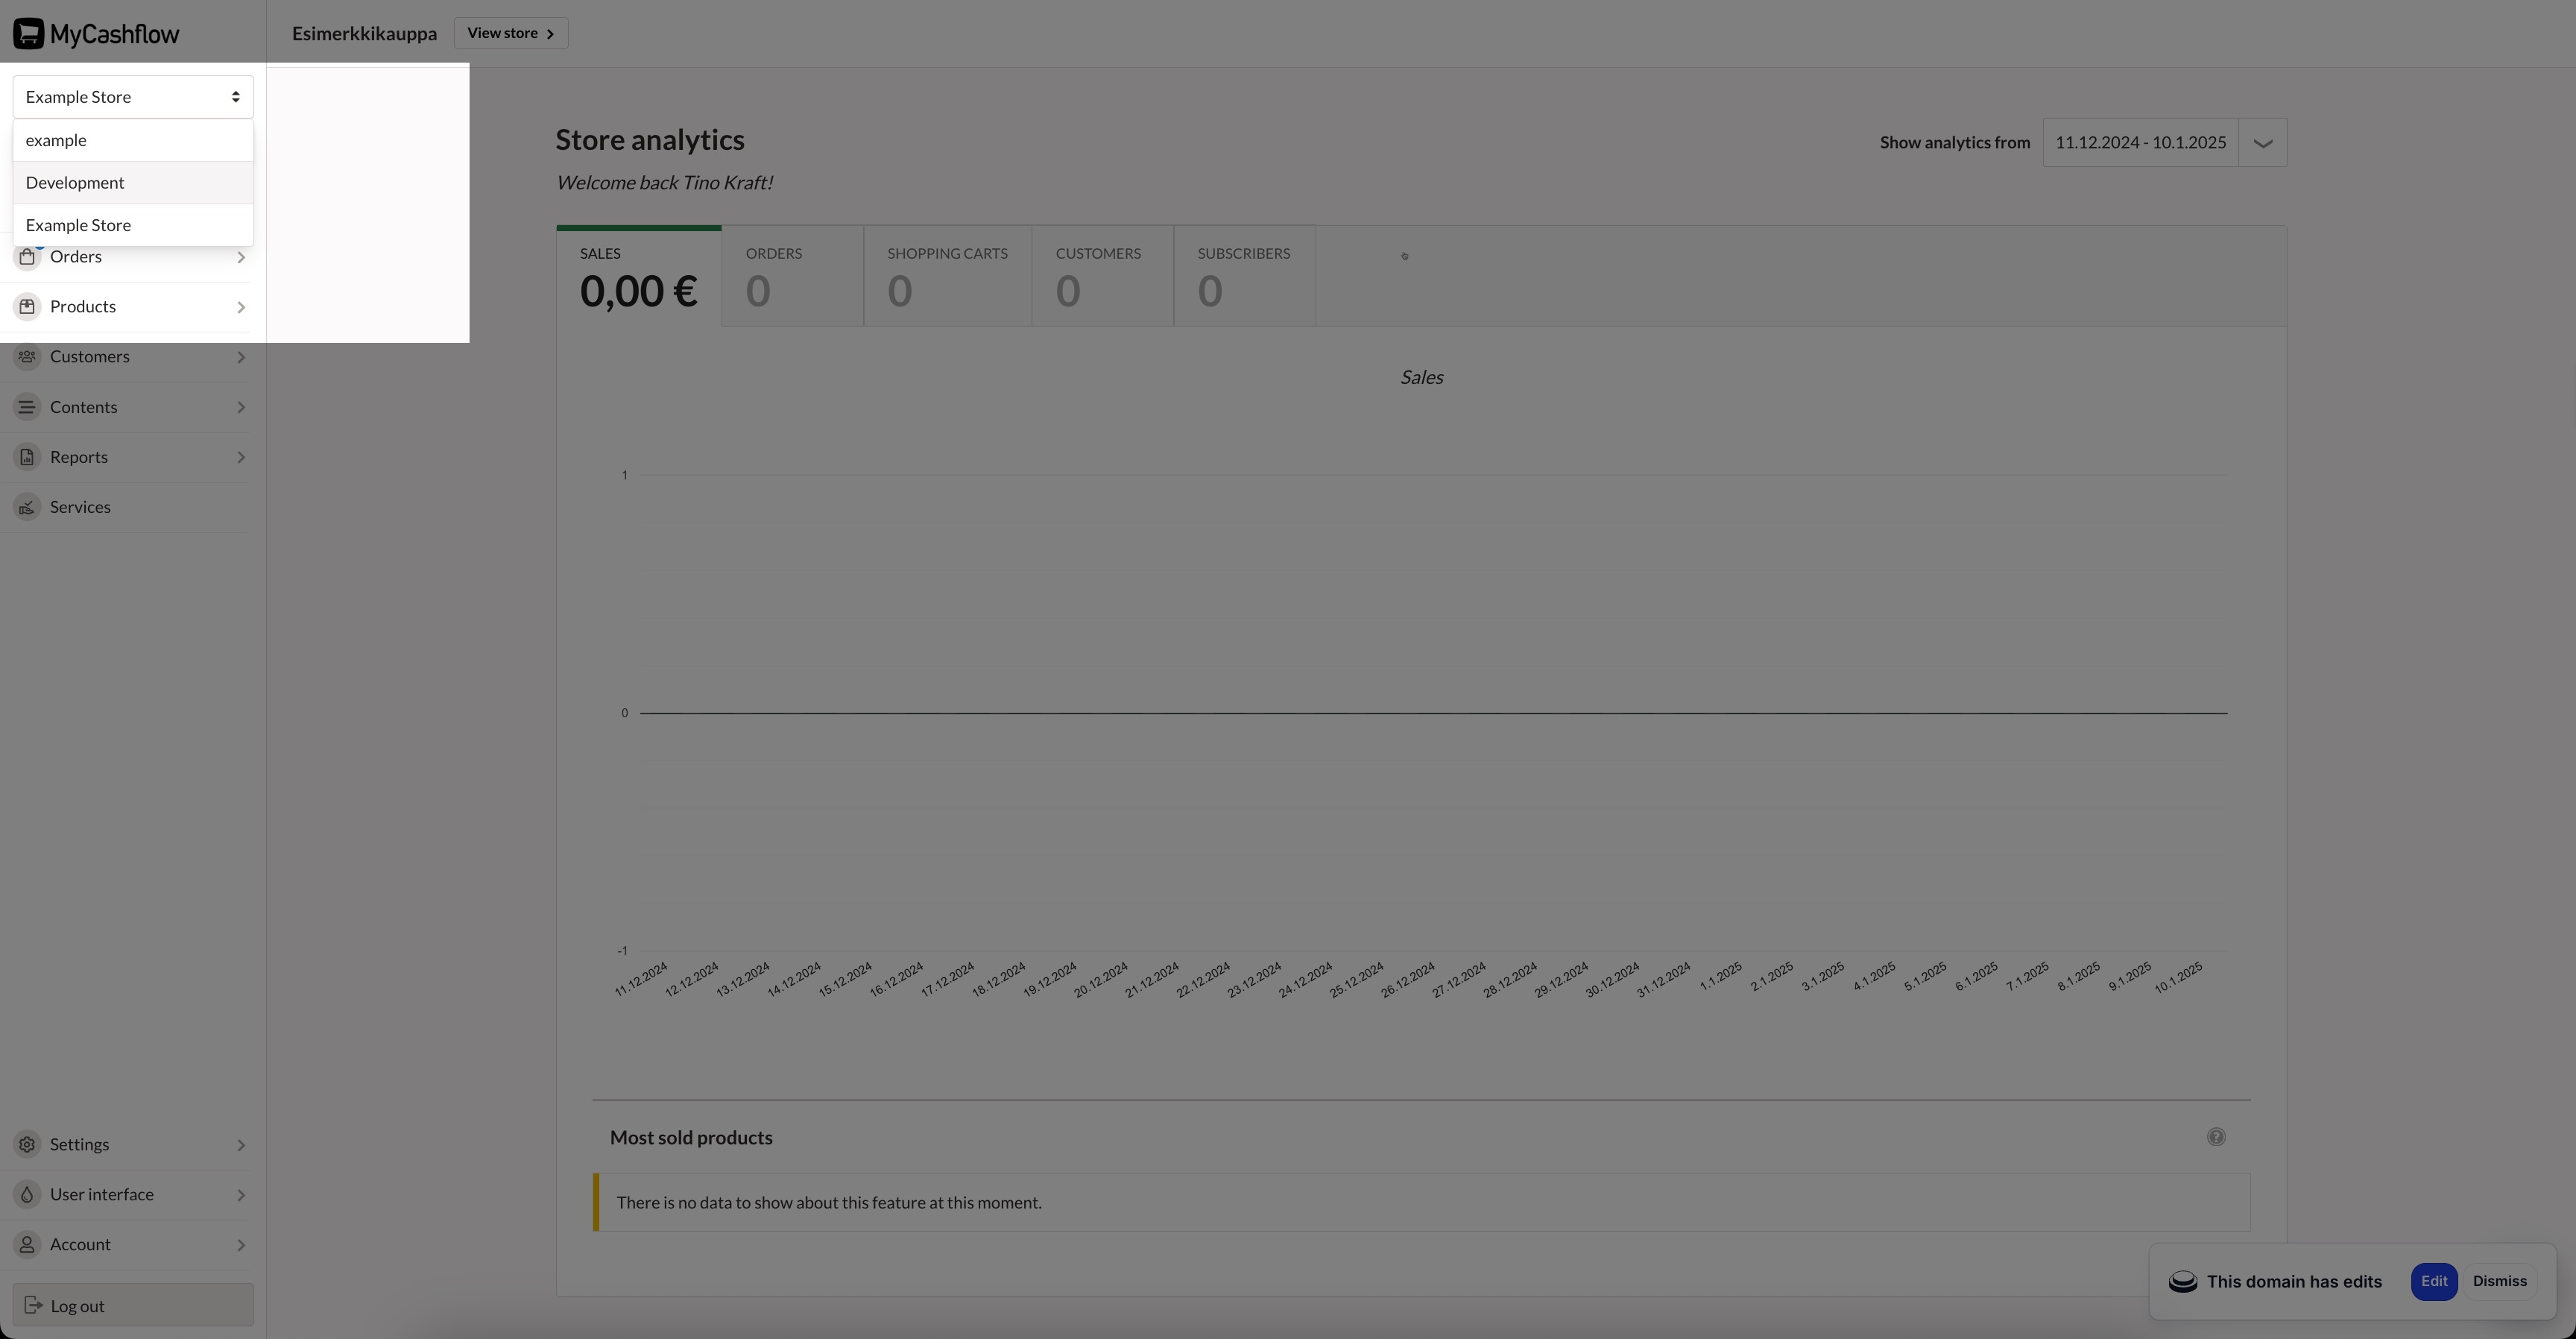
  1. Select the development version you previously created from the version menu in the upper left corner.
  2. Go to the admin panel page User interface > Themes.
  3. Browse the page's theme list and select your desired theme by pressing the Enable button.

    The theme editor opens.

  4. Press the Publish changes button in the upper right corner .

    The function activates the theme you selected in the online store.
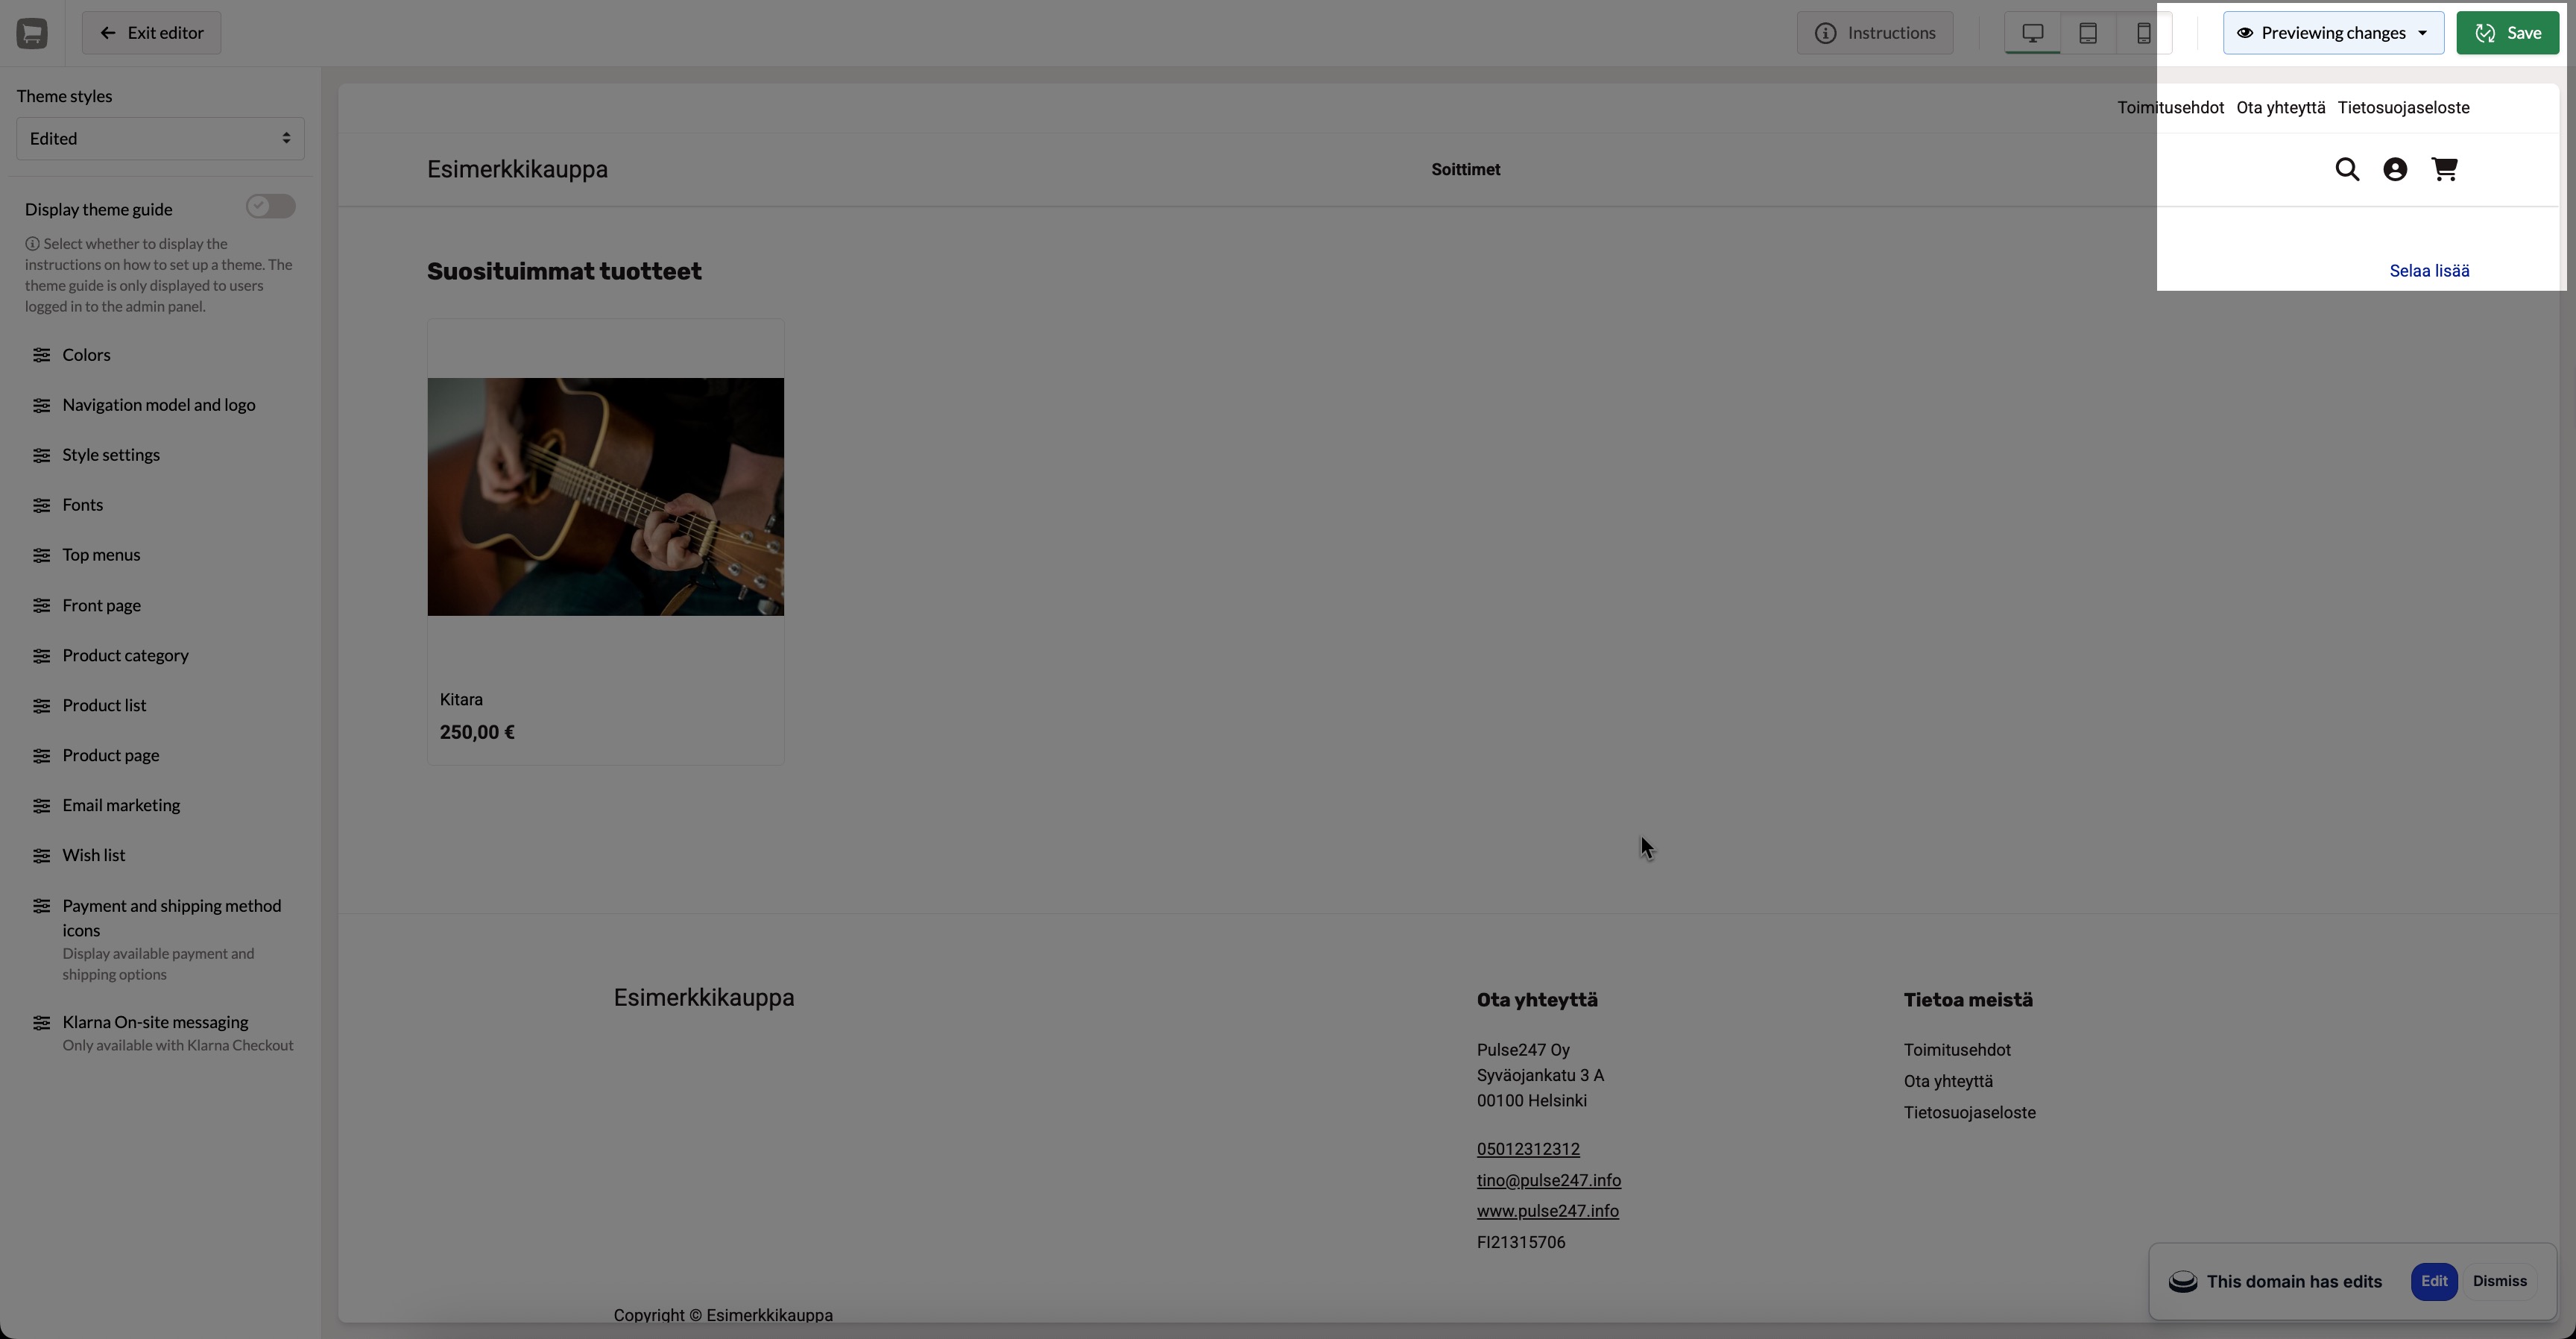
Now that the theme is in use in the online store, see below for instructions on how to start editing the theme.

3/4: Editing the theme

With the theme editor, you can

  • manage the structure and content of the online store's pages
  • adjust the website's overall appearance using the settings.

Using the editing tools is discussed below.

Managing the structure

Below, we will go through adding, editing, and deleting content sections in themes that support the theme editor.

  1. Open the theme editor from the admin panel's page User interface > Versions:
    1. In the sidebar on the left, select the version whose theme you want to edit.
    2. Click the Edit theme button above the version information.
  2. Navigate to the homepage of the online store in the theme editor.

    The theme editor's structure tools currently support editing only the homepage in the default theme.

    Also, the homepage's Display type setting must have the value Homepage.

  3. Select Structure in the toolbar on the left side of the theme editor.

    You can view all the editable content areas of the page (currently, only one content area on the homepage is supported in the default theme).

  4. Select the content area to edit from the list in the left sidebar.

    You can view the content sections that may already be included in the content area.

  5. Add a new content section by clicking the Add section button below the section list.
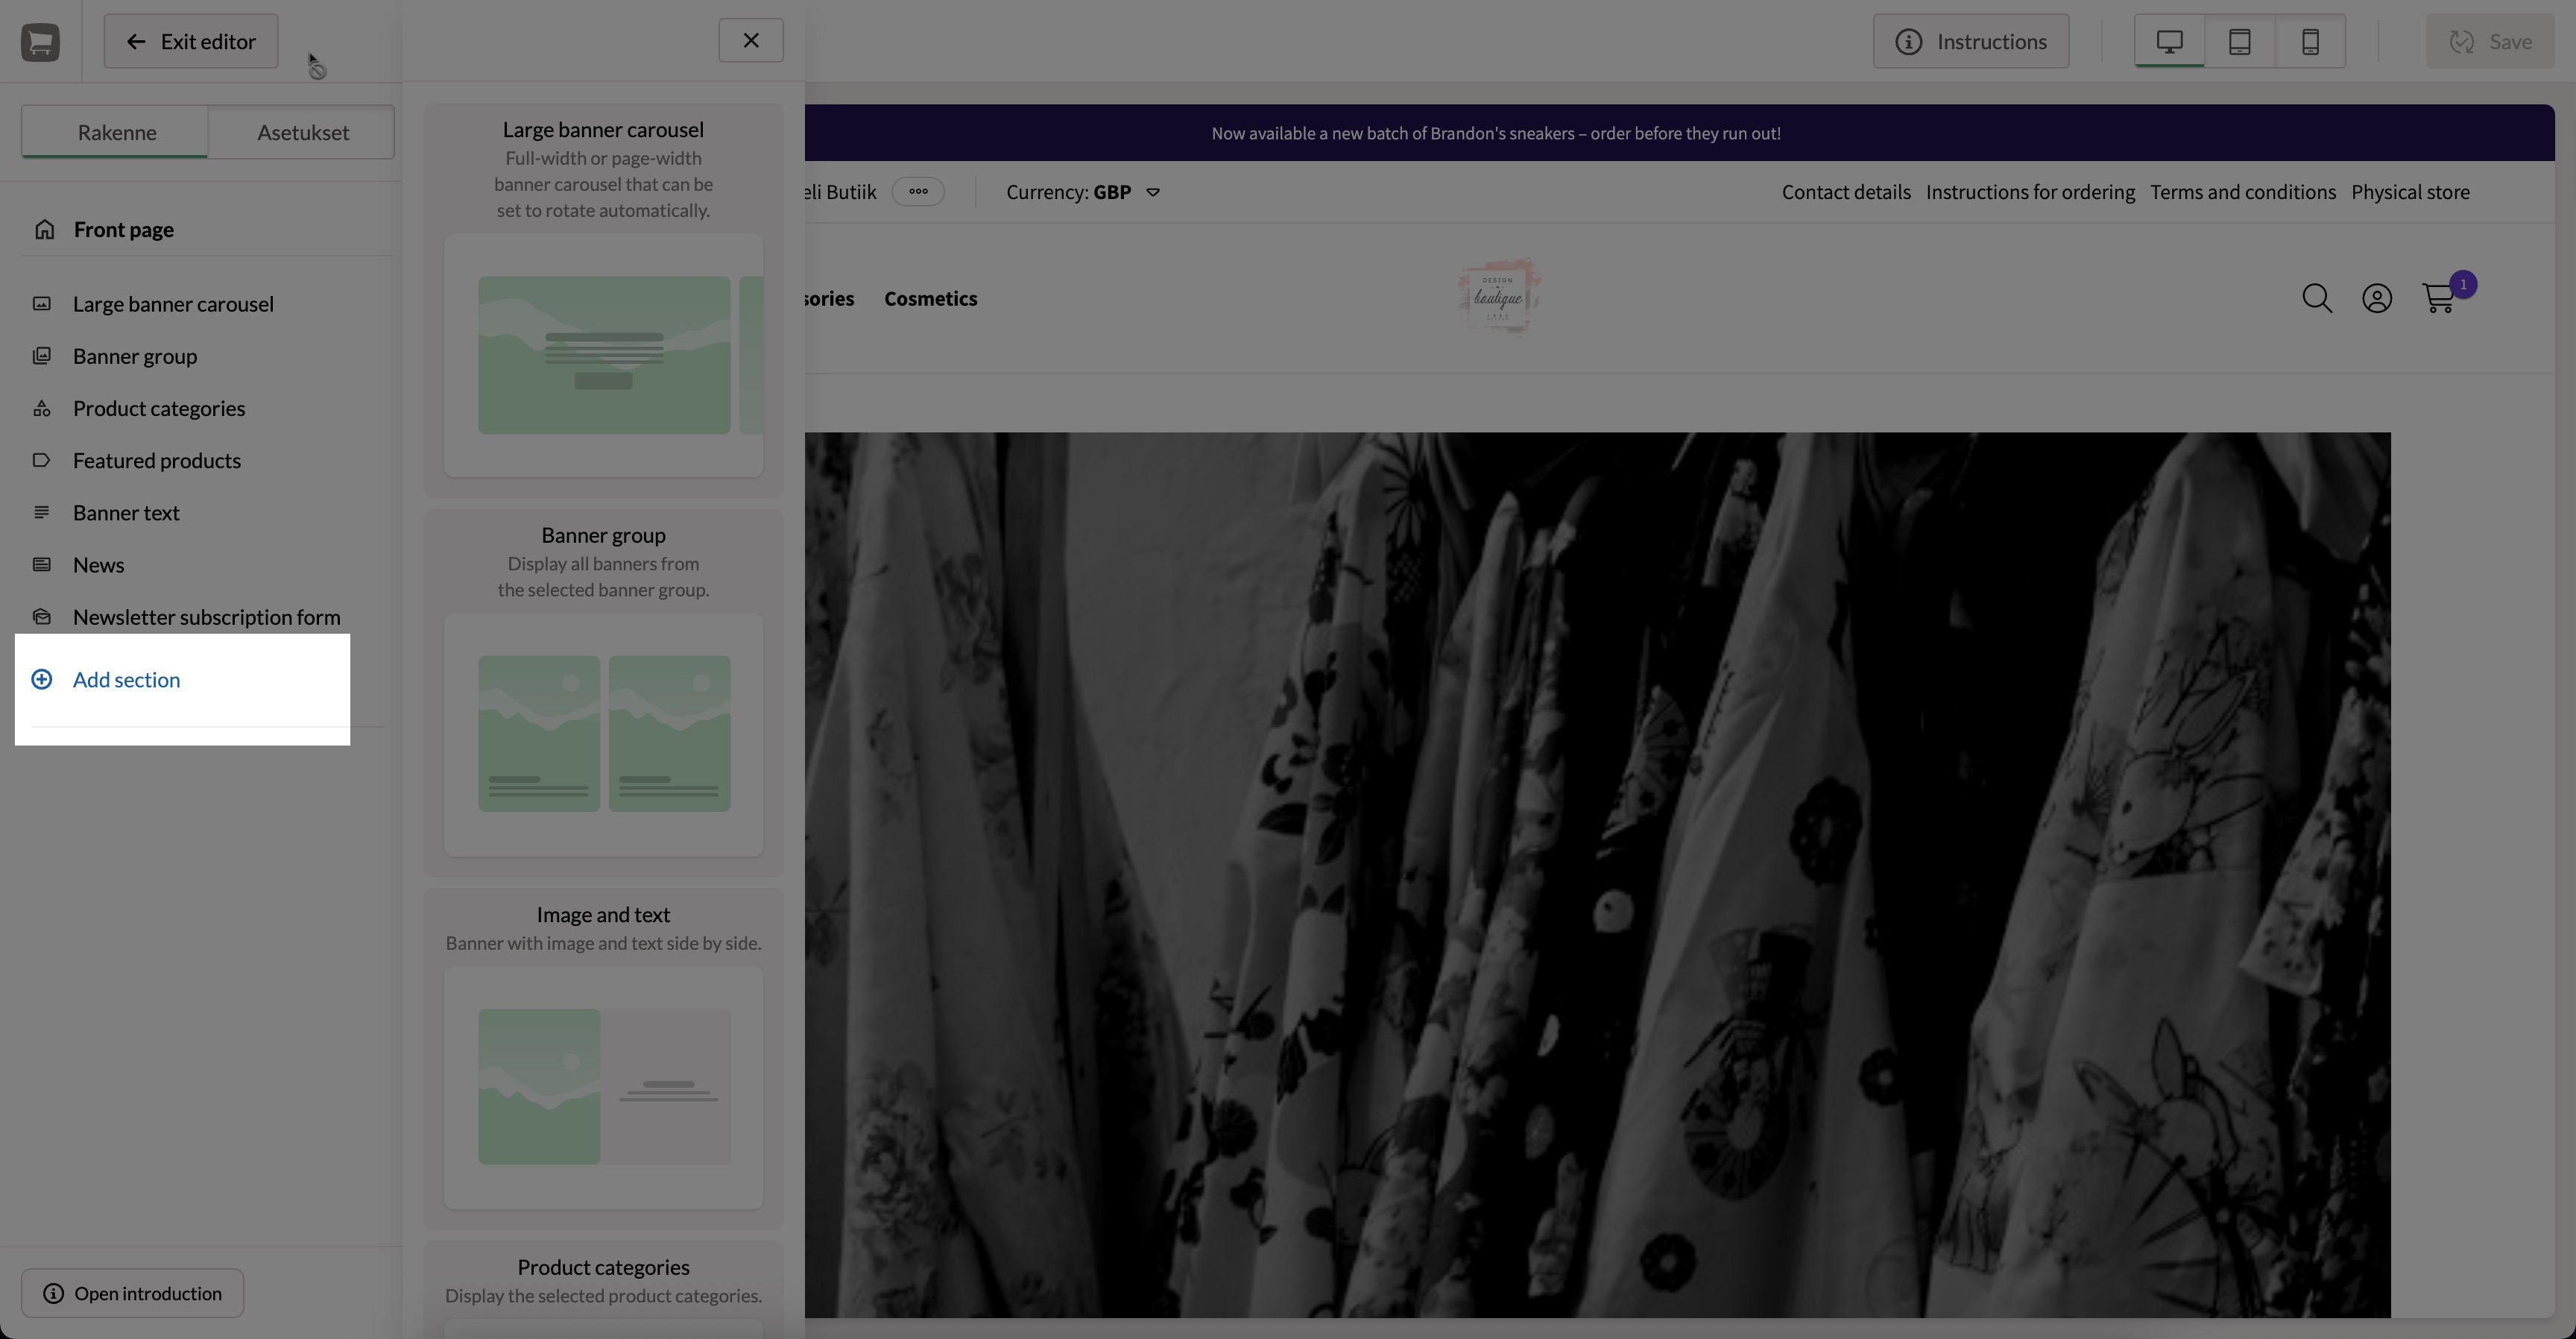
  6. Define the content section settings.

    Some content sections have settings that allow you to influence their content and presentation. Familiarize yourself with the section settings in the theme editor.

    The changes you make are updated in real-time in the editor's preview and as a draft before you publish the changes to the version.

  7. Save the content section.

If you want to edit the content section settings, open it from the list on the left panel, make the necessary changes, and save the section settings.

If you want to delete a content section, select it from the left sidebar and press the button in its settings.

Managing the settings

Theme settings are used to control the overall appearance of the theme (e.g., navigation structure, colors, fonts) and certain structural elements. The settings are saved in the theme editor as theme styles, which you can change at any time.

There are several ready-made styles available for the Fluid 2.0 theme that you can use as a basis for your own modifications. The changes you make will be saved as a separate Edited style.

  1. Open the theme editor from the admin panel's page User interface > Versions:
    1. In the sidebar on the left, select the version whose theme you want to edit.
    2. Click the Edit theme button above the version information.
  2. Select Settings from the left sidebar of the theme editor.
  3. Optional: Select a ready-made style from the top of the Settings column.
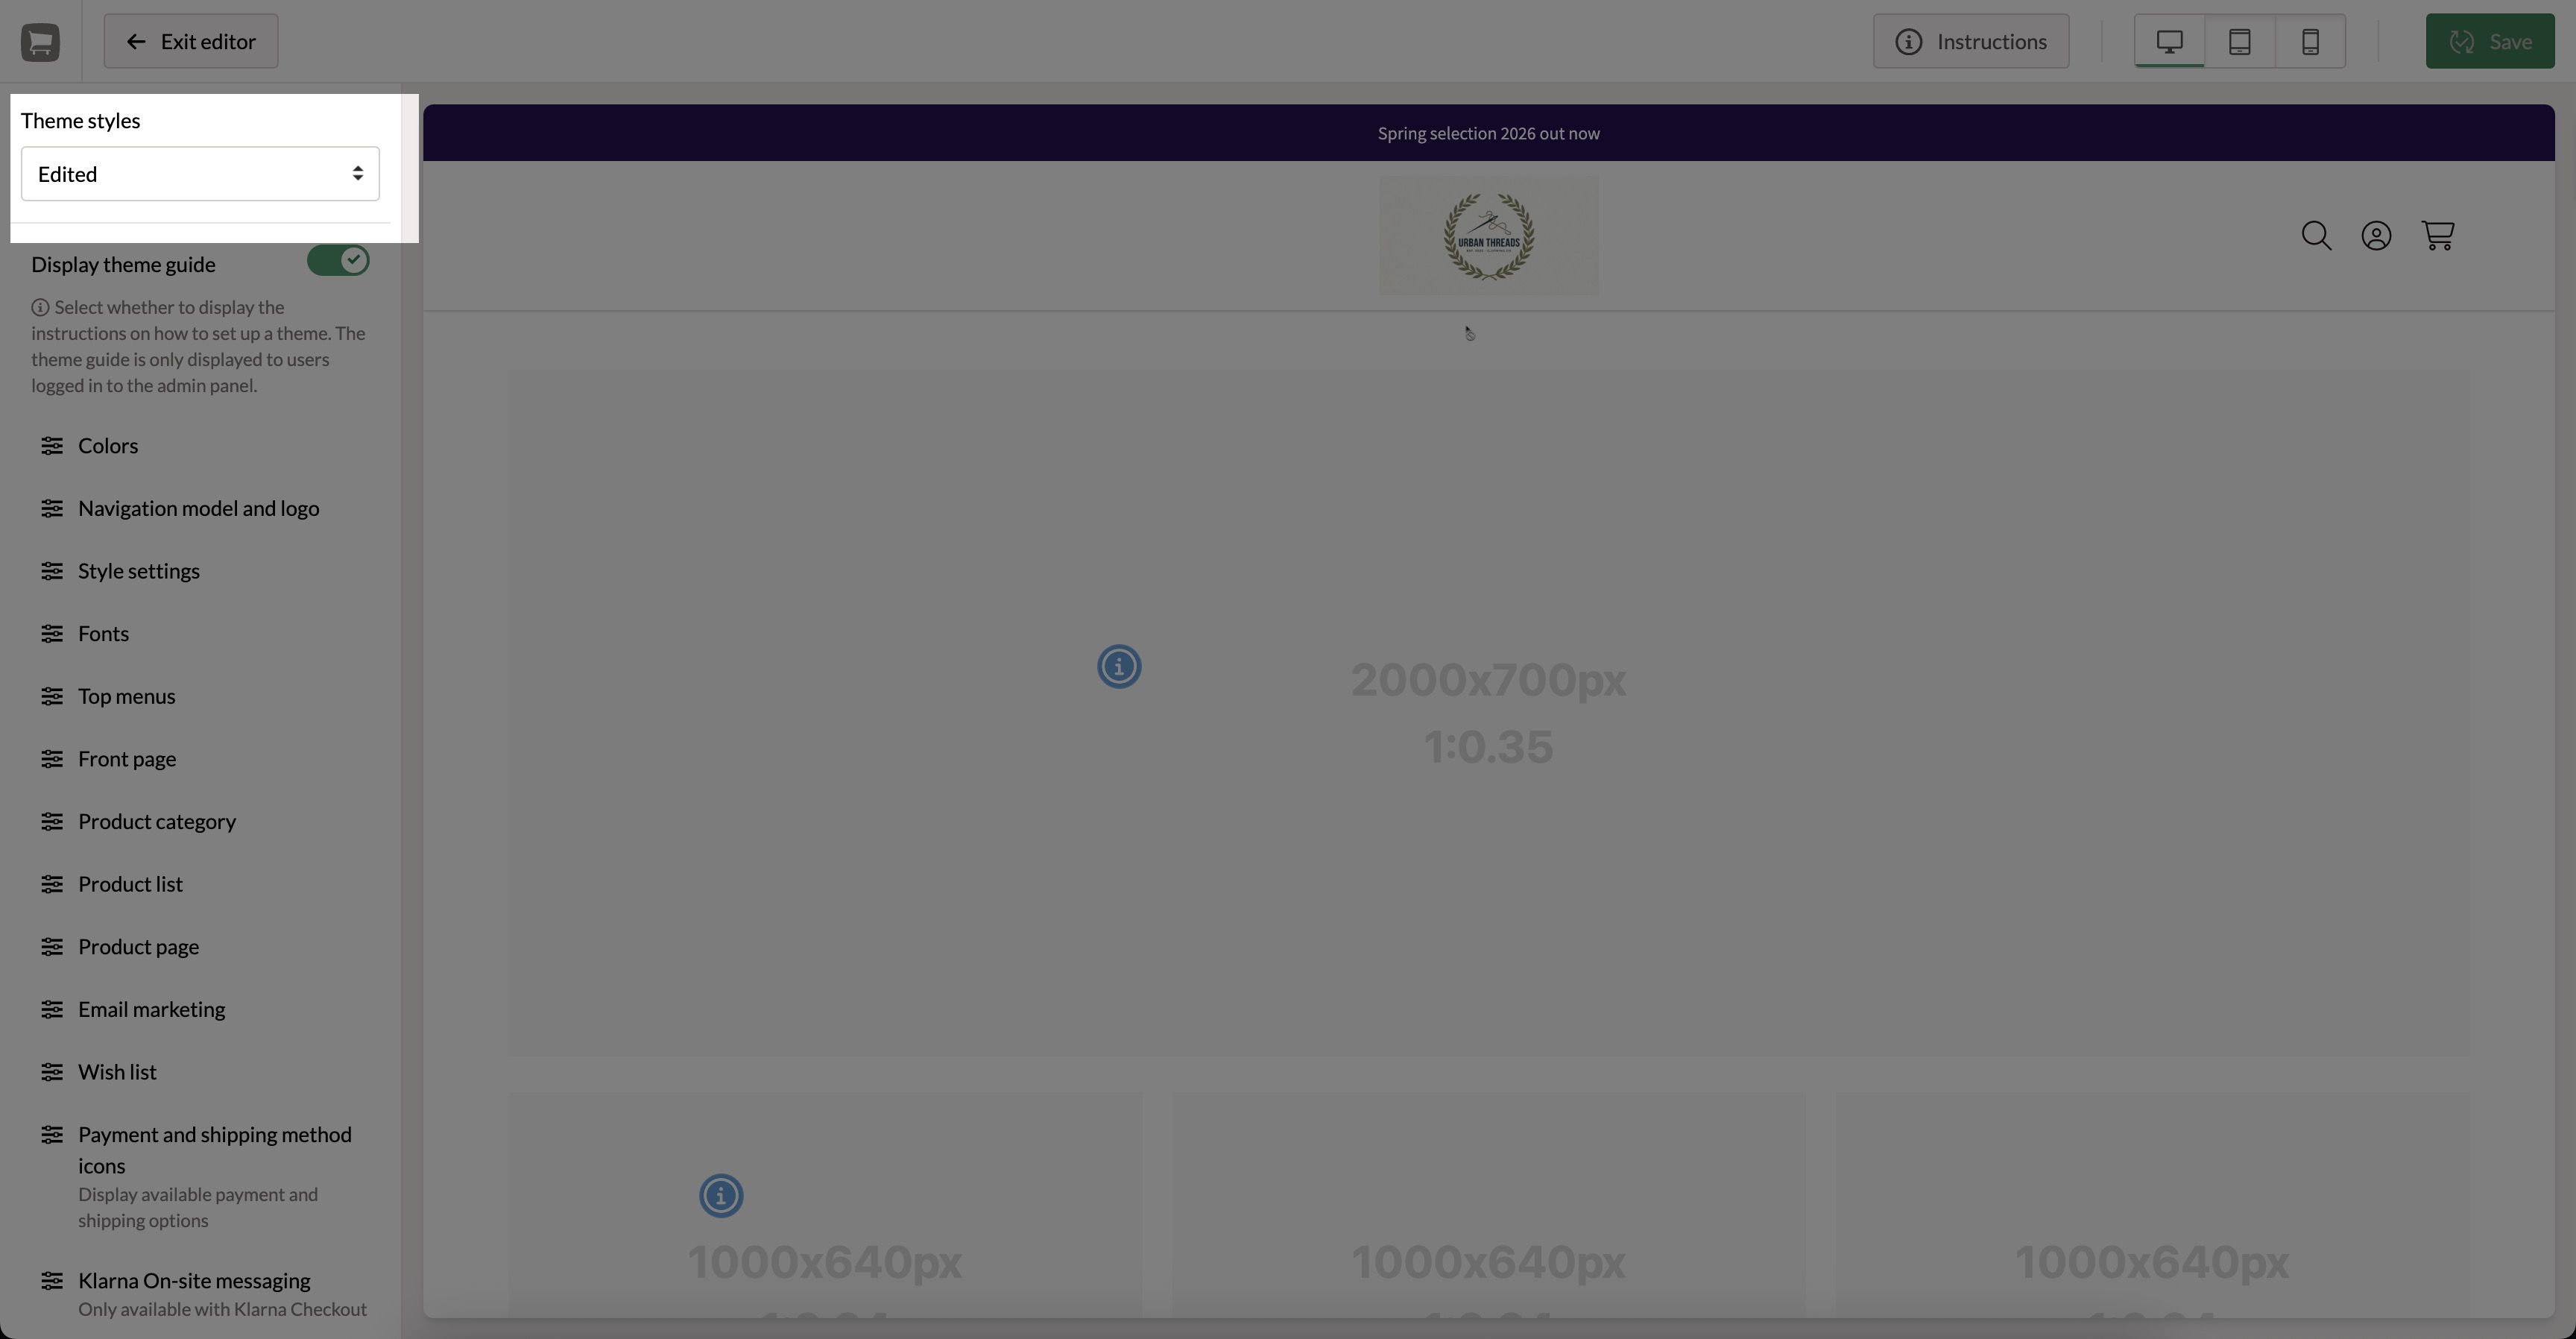
  4. Make the desired changes to the settings.

    Changes to values are automatically saved in the editor until you publish the theme. The changes you make to the ready-made templates are automatically saved as a new style named Modified.

    Editing predefined styles will overwrite your previous changes.

    If you have previously made changes to the settings and then edit another style, the changes will completely overwrite the previous style.

  5. When all changes are complete, press the Save button in the editor.

4/4: Publishing the theme

Once you have developed the theme in the hidden development version, you can publish the changes by copying the theme settings to a public version.

  1. Go to the admin panel page User interface > Versions.
  2. Press the left-hand Copy theme button.

    The copy view opens.

  3. Select the source and target version for copying.

    First select the source, click Select version, and then select the target.

  4. If needed, also copy the visibilities of the banners.

    This sets all the banners visible in the source version to appear in the corresponding areas in the target version. If a banner area is missing from the target version, the banners placed in that banner area will not be displayed.

  5. Finally, click the Copy button.
  6. First, select the version whose settings you want to copy and press the Select version button.
  7. Select the target version to which the settings are being copied, and press the Copy button.

    If you have used banners in the design, it may be useful to also copy the visibility settings of the banners so that they all appear the same way in the target version.

The changes you made are now public in the online store.