In this quick guide chapter, we add the first product to the store, begin creating the store's product category menu, and get acquainted with stock management.
Adding products
It is possible to create products in bulk using CSV import.
This can be useful if you are transferring to MyCashflow from another system.
See the CSV import instructions.
See also the attached CSV import file templates:
Explore adding products with this interactive guide and read a more detailed description of the topic below:
Here's how to add products to the online store:
- Press the button.
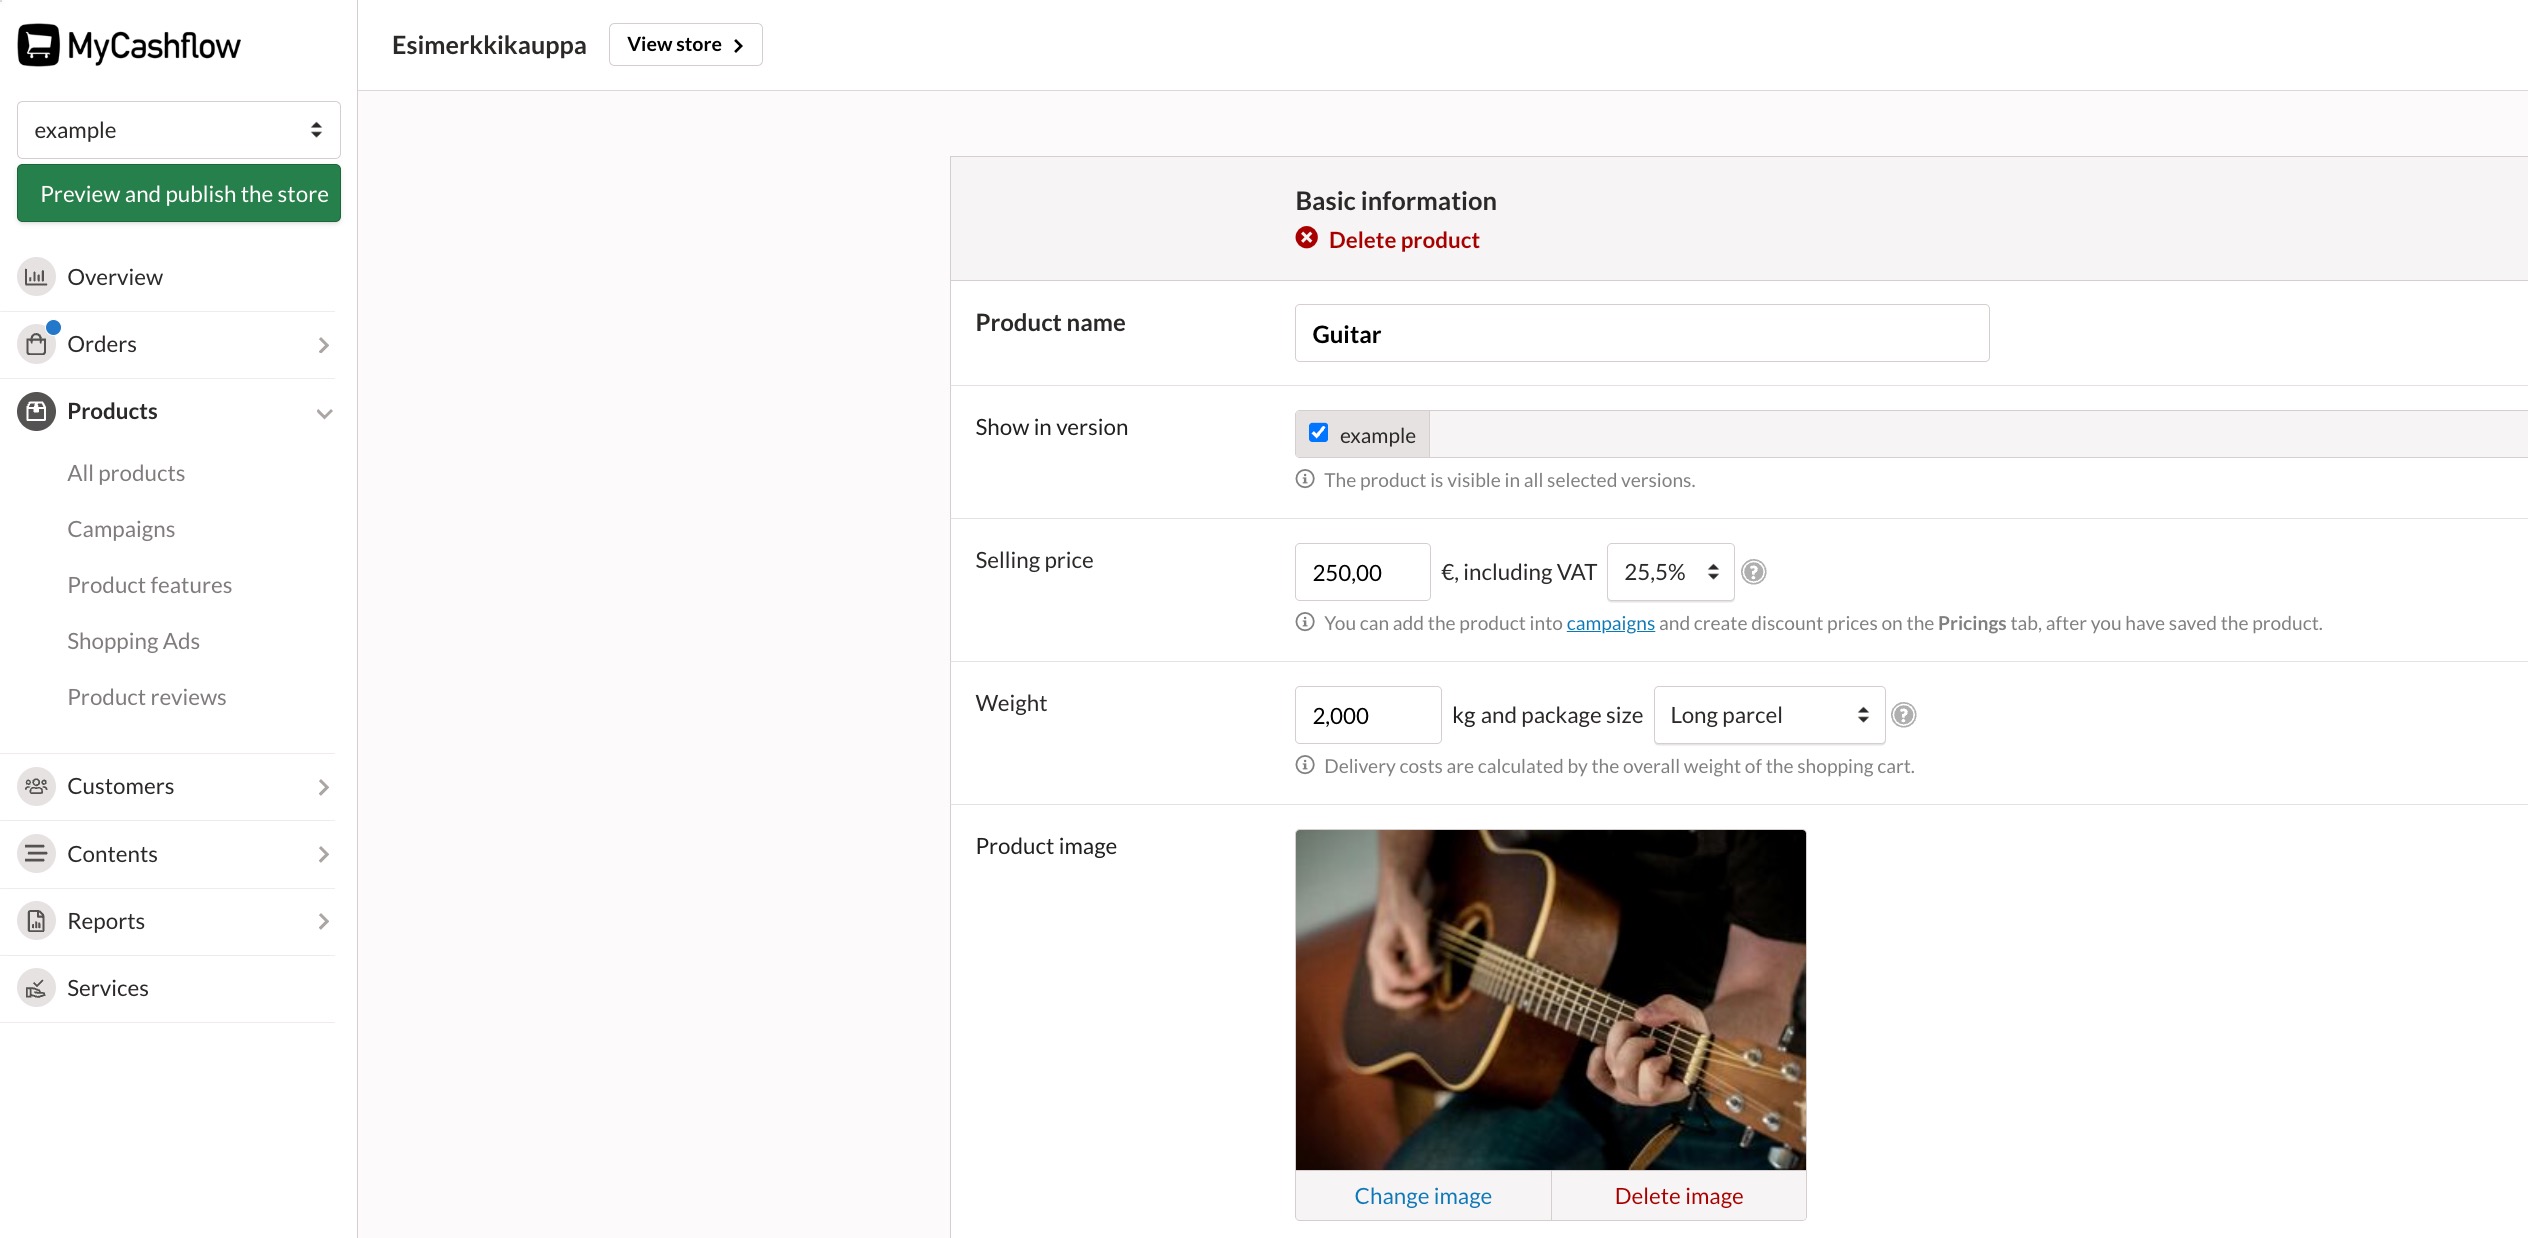
The product form opens.
On the product form, you can manage product information, such as the name, price and description.
Check what the product looks like in the online store by pressing the button in the top bar.
Whenever you make changes to products, you should check how they look in the online store to spot any potential issues before your customers do.
Later, you should more precisely specify the product details, such as the description texts. An impressive product image and good descriptive texts promote product sales.
Also read:
- Detailed instructions for product management
- Instructions for managing product images
Creating the category menu
In MyCashflow, you can group products into product categories. Product categories form the navigation menu of the online store, allowing customers to browse the store's products.
Whenever you create a new product category, the system adds a new product category page to the online store, which includes the products belonging to the product category.
Explore creating a product category menu with the help of this interactive presentation, and read more below.
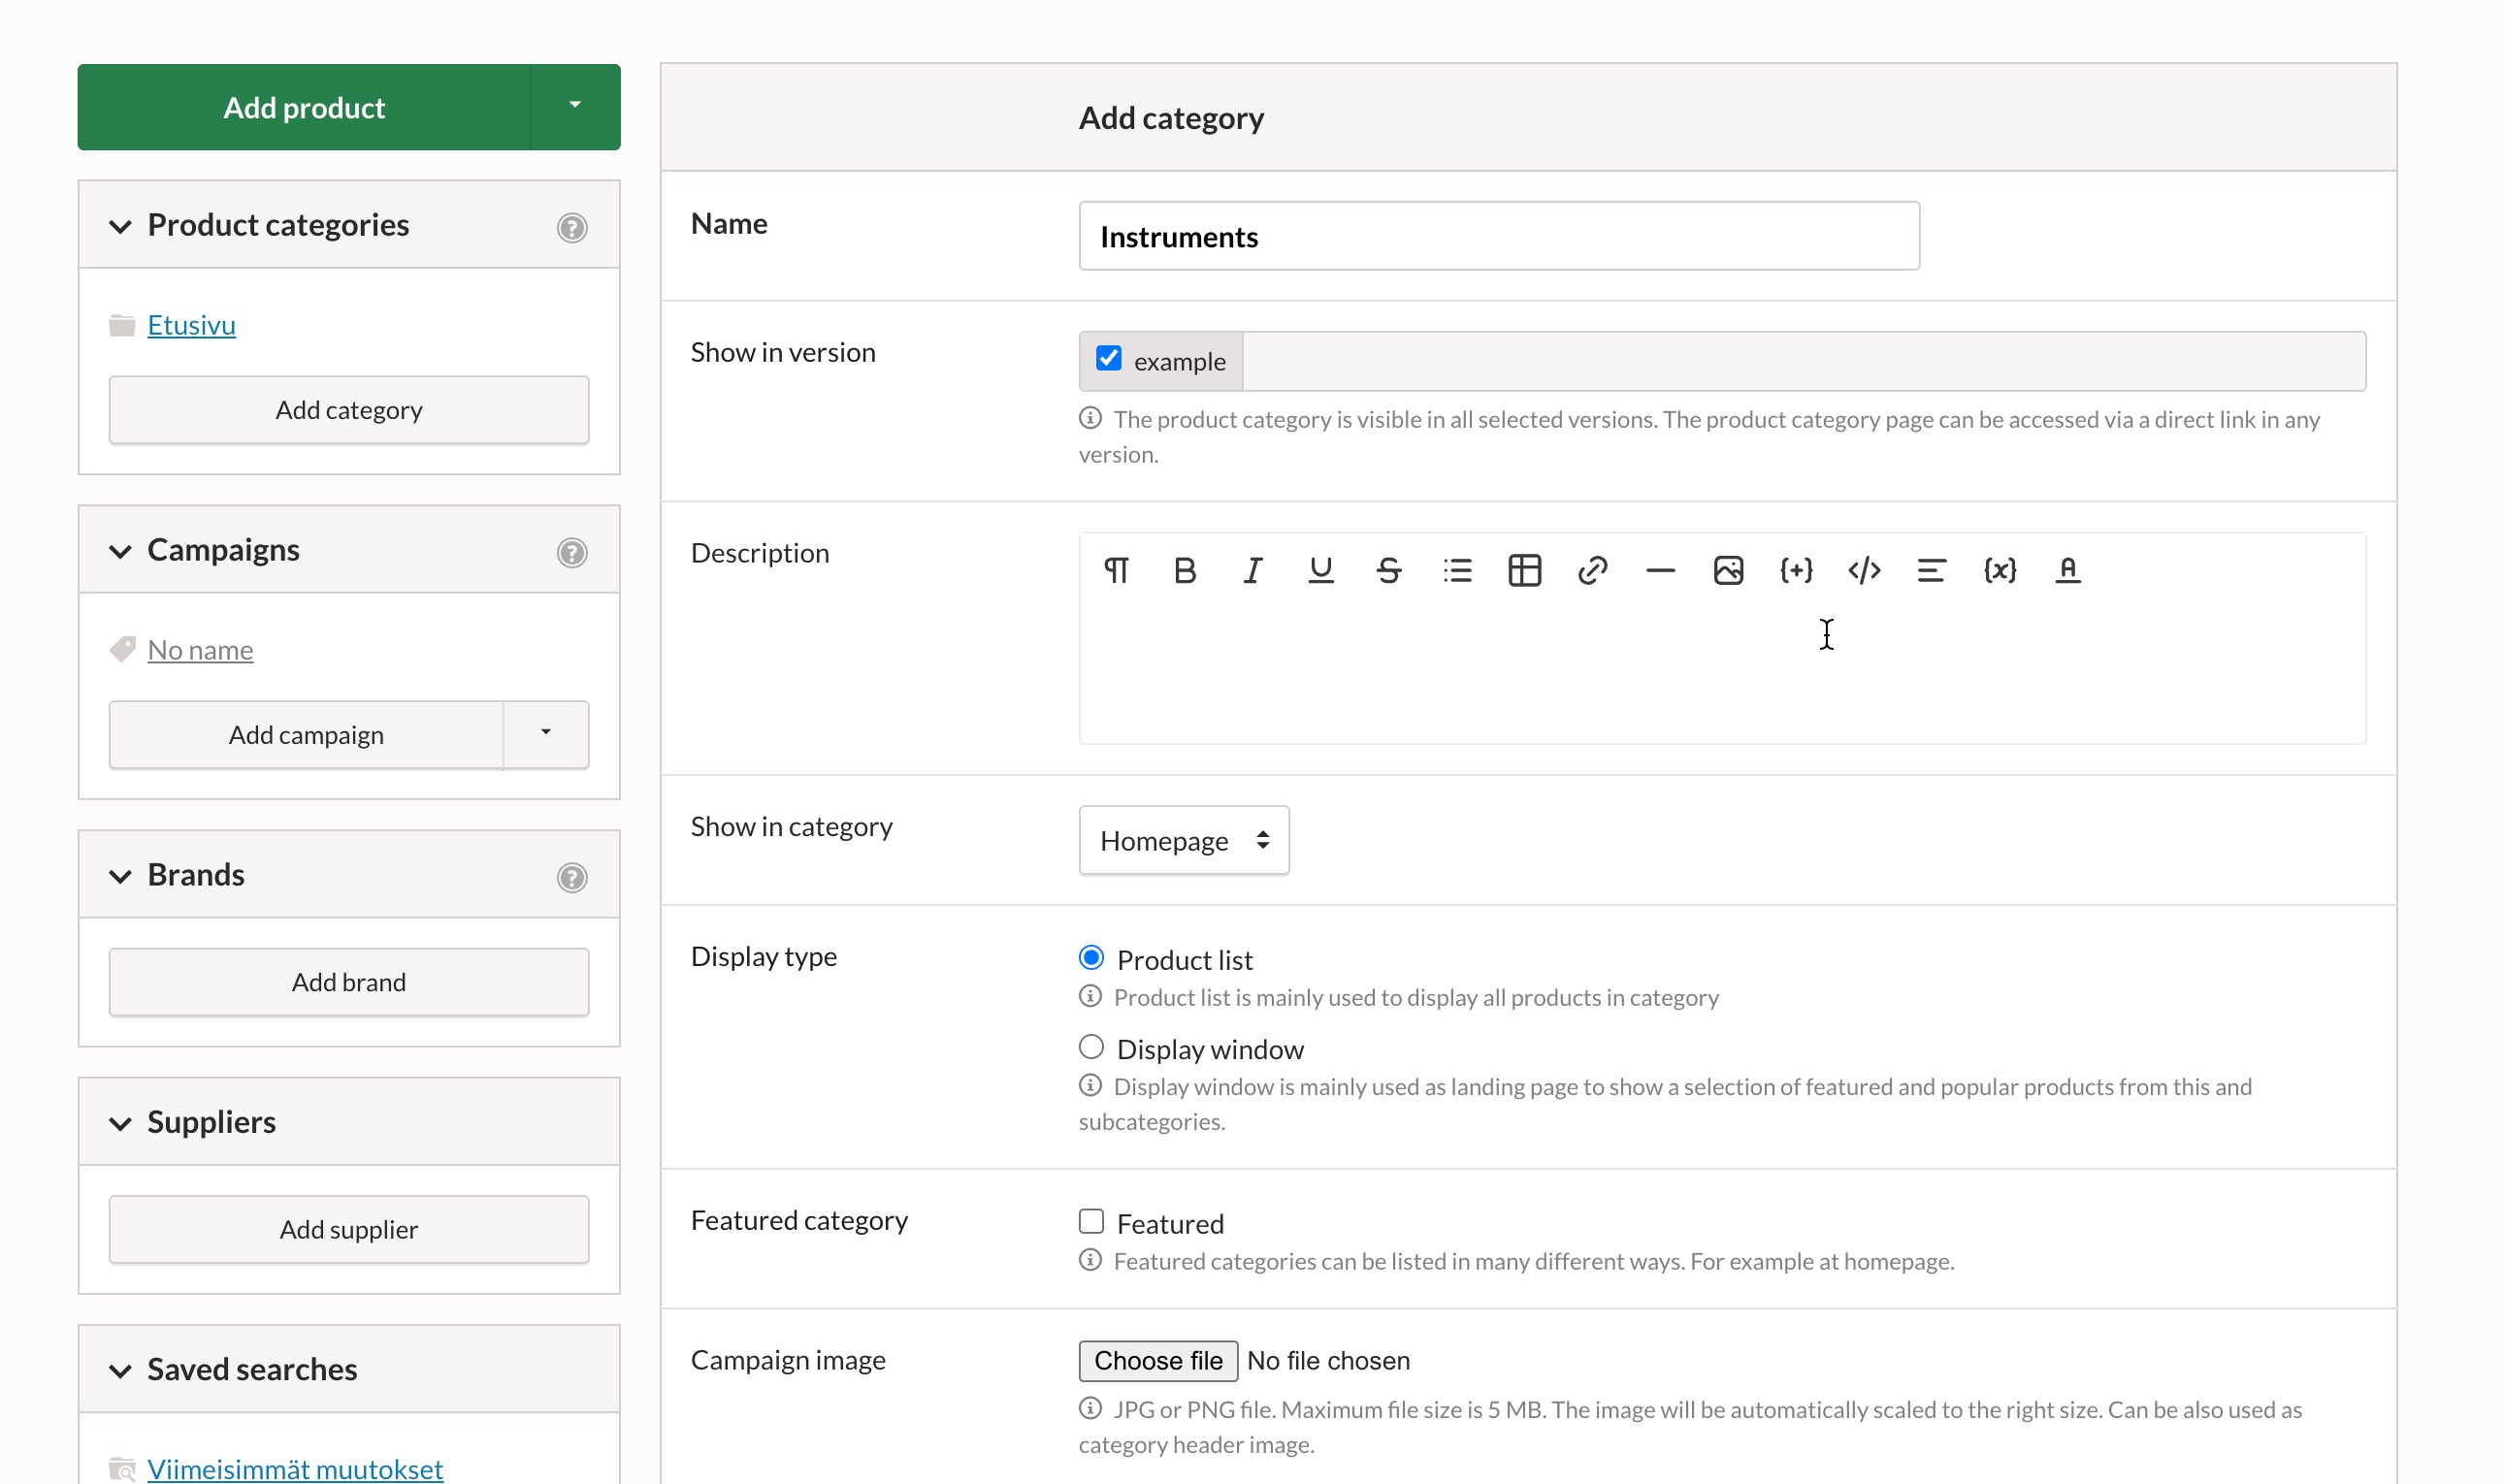
How to create the first product category in your online store:
- Press the button.
The product category form opens.
Now you can add the product you previously created to the product category:
- Find the section in the right-hand column of the product card.

Finally, go to the public side of the store by pressing the button in the top bar and check out the product category you created.
One product can also belong to multiple product categories at the same time. This can make it easier to find products in an online store, especially if the store's product selection is large.
You can also categorize products using brands.
Other product management tools
Below is a brief introduction to other key product management features of MyCashflow.
Stock management
- keep a record of product stock balances
- determine whether the selling of a product continues or ends when the product is out of stock.
- set a stock alert for a product, which will notify you when it is running low in stock
- offer customers the opportunity to order an availability notification, which they will receive by email when out-of-stock products become available again.
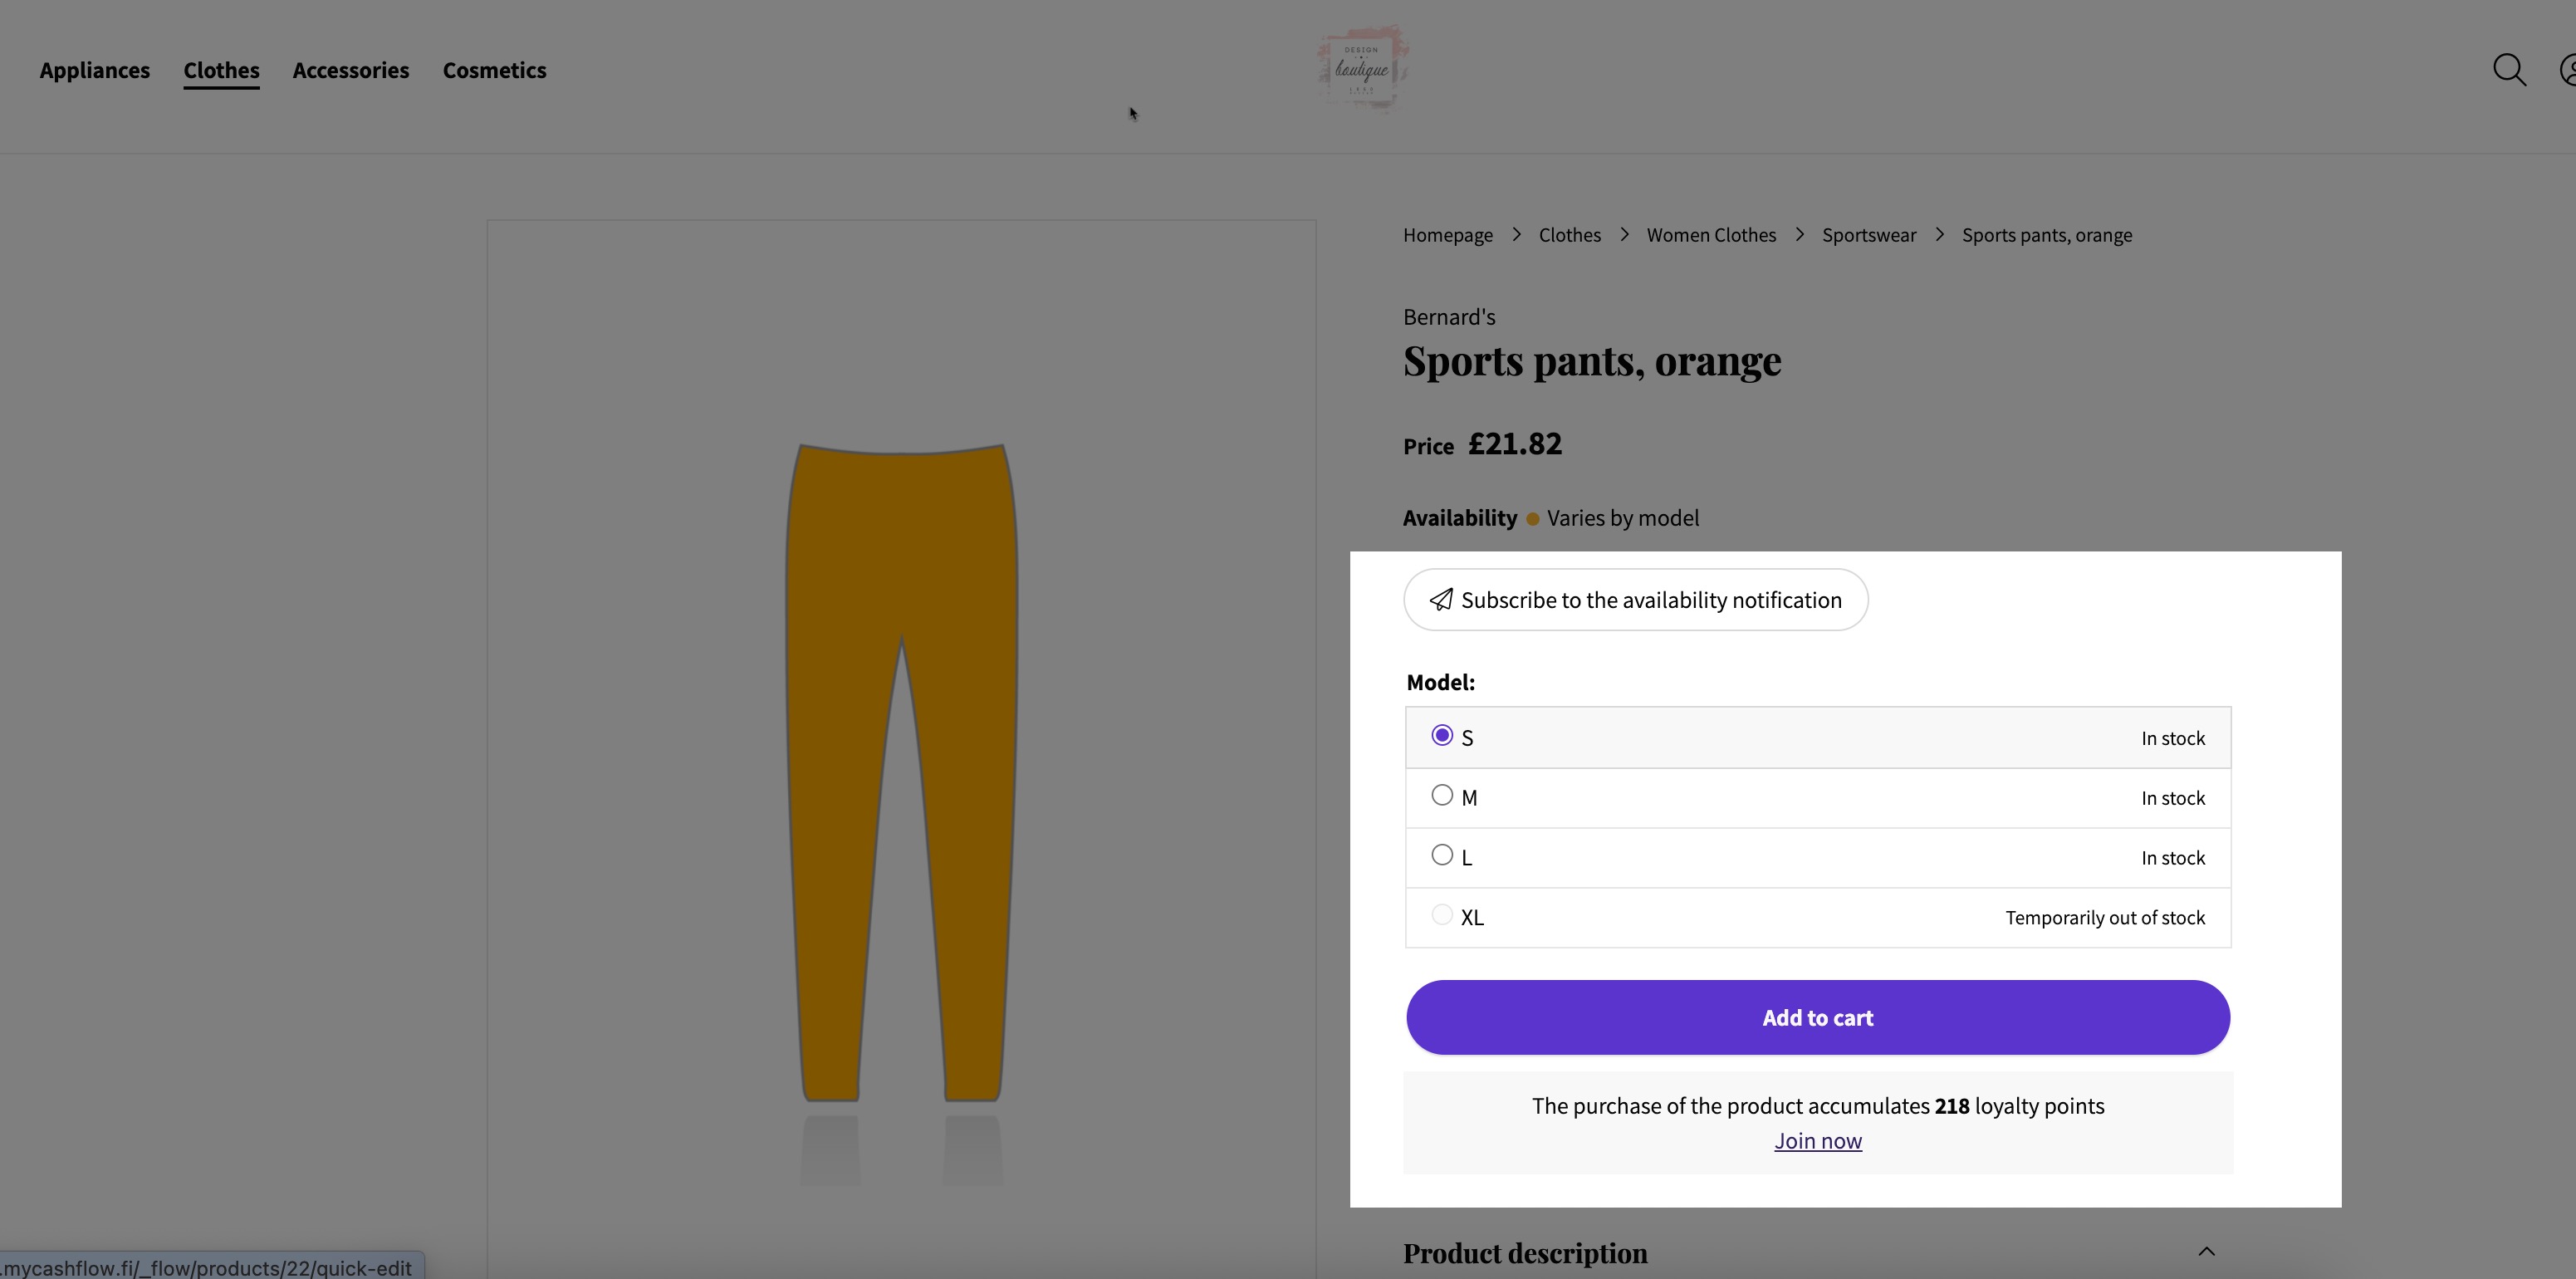
Variations (sizes, models, etc.)
You can create variations for products (sizes, models, color options, etc.).
For each variation, you can set up individual stock tracking, allowing you to keep track of the stock status of individual sizes, for example.
When purchasing a product from the online store, the customer selects the desired variation to add to the shopping cart.
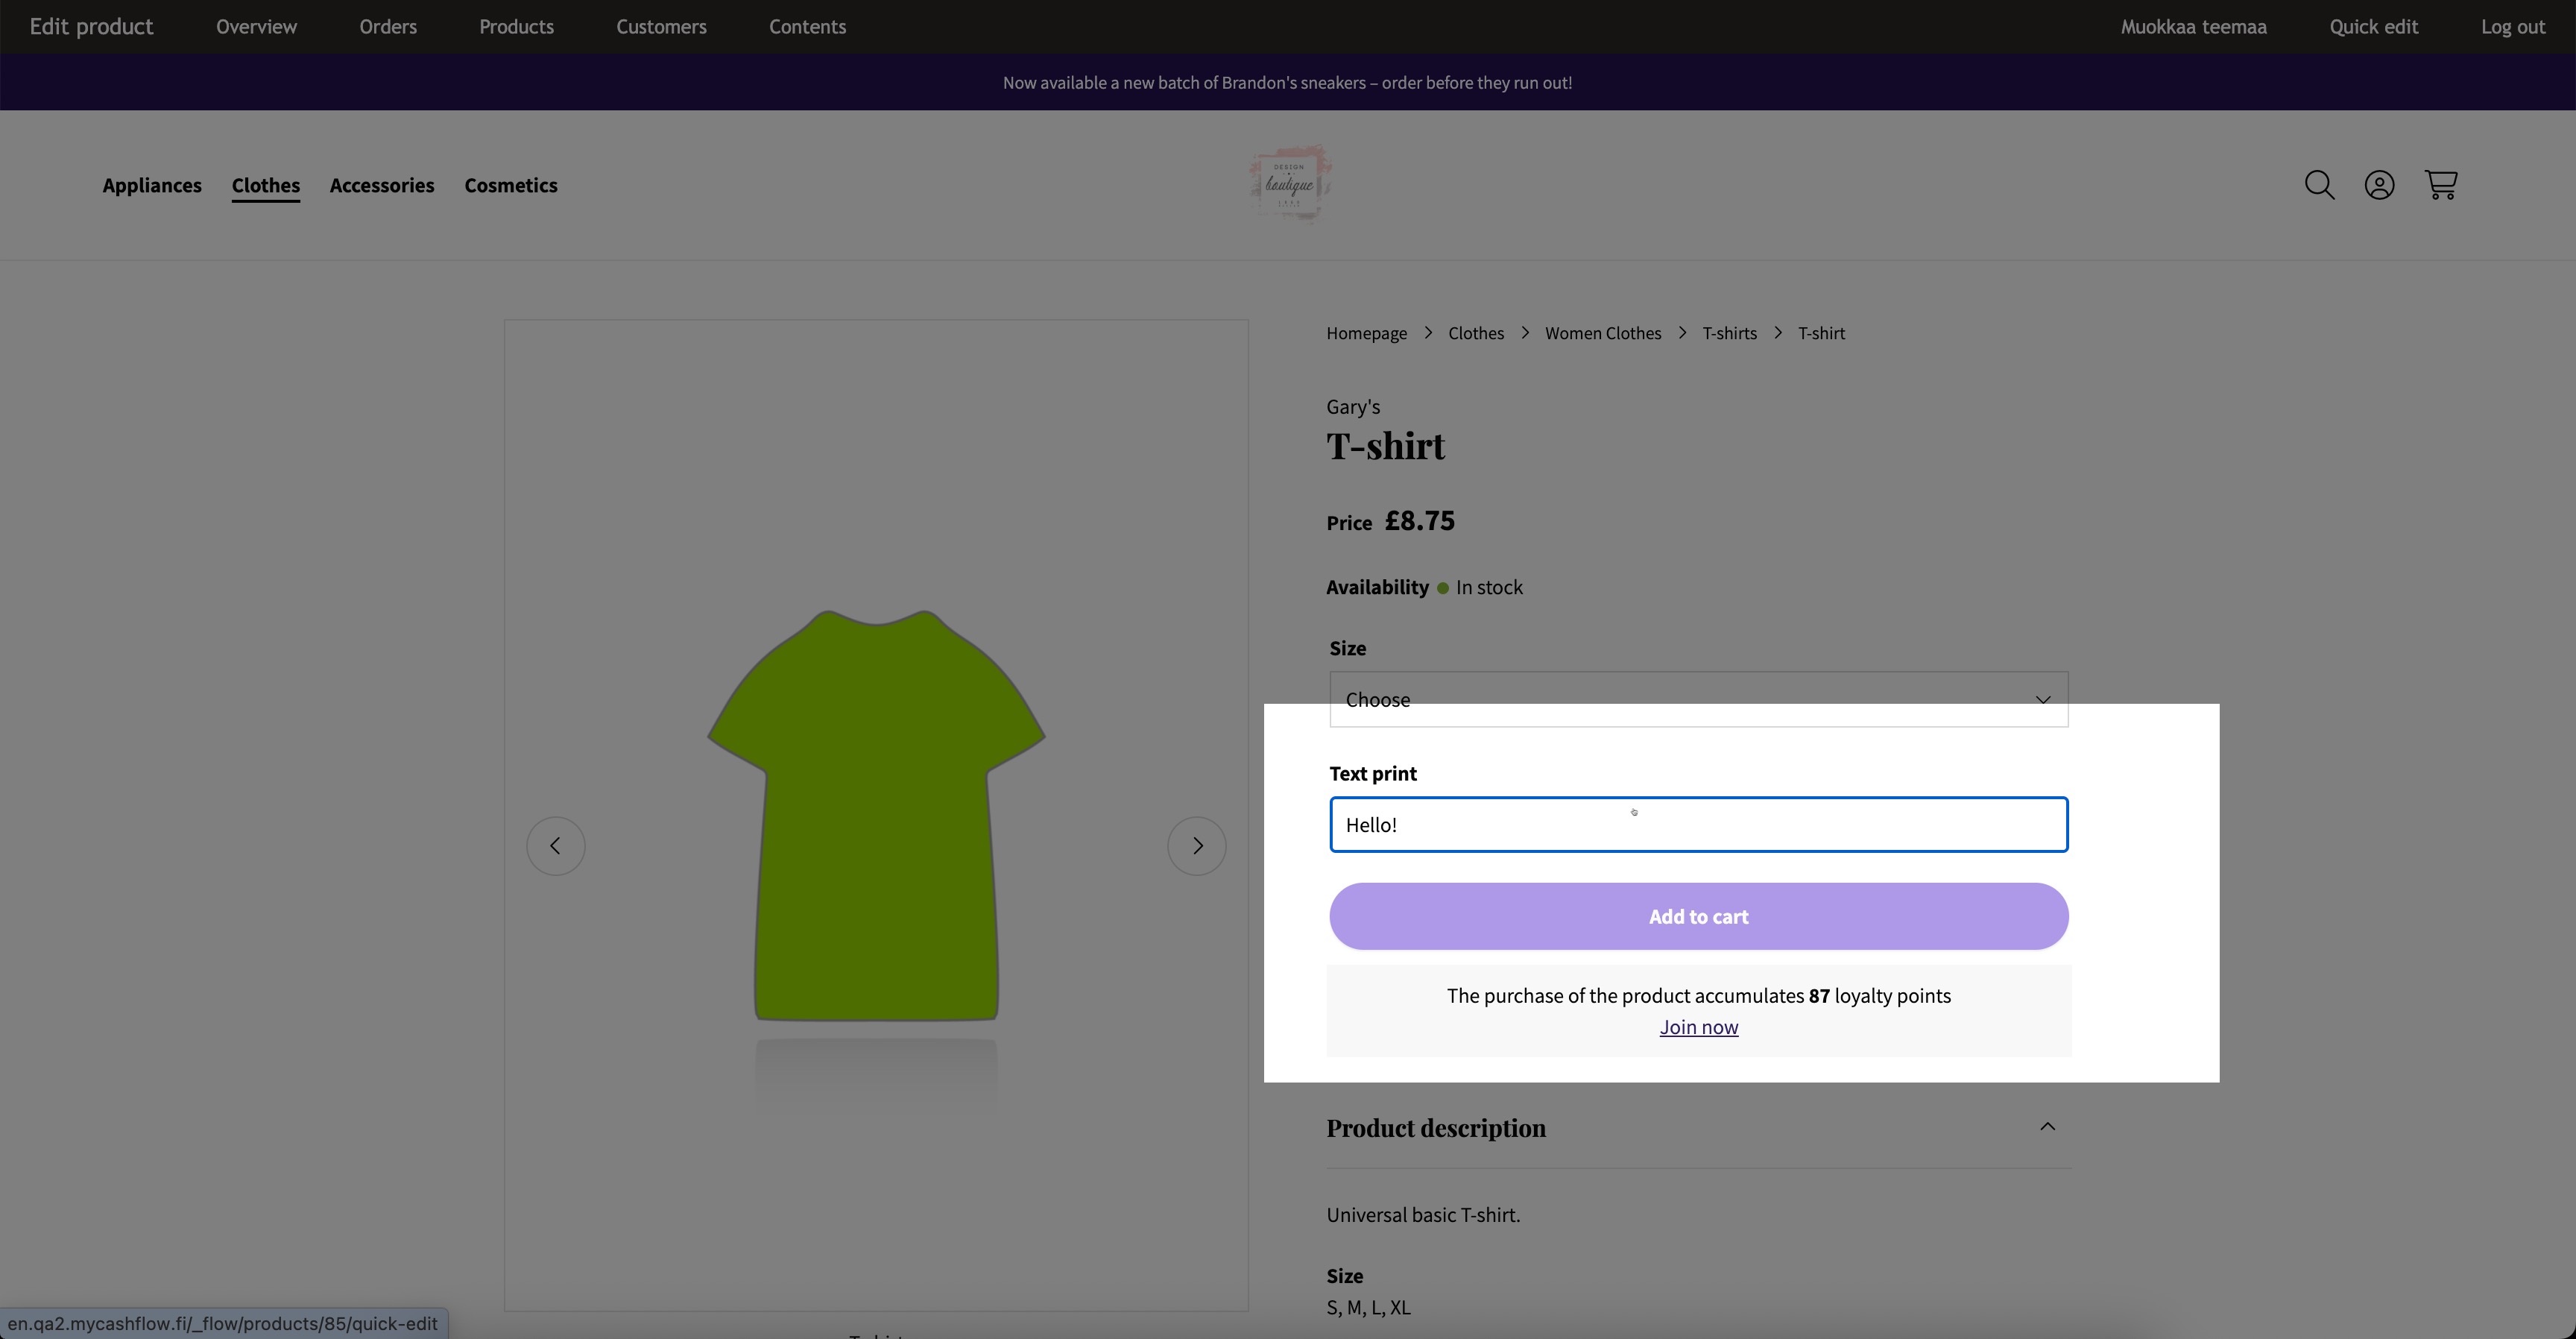
Customizations
Customizable products have features that customers can define individually. A customizable feature can be, for example, printable text.
Since customizations are features specified by customers on a per-order basis, it is not possible to track their stock balance (unlike variations).