

In this quick guide chapter, we explore typical e-commerce content pages and go through how you can create new content pages to showcase your company and its practices.
An online store may have content pages such as the following:
- company presentation (company story, mission statement, values, etc.)
- introduction of a brick-and-mortar store
- Order instructions
- answers to frequently asked questions
- a contact form
- terms and conditions and return policy
- privacy notice
Your new MyCashflow store includes a contact form and terms and conditions by default (which you can edit if necessary). You can add other content pages by following the instructions below.
The terms and conditions and privacy notice are statutory contents of the online store, and they are discussed in more detail in chapter 7 of this quick guide.
Content pages in the default theme
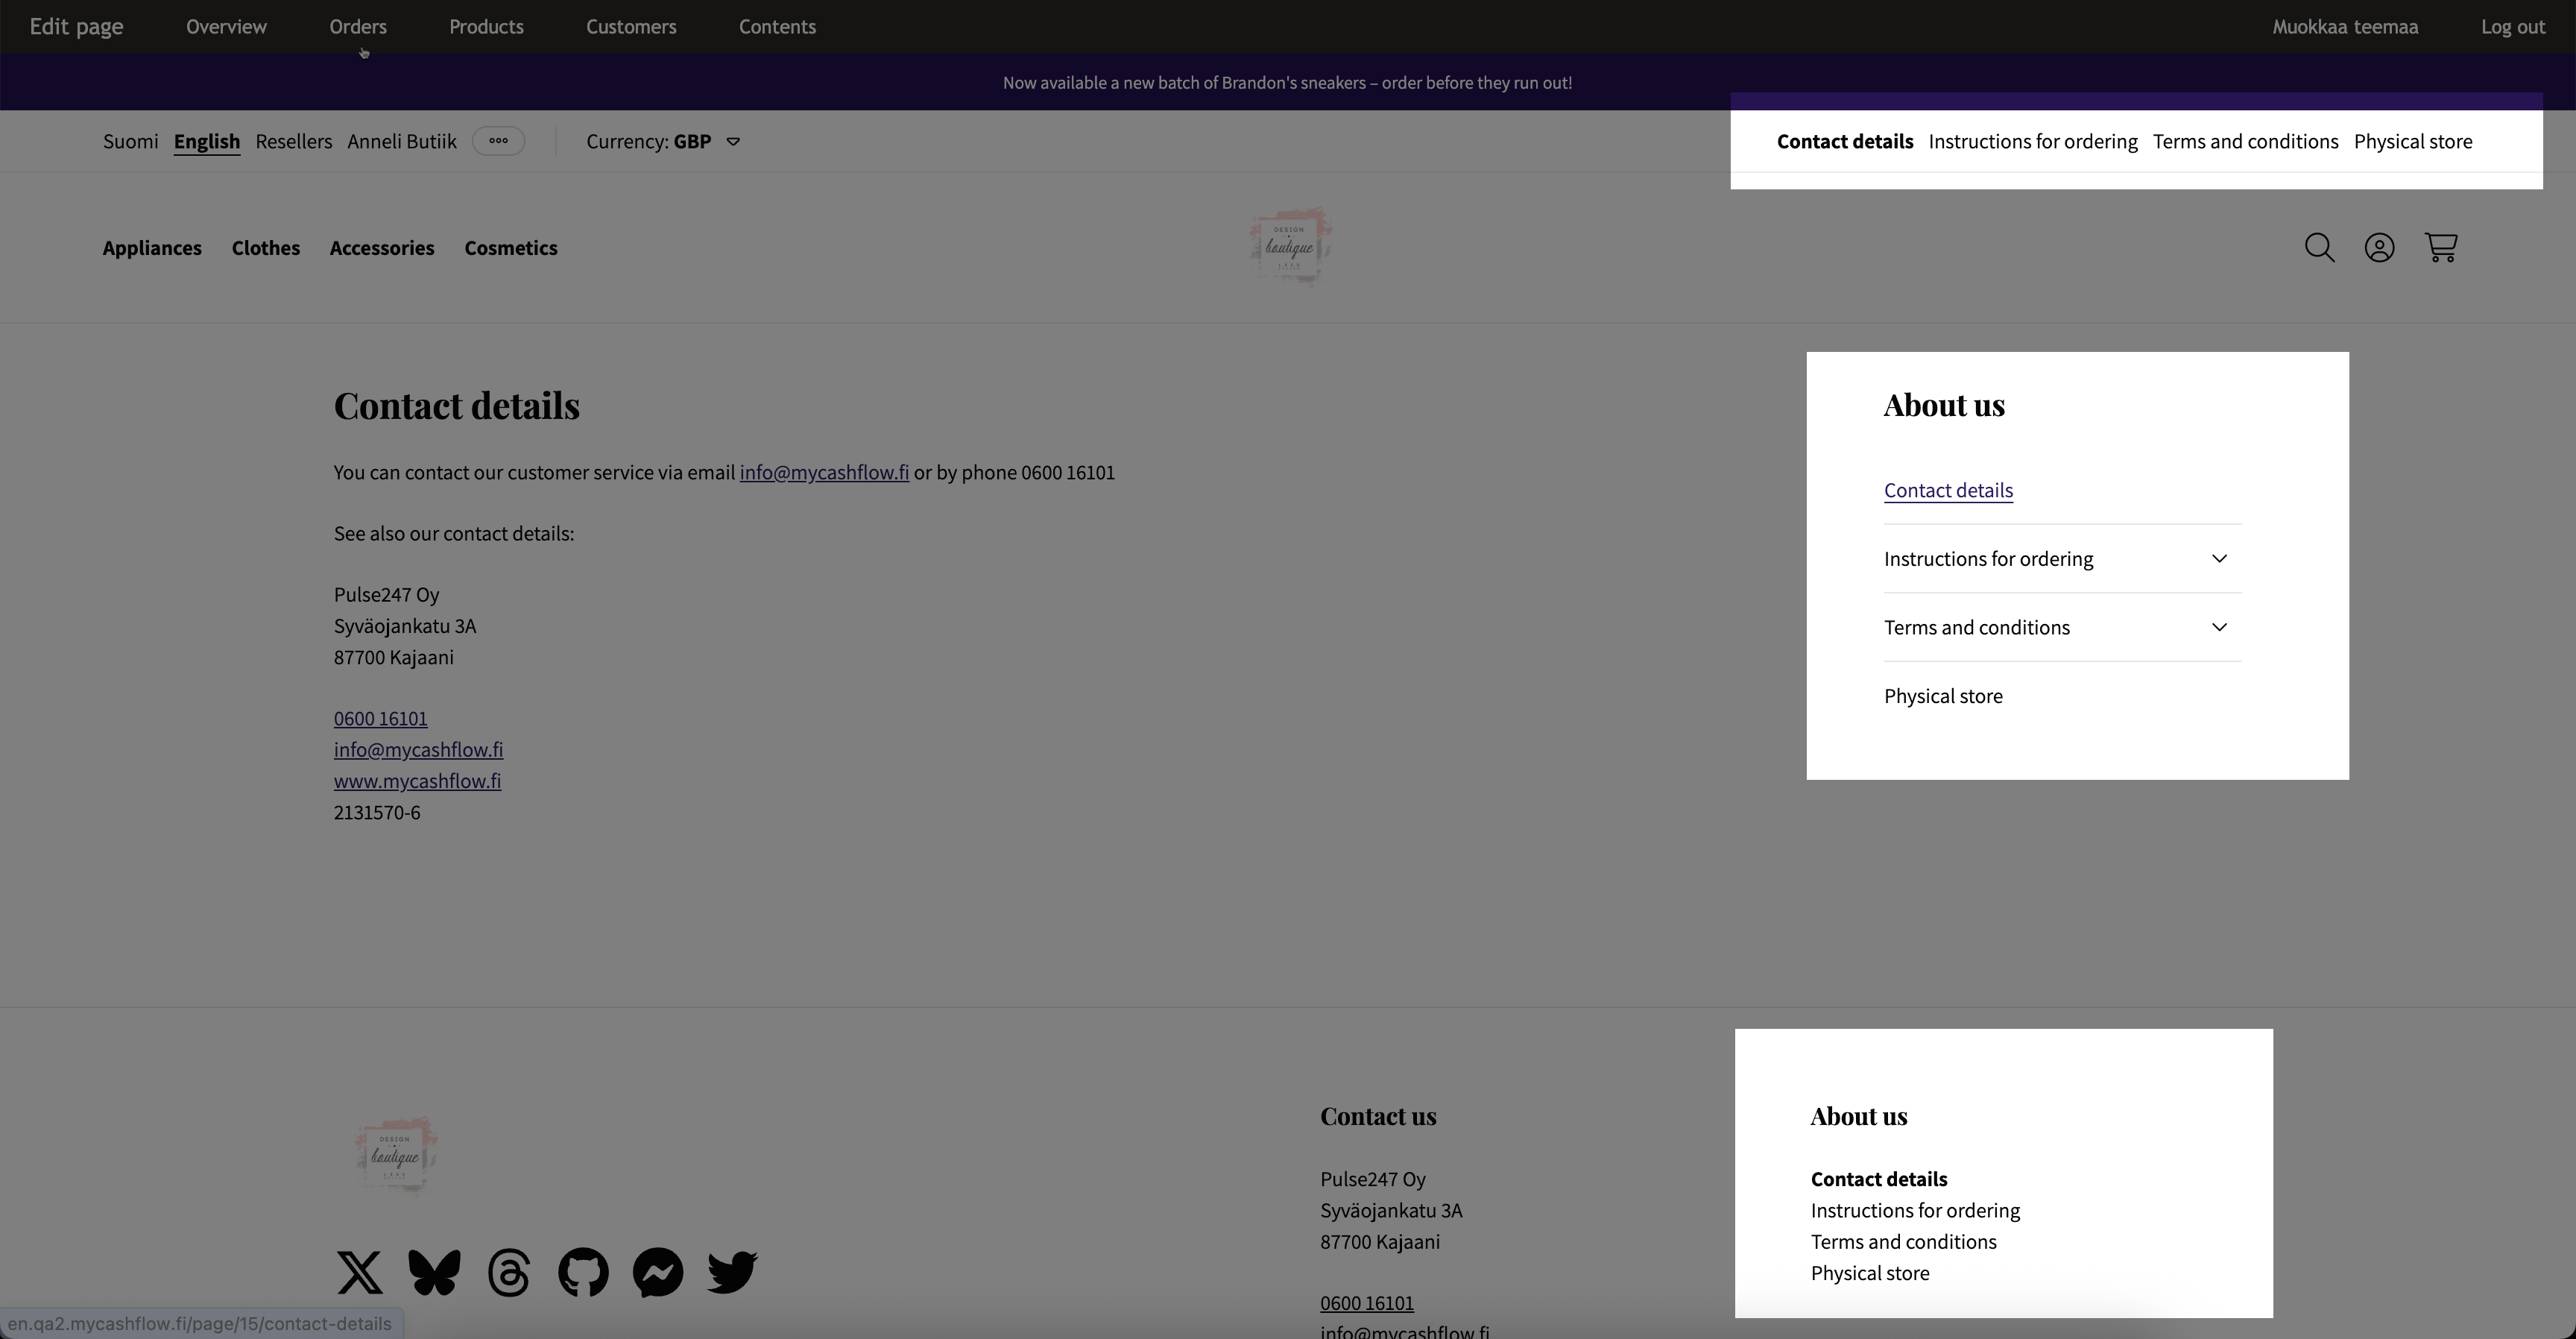
In a new online store using the default theme, content pages are available through the links visible in the upper right corner or from the side menu in mobile view. A similar menu appears on the right side of each content page (such as the contact form below) and in the footer of the online store.
Adding a new content page
Below is an interactive example and a step-by-step description of adding a new content page.
- Press .
The content page form opens.
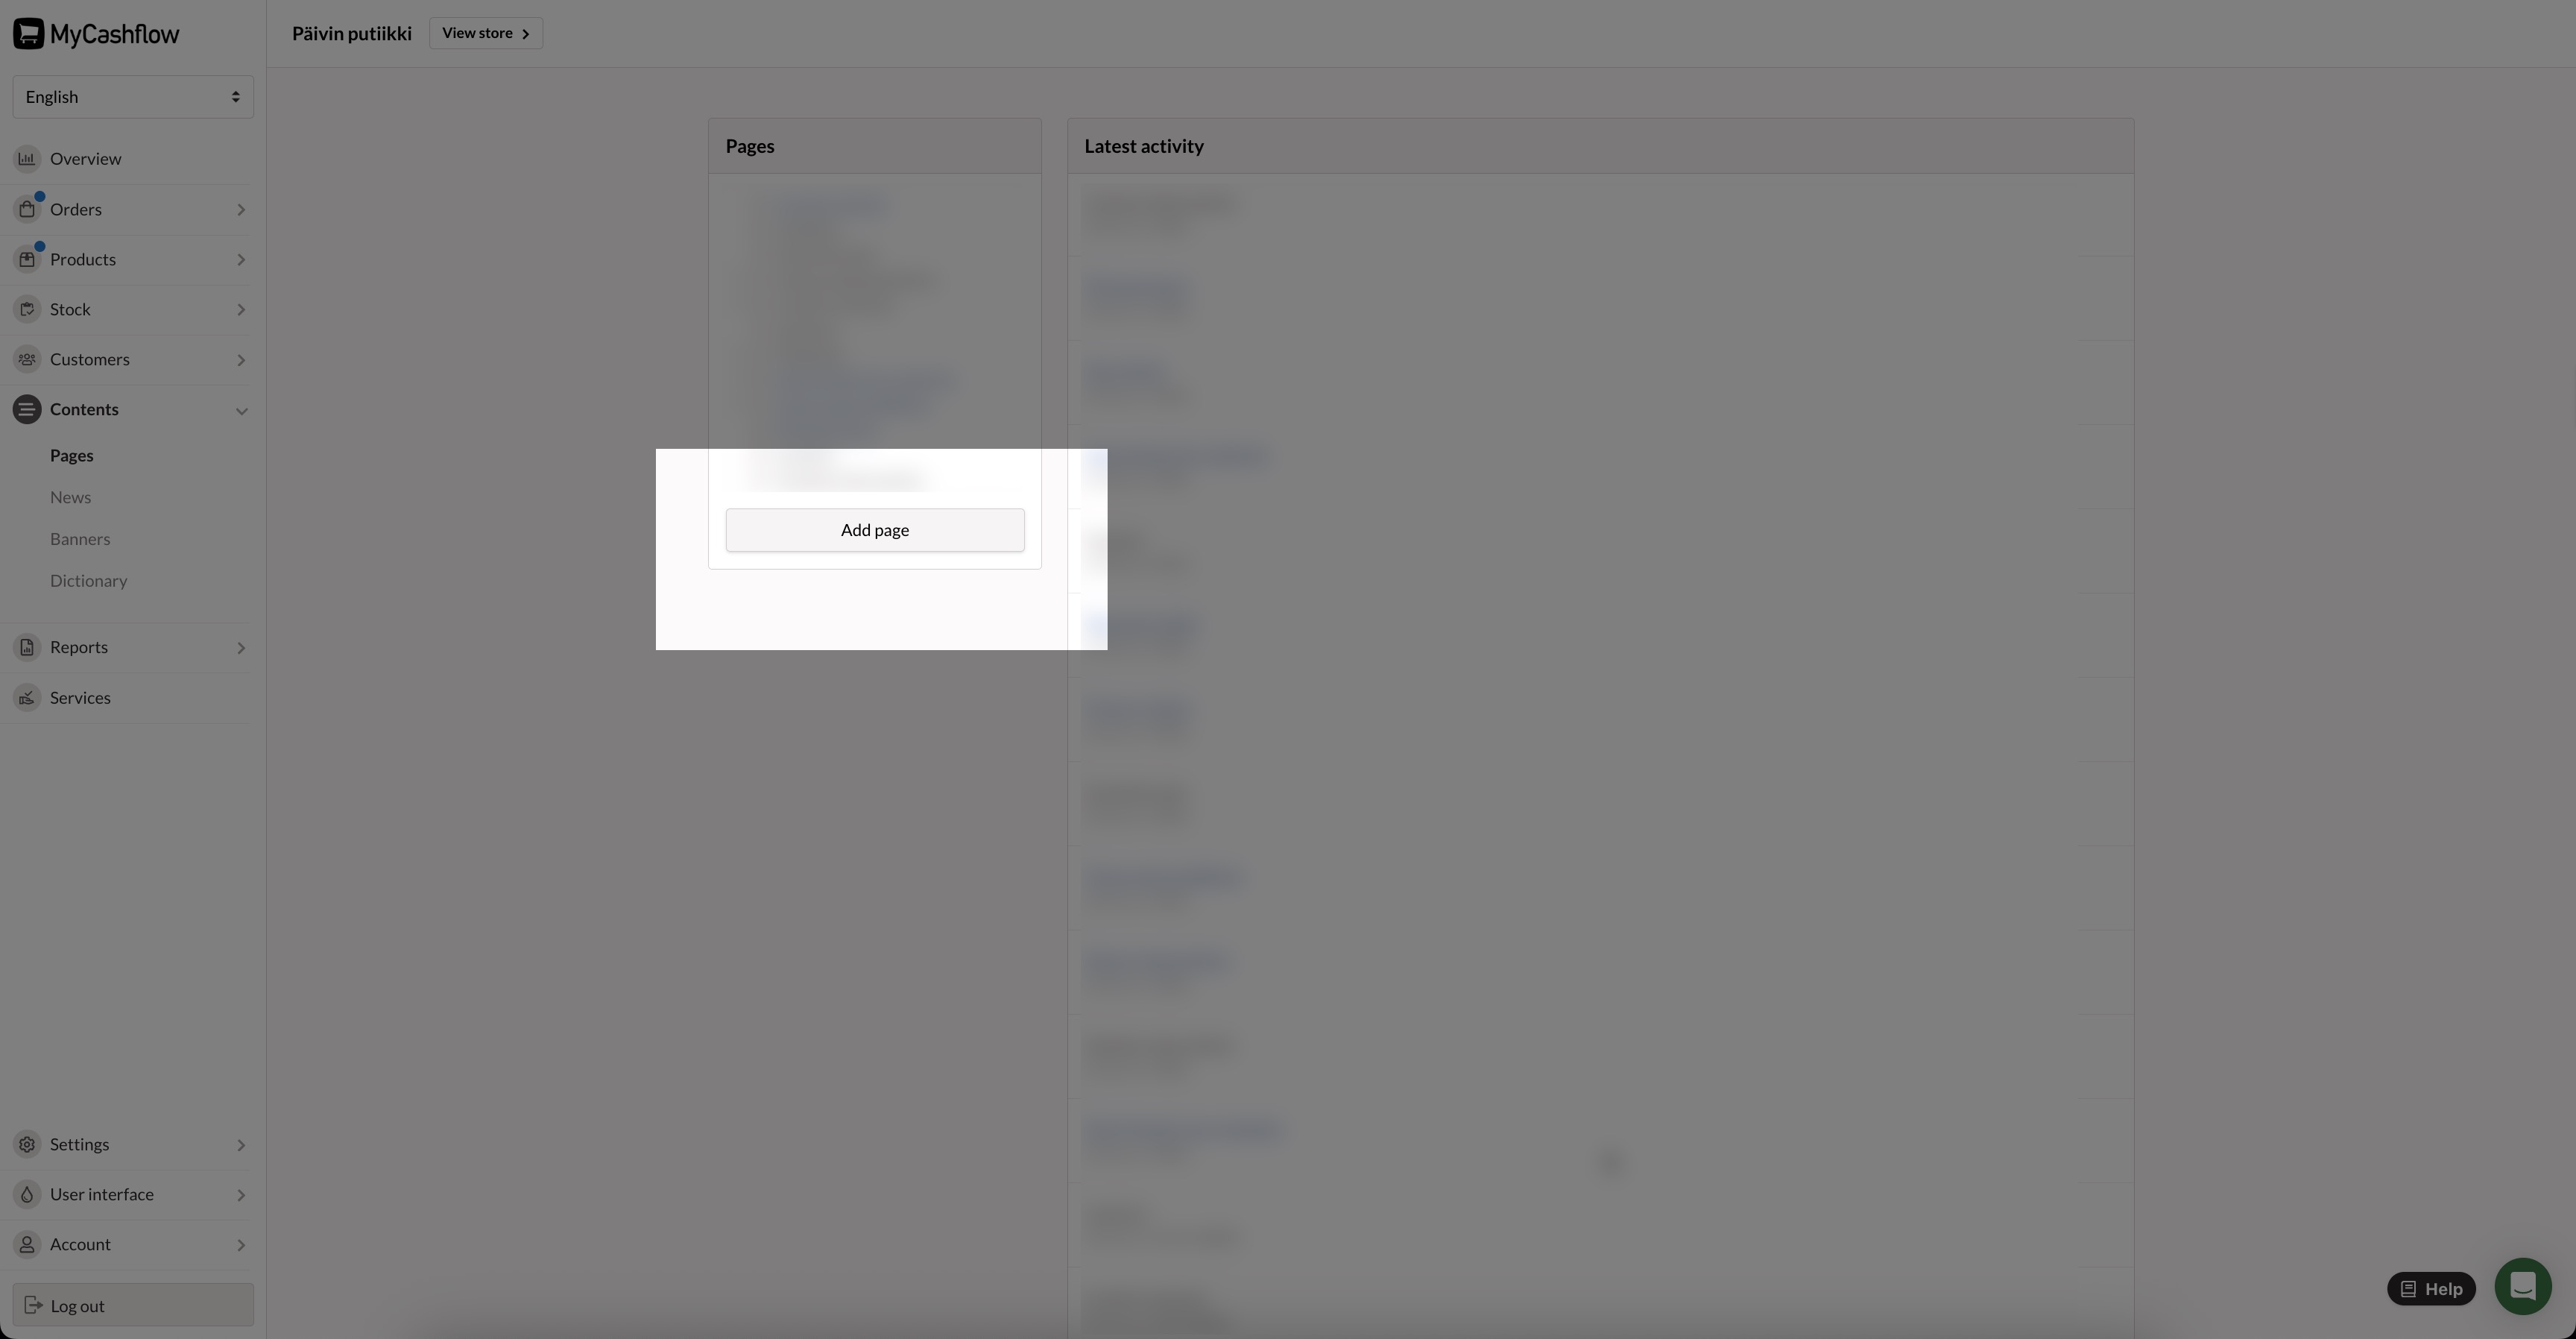
After saving, the content page will appear in the selected store version like other content pages. To check what it looks like, press the button in the top bar.
