In this quick guide chapter, you will explore online store payment methods and services and create a new payment method for your customers to use.
The payment method enables payments related to online store orders using a payment service. Typically, online stores offer several alternative payment methods from which the customer can choose a suitable payment service at checkout. Common types of payment services include invoice, online banking payment, and card or mobile payment.
MyCashflow does not handle the payment transactions between the online store and its customers, but it offers integrations and tools that allow you to add the necessary payment services to your online store.
Payment services
By setting up integrations with external service providers, you can add the following payment service options to your online store:
- PayPal : A global online payment service that also supports credit card payments.
- Paytrail : A Finnish online payment service that enables most online banking, card, and mobile payments used in Finland. Credit-based invoice and installment services are also available through Paytrail.
- Klarna Payments : A Swedish online payment service that enables online banking and card payments almost everywhere in Europe, North America, Australia, and New Zealand. Alternatively, the customer can pay for their order afterwards in one installment or in installments divided into parts.
- Kustom Checkout : An alternative checkout solution for online stores, which also provides access to Klarna Payments services without needing to install them separately.
- Maksekeskus : An Estonian online payment service whose range of services is particularly suitable for customers living in the Baltic countries and Finland.
- MultiSafepay : A Dutch online payment service whose range of services is particularly suitable for Central European customers.
- Nordea Finance Erämaksu : An unsecured and fast Finnish one-time loan designed to finance larger-than-usual online store orders.
- Ropo One : A Finnish invoicing service suitable for business customers using e-invoicing.
In addition to integrations, MyCashflow directly supports the following basic payment services:
- Invoice: The customer receives an invoice for their order in PDF format via email. A PDF invoice via email payment method based is available by default in any new MyCashflow store.
- E-invoice: If your customer has an e-invoice address, the e-invoice operator you have specified in the customer information will transmit the invoice details to the customer's financial management system.
- Advance payment: The customer receives an email with your online store's bank account details and the payment instructions you have specified.
- Cash-on-delivery: The customer redeems the cash-on-delivery shipment at a Posti service or pickup point by paying the order total, which Posti then remits to your online store.
- Refunds: Unlike other payment services, this is intended for the merchant's use in managing accounts receivable, and the payment method based on it is never visible on the public side of the online store. The Refund payment method is available by default in your new MyCashflow store.
Despite its name, Refund does not actually return money to the customer. You can use this payment method to update the records for refunds made to customers, but you must handle the actual refunding of money separately.
Adding a new payment method
Below is an example of how to add the Paytrail payment method to an online store.
Using an external integration requires you to register as a subscriber to the service. Once the service provider has processed and confirmed your order, you can activate the service.
1/2: Subscribing to a payment service
- Select Paytrail as the payment service and click the Learn more link.

The payment method subscription form opens in a new tab.
Paytrail processes your order and sends a confirmation message with credentials that allow you to activate the service.
2/2: Activating the payment service
Once you have received the necessary credentials from Paytrail, activate the payment service as follows:
- Fill in the required information on the form.
Not all payment form details need to be specified, but consider at least the following points:
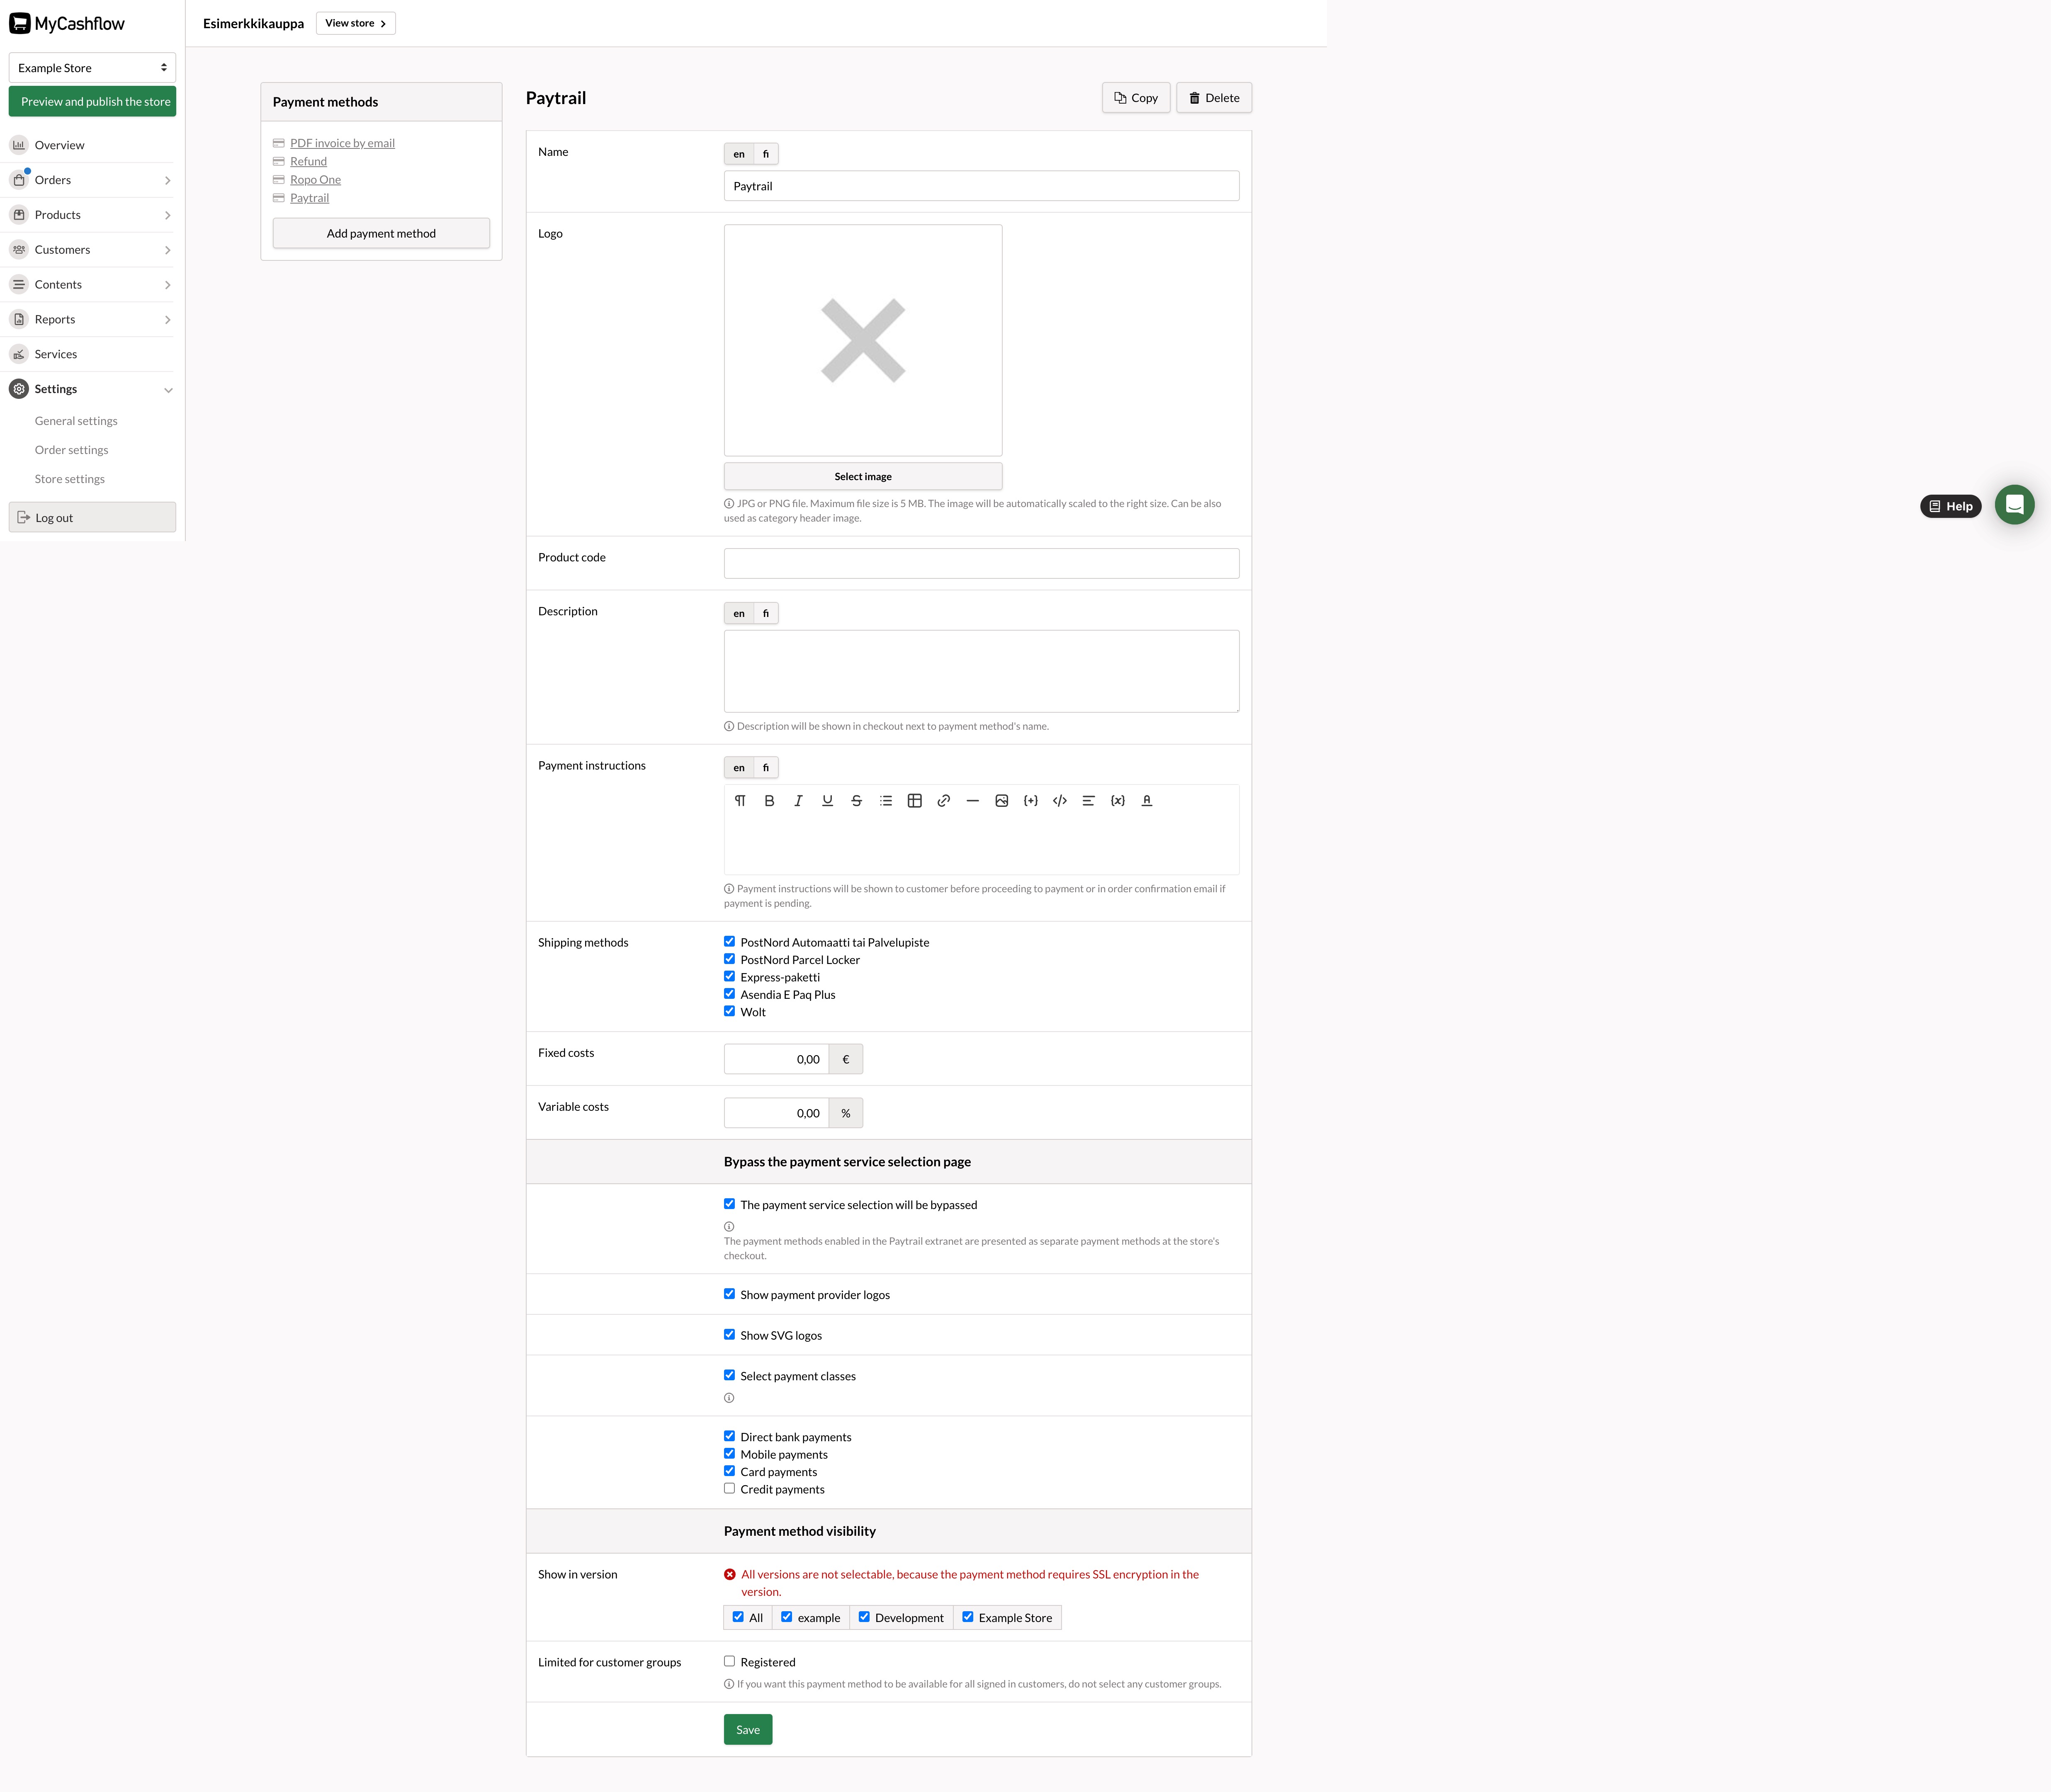
- Name: The default name for the Paytrail payment method is Paytrail. You can change the name of the payment method, but it should be as descriptive as possible (e.g., Online Banking and Card Payments).
- Shipping methods: Select the shipping methods for orders that can be used with the payment method. Selection is only possible once you have also created shipping methods in the online store (these are discussed in chapter 6 of this quick guide).
When the customer at the online store checkout has selected a shipping method for the order, the checkout will only display the payment options marked as compatible with the chosen shipping method.
- Bypass the payment service selection page: If you want all payment services operating through Paytrail to appear as separate payment methods at the online store checkout, activate the option The payment service selection will be bypassed. Otherwise, when the customer selects the Paytrail payment method, they are redirected from the checkout to Paytrail's own payment method selection page.
When you activate the payment method selection page bypass, optional additional settings will open in the form, allowing you to adjust the presentation format of payment methods and restrict the visibility of payment service types.
- Payment method visibilityThe payment method is only visible in the store versions you have selected in Show in version .
Read more about the payment method form and Paytrail payment methods settings.
You have just created your store’s first payment method, which your customers will be able to use.
If you want to integrate other payment services into your online store, their setup is generally done in the same way as Paytrail's, but the information to be specified is partly different. You can a link to more detailed installation instructions on the introduction pages of all payment services requiring external integration.
The payment services directly supported by MyCashflow do not require a subscription or user accounts, so you can add a new payment method simply by filling out and saving the payment method form.