Here you can learn how to implement Currency Converter's different functionalities in the theme for your MyCashflow online store.
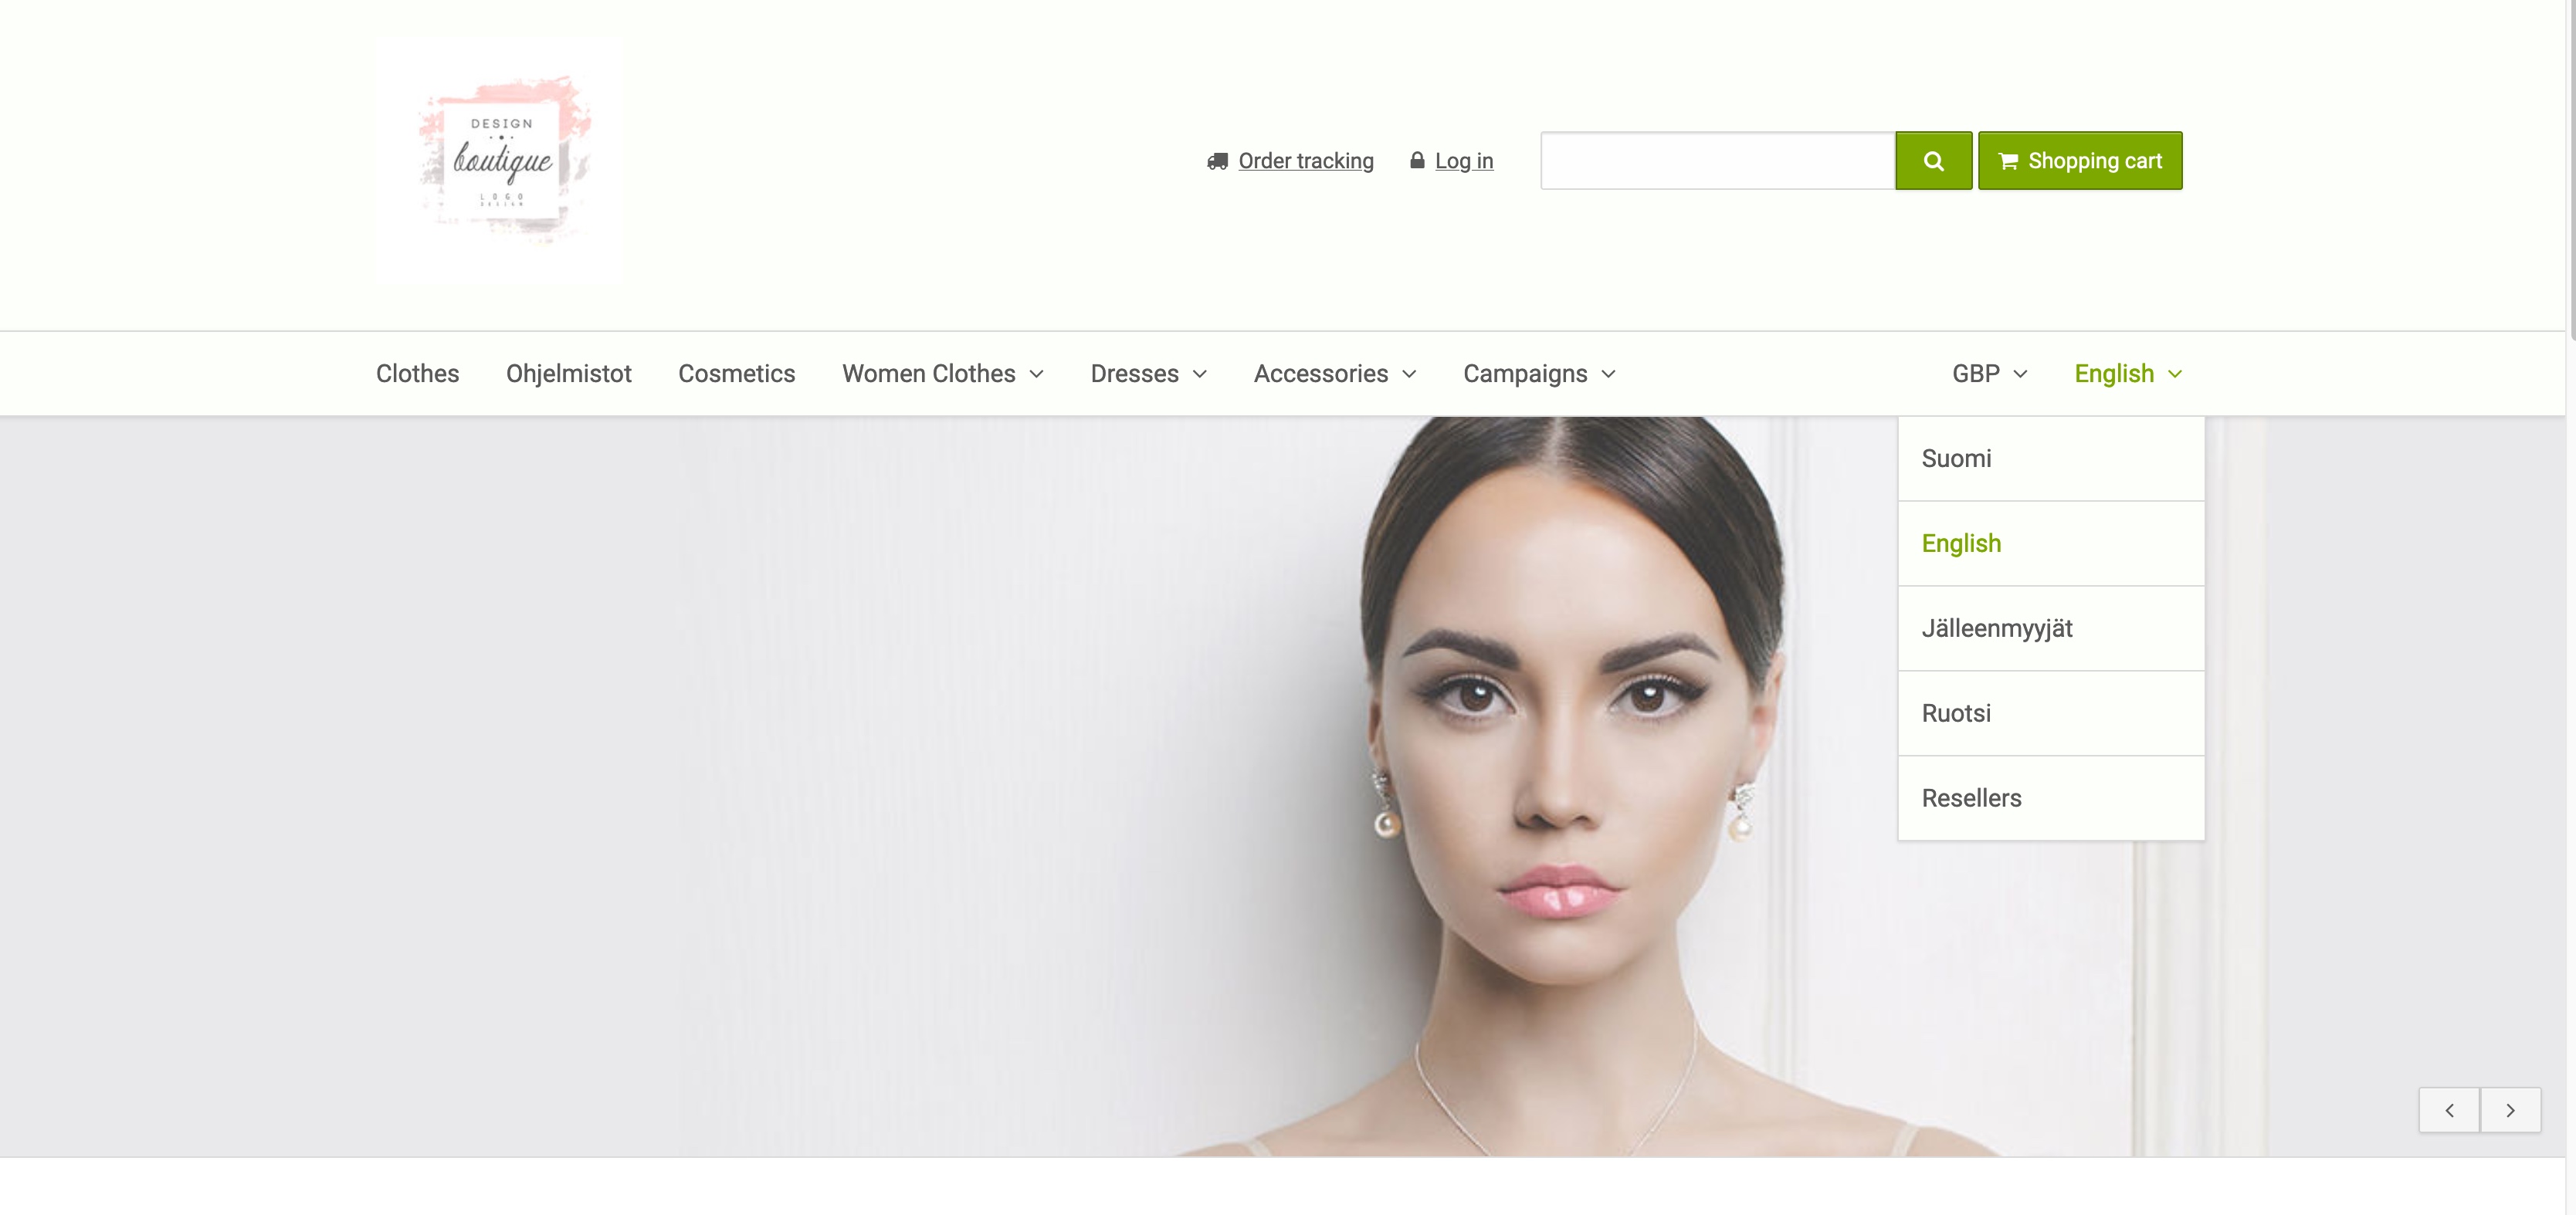
Adding a currency selector to your store theme
MyCashflow's default theme includes an implementation for the currency menu as well as an easy-to-use setting to hide the menu.
You can add the currency selector to your store theme by using the {CurrencyNavigation} tag.
Below is an example of the implementation of the currency menu in the default theme.
{CurrencyNavigation(
	before: '
		<div>
			<ul>
				<li>
					<a>{Currency}</a>',
	after: '
				</li>
			</ul>
		</div>'
)}
The currency selector is implemented as a <ul> list, with the currently enabled currency as its first item implemented by using the {Currency} tag. Below, you can see an example of the menu's appearance.
Displaying converted product prices
The {ProductPrices} tag, which is often used for displaying prices, always displays the price converted to the currency selected by the visitor. If you use any other tags for displaying prices (such as {ProductPrice}), make sure that the tag has the attribute currencysymbol: true
{ProductPrice(
currencysymbol: true
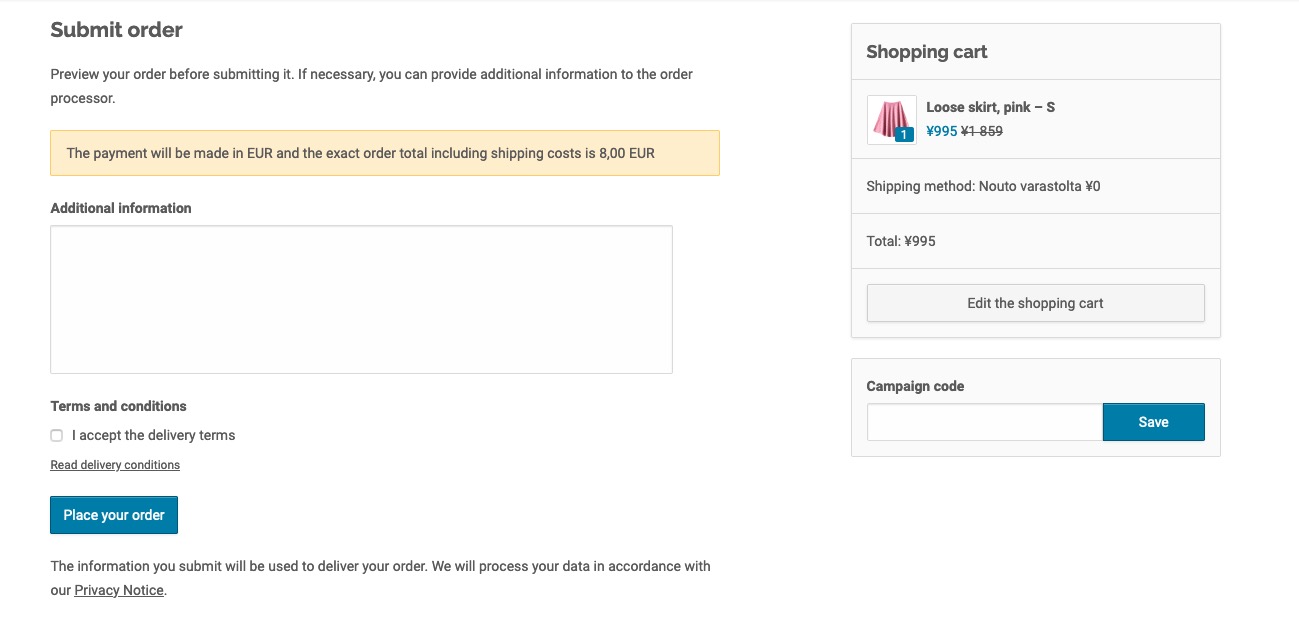
)}Adding the currency notification to checkout
If the customer selects a currency other than the euro, MyCashflow's built-in single-page and multi-page checkouts will display a warning that the payment will be transferred in euros. The notification can be added to the store theme by using the {CurrencyNotification} tag in the checkout template (e.g. themes/shop/THEME/checkout/singlepage.html).