In this chapter of the quick guide, you will add the first product to your store and create a category menu.
You can easily manage products and categories in the admin panel:
- In the admin panel, go to .

- Define at least the following information for your product: name, price, weight and package size.

Based on its weight and package size, the product will be assigned suitable shipping methods. You will learn more about them in chapter 6. Shipping conditions, return policy and privacy notice.
Optionally, add a product image.
You can ignore other items in the form at this time. After saving the form, you will be taken to the admin panel's product card, which contains a summary of the product you have just added. Here you will also be able to manage the product's stock details.
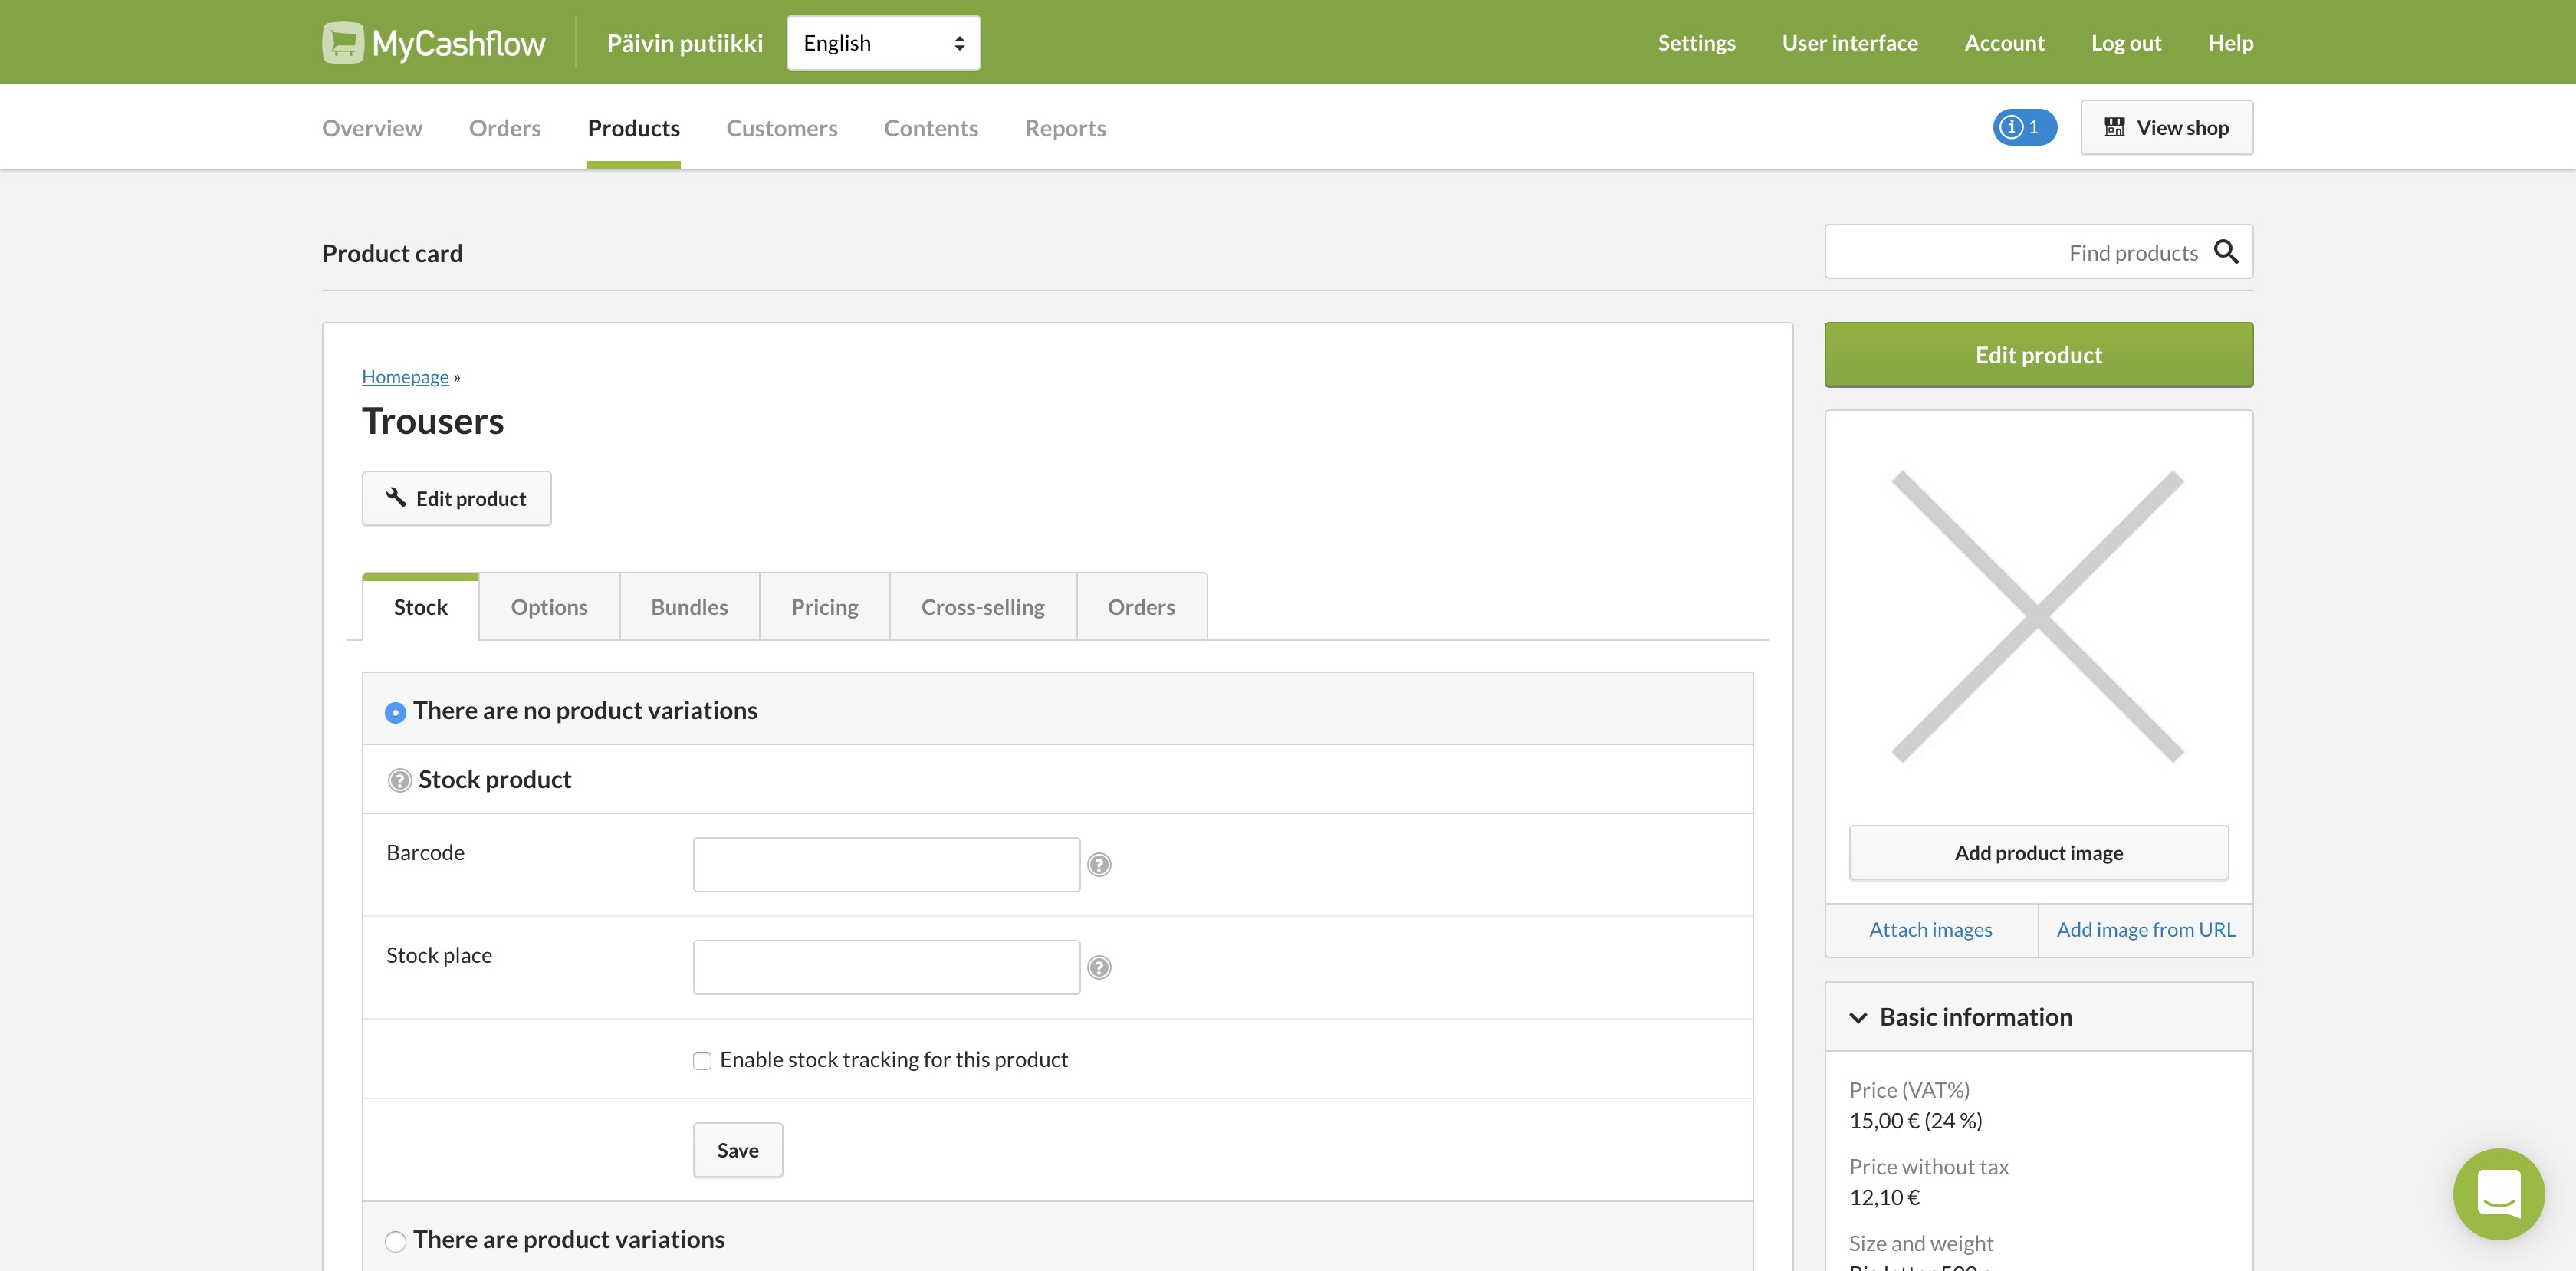
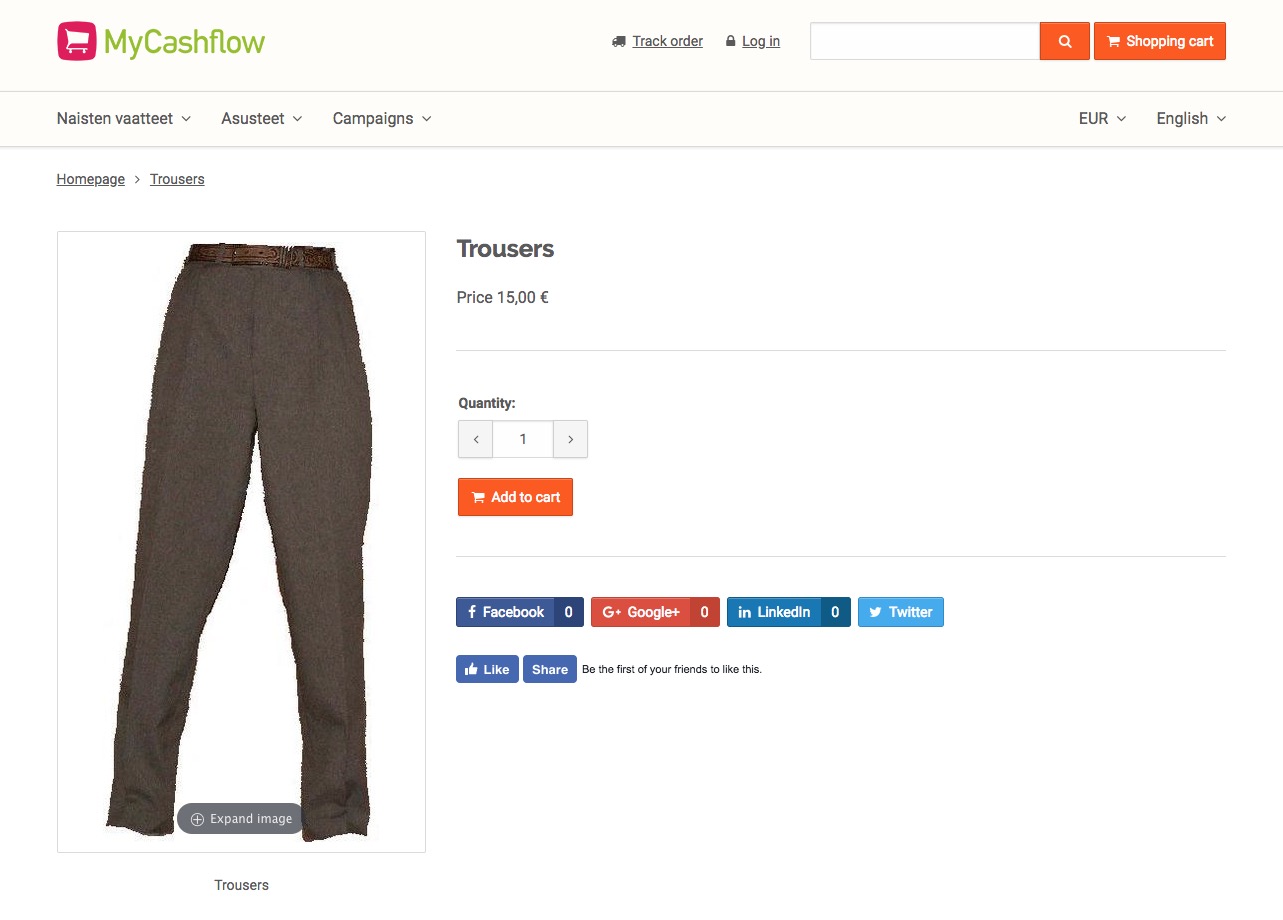
You can check what the product looks like in the customer area by pressing the button in the upper right corner of the product card.
You may want to check what the product looks like in the customer area. In this way, if there's something in your product's settings that should be changed, you'll notice it right away.
Later, you may want to add more information about your product, such as the product image (if you haven't added it yet) and description. Products with powerful images and effective descriptions sell better.
Creating the category menu
In MyCashflow, you can group products into categories. Categories are used to create a category menu for your store's customer area, so that the customers can find products more easily in your store. Each product category has its own page in the customer area. By default, the page contains a list of the category's products.
Create the first category in your online store:
- In the admin panel, go to .

- In the left-hand menu, press the button to display the product category form.

After saving the product category, you will see in the left-side menu of the page that the product category you created was automatically placed under the Front page product group.
You can now add the product you created earlier to your first product category:
- Hover your cursor over the product list on the page and grab the
 icon.
icon. - In the left-side category menu, drag the product onto the product category you've just created.

The product has now been added to the product category. The same product can belong to several categories at the same time, which makes it easier to find the product, especially in a store with a broad product catalog.
You can group products also by brands. You can read more about brands in our user guide.
Finally, go to your store's customer area by pressing the button in the upper right corner to see the product category you created.
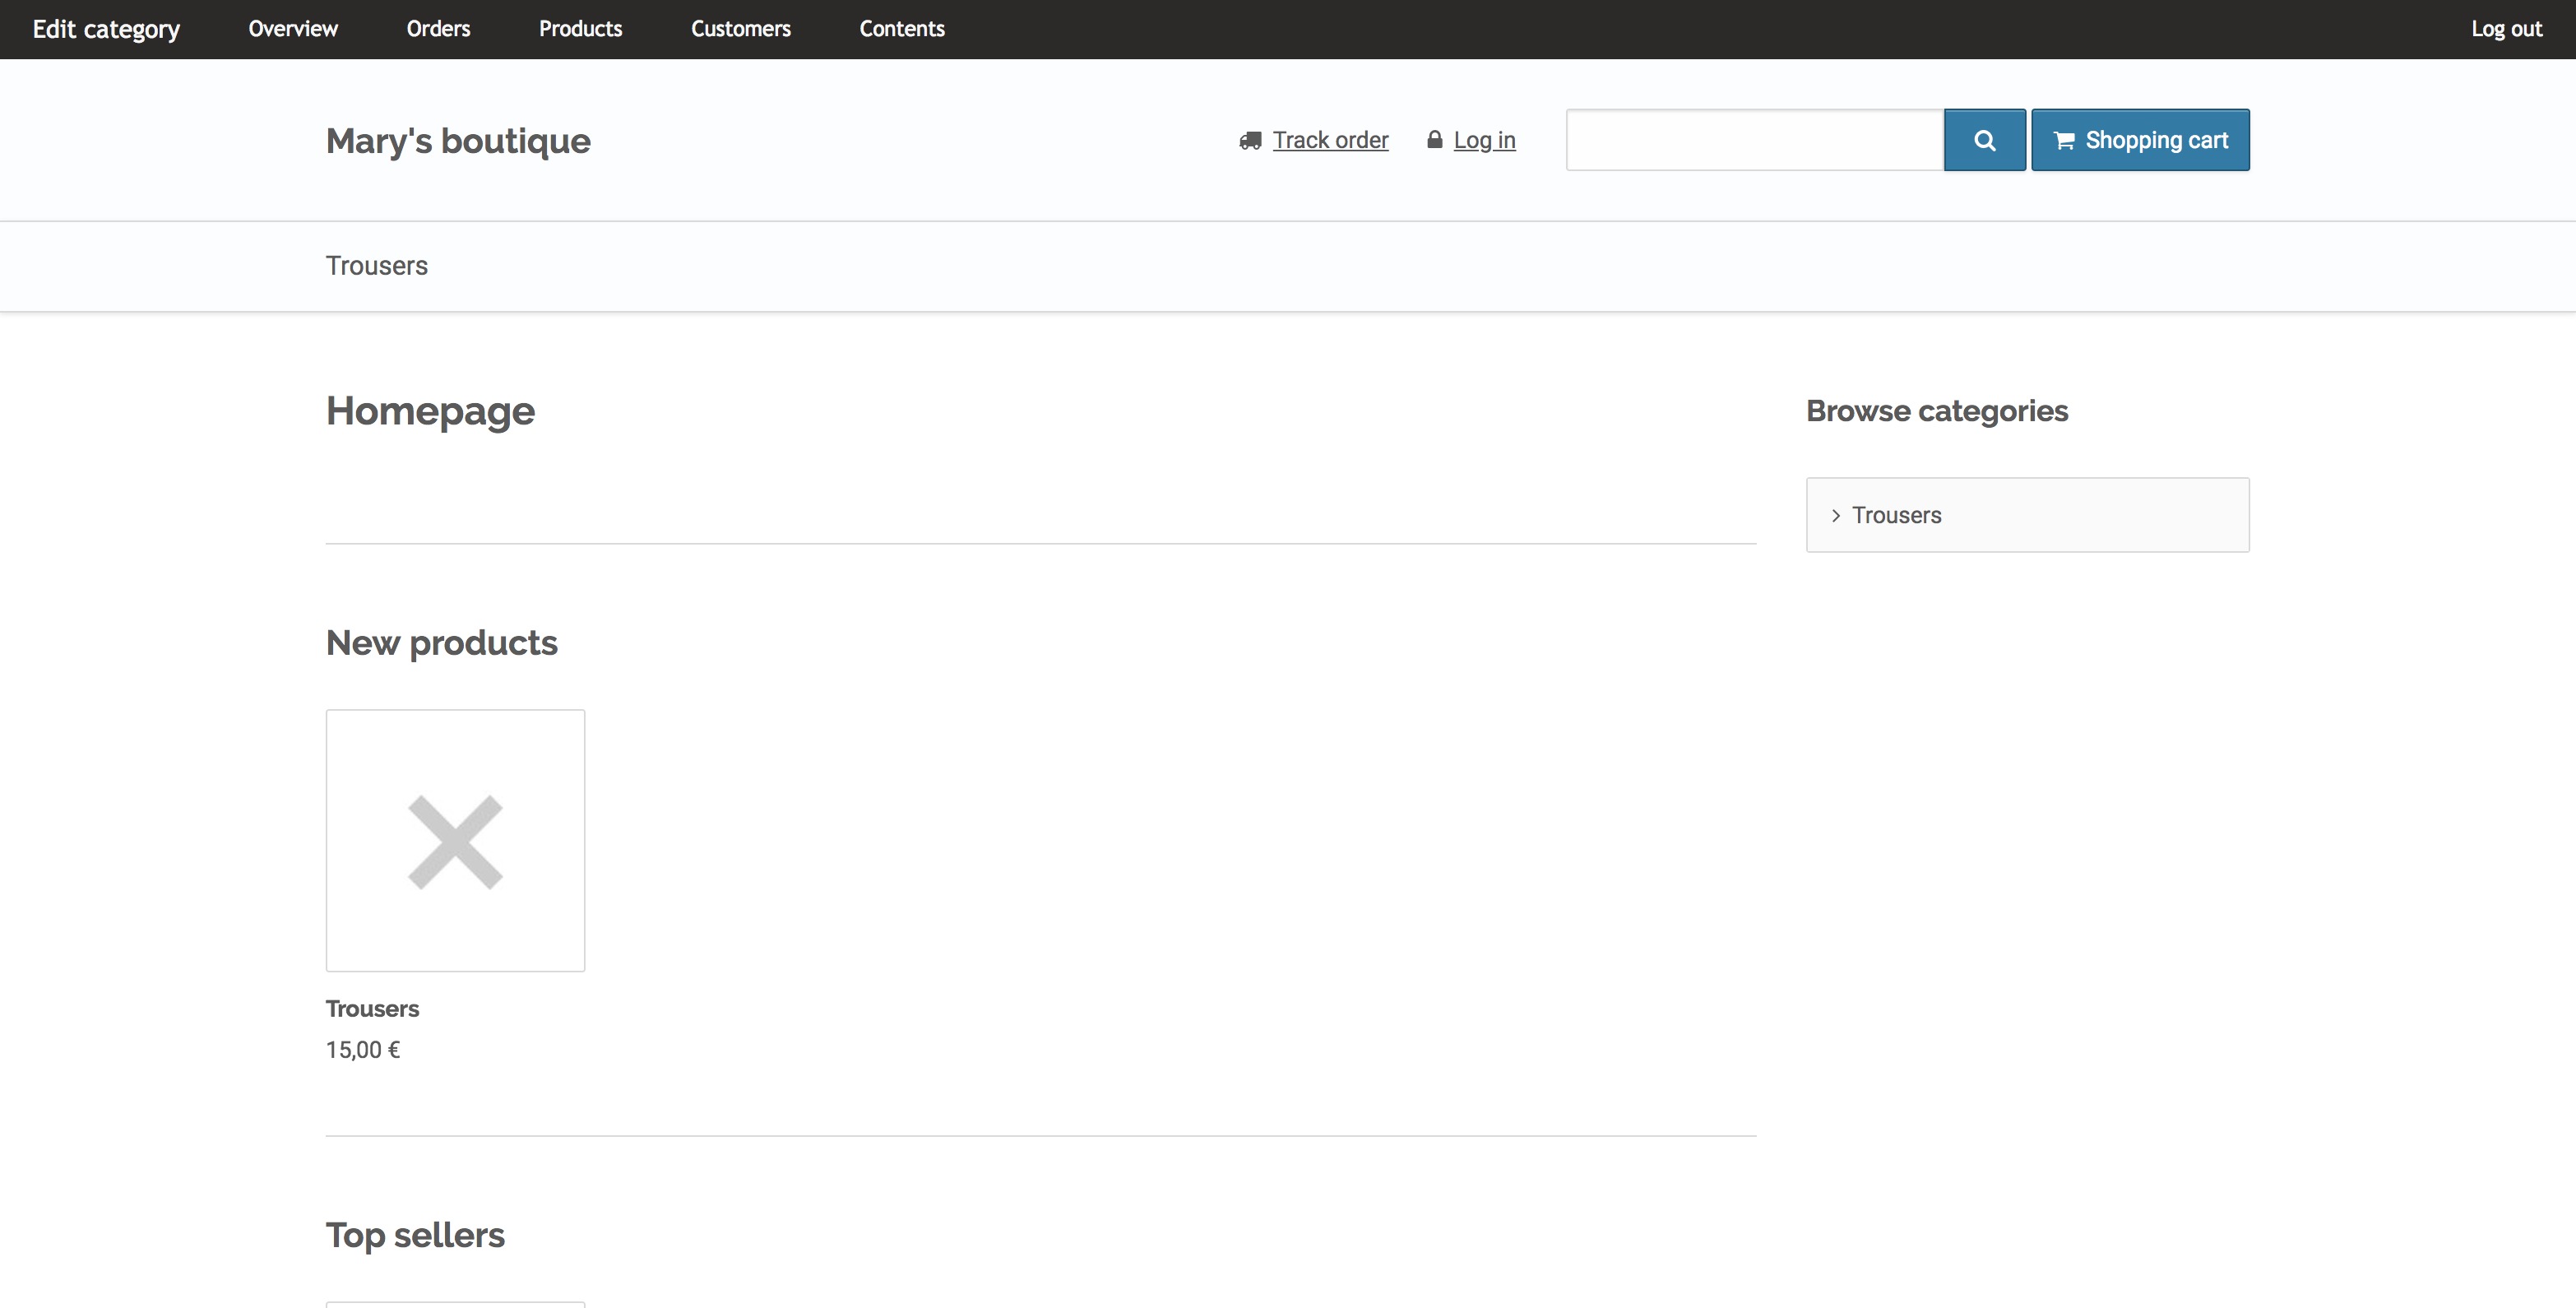
Note that it is still not possible to buy any products, because your store has no payment and shipping methods. These will be discussed later on in the quick guide.